Hey There!
Thanks for stopping by the MPS Blog. Here you'll find all the nitty gritty, behind-the-scenes details of the projects you see on my Instagram. Grab a cup of coffee and take a look around. Happy DIYing!
I'm Jennifer Gizzi.
Browse by Category
design
sourcing
diy TutorialS
moodboards
SHOP OUR HOUSE
gift guides
Search the Blog
Complete Guide To Painting Tile
April 25, 2019
Related blog posts:
–TILE PAINTING Q & A
All products featured in this post are in my Amazon Store!!
This has been a long time coming! I have been talking about the process of painting tile for months now and it has been one of the most engaged topics.
As a reminder if you didn’t catch my stories leading up to this point, here is where the tile started! It had hints of mauve, brown and everything in between. My tile is slightly rough with various size tiles. There is a lot of tutorials for stenciling tiles on the internet, but I knew I did not want any pattern for such a large area of my house… over 200 square feet! The tile reaches most visible areas on our main level and I’ve always disliked it heavily, but replacing it would mean replacing all of our main living spaces… something we aren’t quite ready to do yet.

Before I jump into the tutorial, I will start out by saying that the actual process of painting tile is not entirely new and also not extremely hard! However, there are so many different methods out there that it can be a bit confusing and overwhelming. I spent some time researching and testing some of the methods out there and believe I narrowed down the process that will give your tile the absolute best fighting chance to be durable long-term.
STEP 1: PREP… and then prep some more.
This is by far the most important step. Tile is not a material that wants to be painted. You must will it into submission by taking some very important steps.
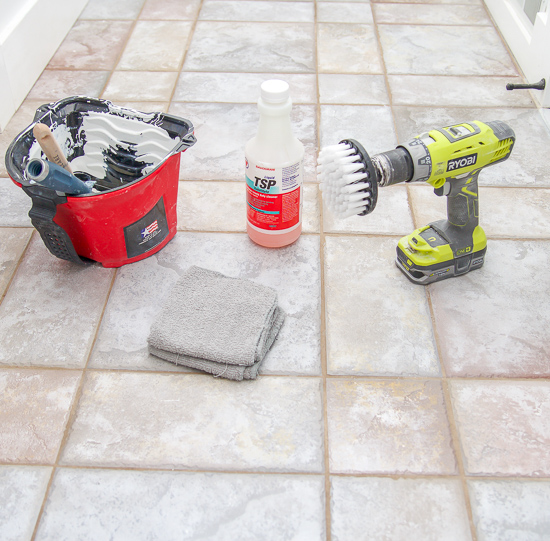
CLEAN: I used a 1:1 mixture of TSP and water to thoroughly clean my tile. This includes scrubbing the grout, edges, everything! To make this job easier, I used my drill scrubbers that I swear are the best invention ever. They come in multiple grits and strengths and will scrub even the hardest surface with ease.

STEP 2: PRIME & LET DRY
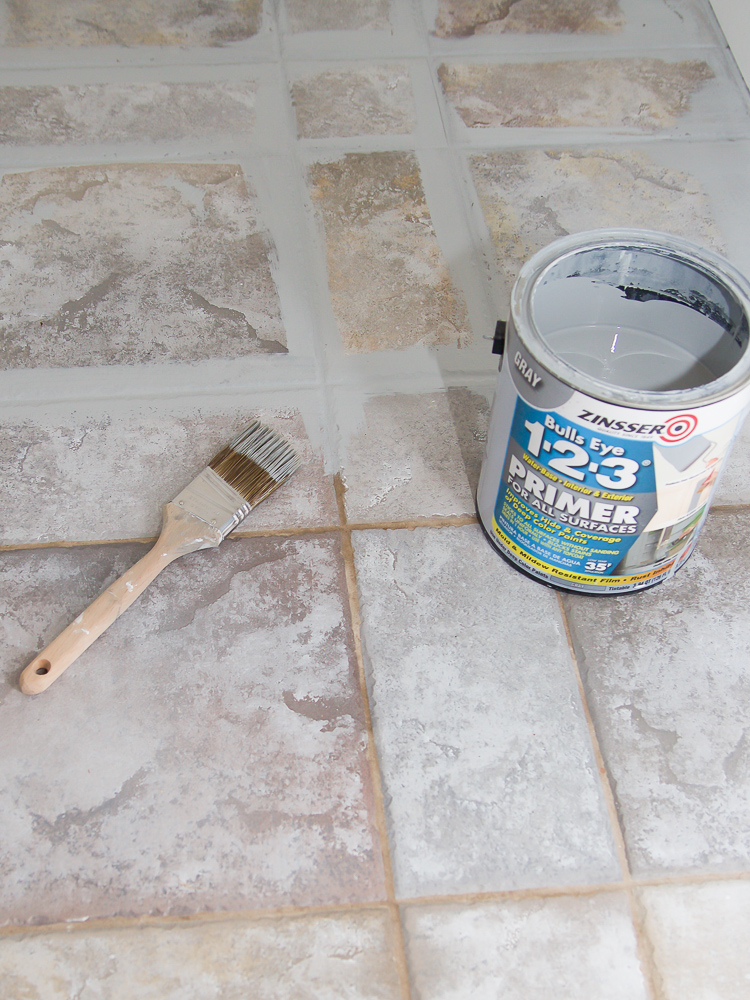
Important note: not any regular primer will do. You need a primer that is specifically up to the task of priming tile and slick surfaces. I’m sure there are other products out there, but I can only vouch for this one. Zinsser makes a variety of primers for different purposes, but this one is what you need for this task. It specifically states that is suitable for tile and I have not found another primer that will claim this. The other important part of this step is to let the primer cure… my vote is one week, but let’s shoot for 24-48 hours if you are tight for time (not 2 hours).

STEP 3: CLEAN AGAIN.
If you took some time to let the primer dry, you might have some dirt on the tile again if this projects isn’t in a sealed off room. The primer is still fragile at this point and will wipe off if you scrub it. If you need to clean it, do it lightly and with caution.
STEP 4: PAINT
I only tried chalk paint in my testing. I have read over 200 reviews on various other paint products with mixed opinions and results. With all my research, I feel strongly that chalk paint is the superior choice for any tile painting project. I specifically liked the idea of using the new BEHR chalk paint because it’s tintable! You can literally choose from any of their regular paint colors which gives you a ton of customization options to find the perfect shade. Most chalk paints have set colors so even though I picked a standard color, you can literally get almost any color you would want!

My advice on this is also going to be longer cure times in between coats… so IF you can wait 24 hours between coats, I promise you will see better results. I had this luxury in my small bathroom, but for main traffic areas, it is nearly impossible to allow for longer cure times.
After you reach your desired coverage (2-3 coats), let dry for at least 12-24 hours and it’s time seal it! I used a polycrylic in a matte finish because I didn’t want the finished floor to look shiny. Note: do not use polyurethane for this step. Polyurethane is oil based and will yellow your paint if it is a lighter color. If you are using a very dark or black paint, then it is okay, but because it is oil based, it takes longer to dry and needs proper ventilation when you are applying it.
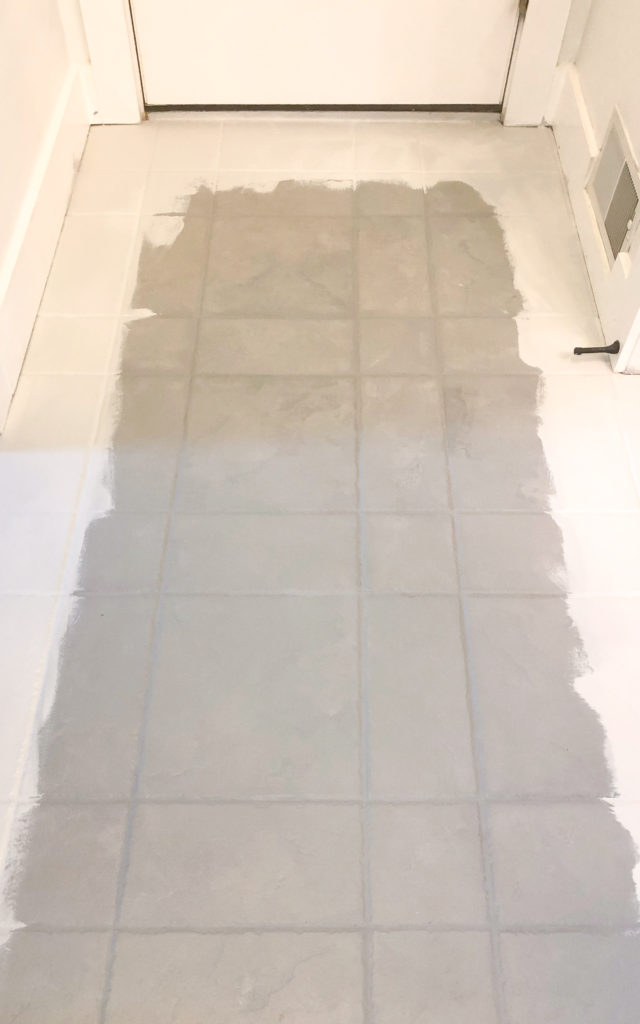
I used a thicker paintbrush to paint the edges and then went over it with a roller. I originally started with painting in the grout lines for smaller areas but realized that it wasn’t necessary with a little pressure on the roller – I’m all about efficiency! You will need to paint 2-3 coats, so don’t worry about getting this perfectly on the first coat and don’t try to go too thick. Thinner coats are better!

So there you have it! It’s taken me a while to finish this project but I’m glad I took the time to test a few things so that I feel confident in telling you that if you follow these steps, you will have excellent results! My bathroom has been painted for a couple of months now and I have had literally zero issues or scratches. If you are wanting even more details, about this process, I will be posting a follow-up Q&A with the questions that all of you asked me during this process. I will go into more detail there so stay tuned for that in the coming days. If you decide you paint your own tile, tag me over on Instagram, I would love to see and share!
WIFE, MAMA, DESIGNER, RENOVATOR, & PASSIONATE DIY EDUCATOR
I'm Jennifer Gizzi.
Let's create our dream homes together.
Navigate
home
about
blog
courses
shop
Social
Youtube
Legal
Terms & Conditions
Privacy Policy
© 2021 Making Pretty Spaces