Hey There!
Thanks for stopping by the MPS Blog. Here you'll find all the nitty gritty, behind-the-scenes details of the projects you see on my Instagram. Grab a cup of coffee and take a look around. Happy DIYing!
I'm Jennifer Gizzi.
Browse by Category
design
sourcing
diy TutorialS
moodboards
SHOP OUR HOUSE
gift guides
Search the Blog
How To DIY Peg Hook Storage For Under $50!
June 2, 2022
What do you do when you have 4 kids that have 40 jackets and bags that end up on the floor? You create lots and lots of hooks! Let’s break down how to make this extra long board with peg hooks!
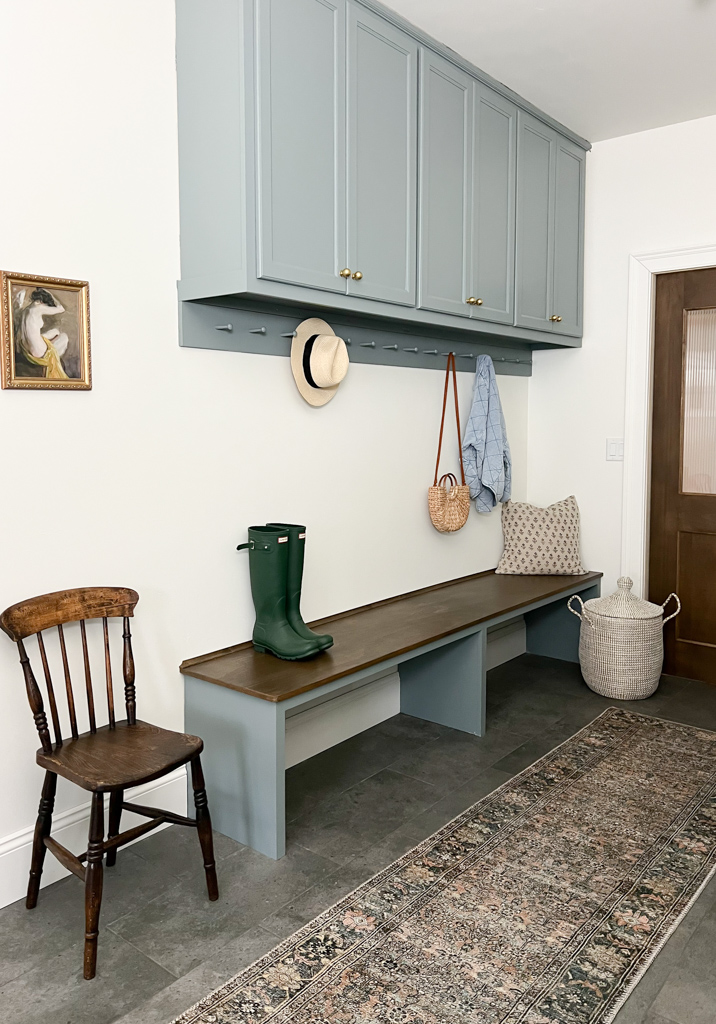
First up is material. I used a 1×8 piece of lumber in poplar. If you’re painting it, you can use almost any finished lumber for this (not plywood). I like to use maple when I know I’ll be staining a project.
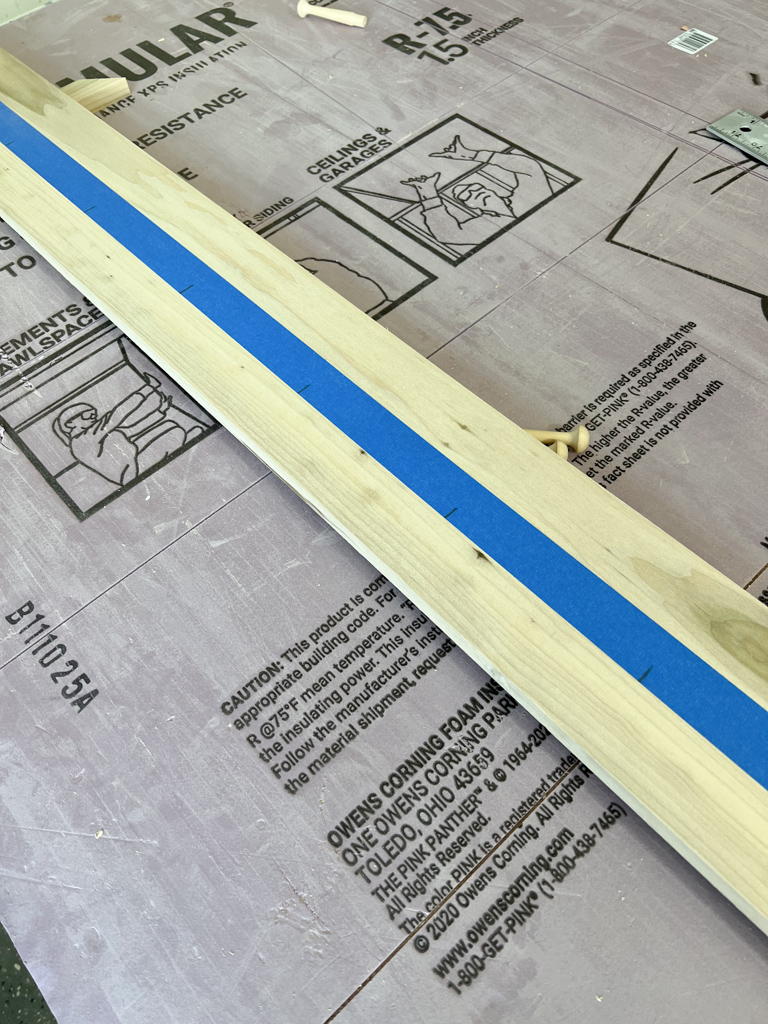
I used a piece of blue painter’s tape that I could easily mark on to determine where each peg would go. The tape also makes for a cleaner hole when drilling but it’s not absolutely necessary.
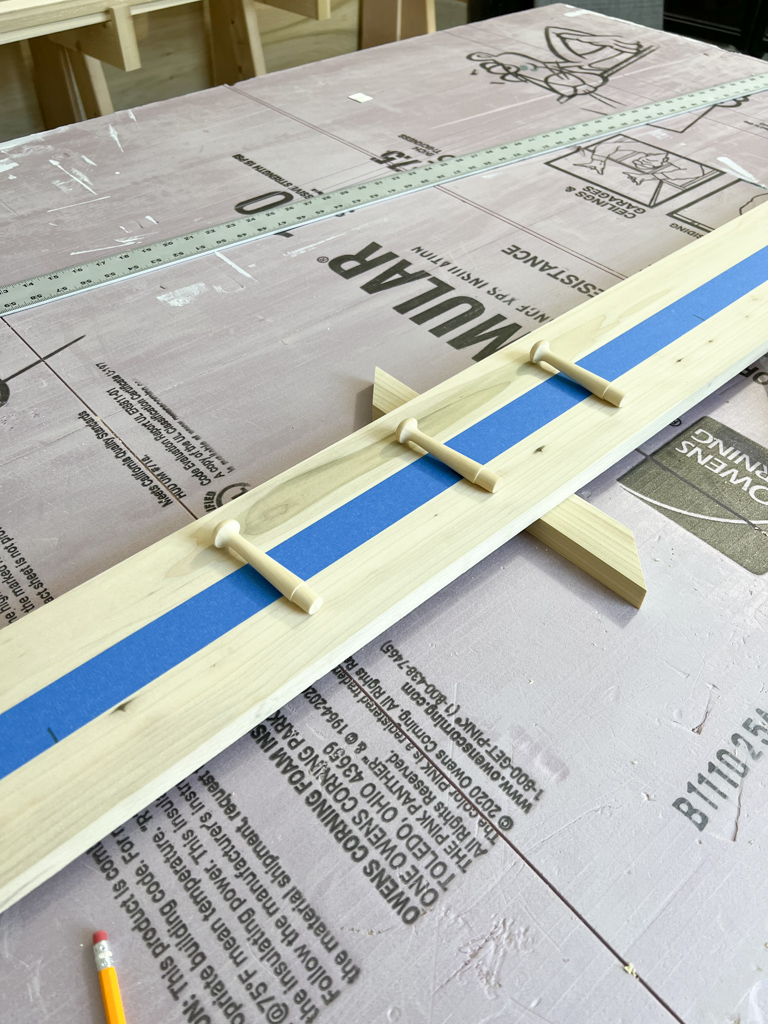
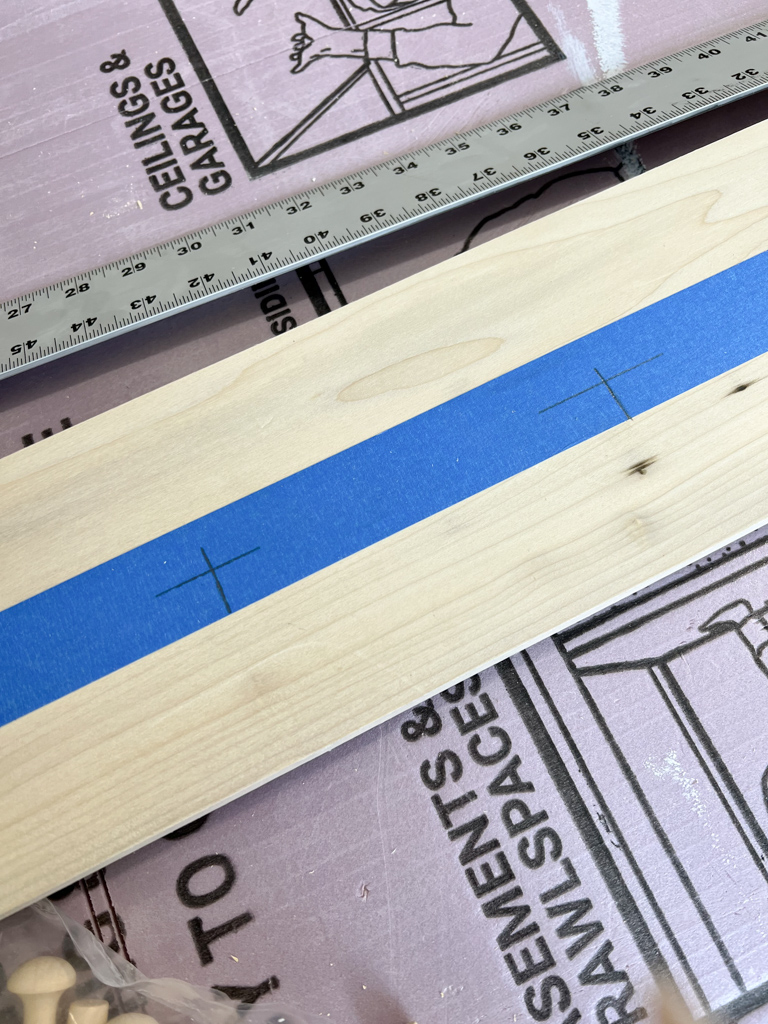
I found the spacing I wanted for the pegs and then found the board’s centerline. Creating this x shape makes it really easy to drill your holes accurately.
I’m using a 7/16″ drill bit. These are the pegs I’m using and the instructions stated 1/2″. I tested a few and felt they were a little too loose. I was able to hammer the pegs in tightly using a slightly smaller drill bit – no glue needed!
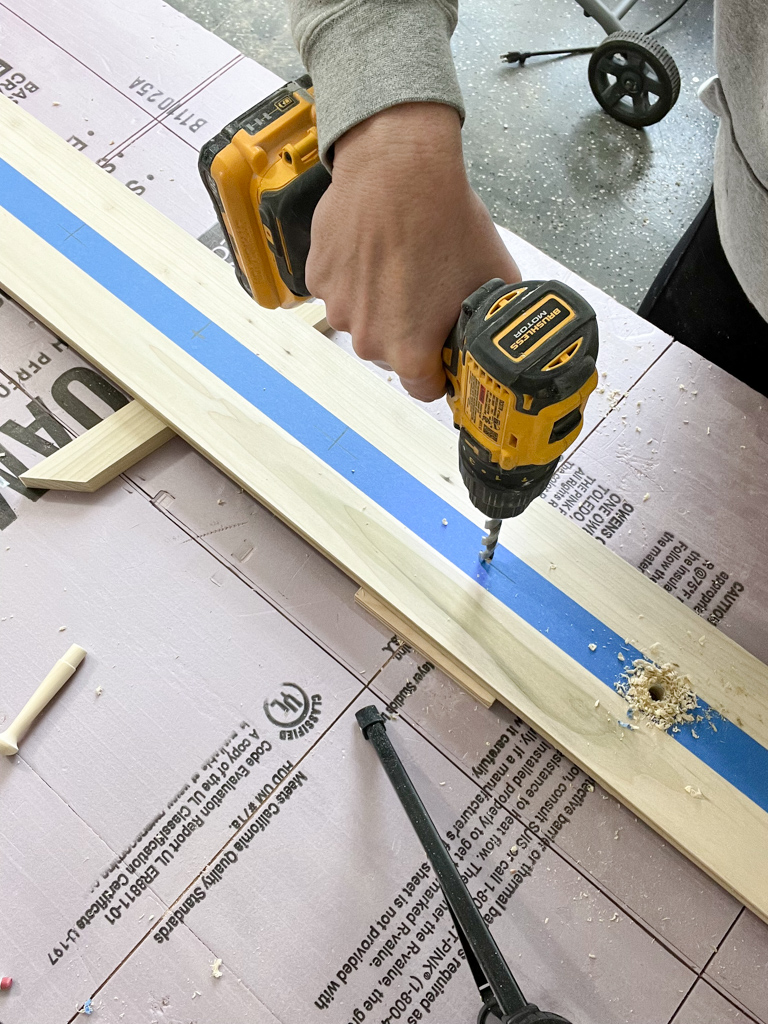
Make sure you test a peg before you finish drilling all the holes!
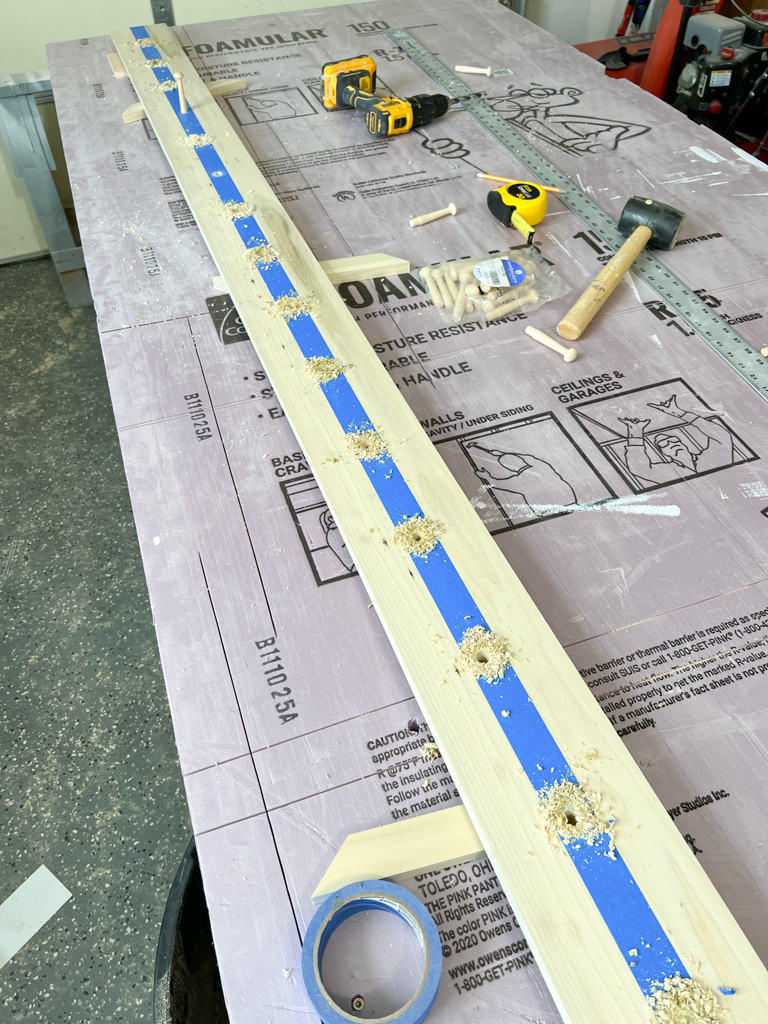
At this point, you could prime and paint the board first if you weren’t spraying the entire project. I knew I would be spraying so I chose to install all the pegs and then spray everything.
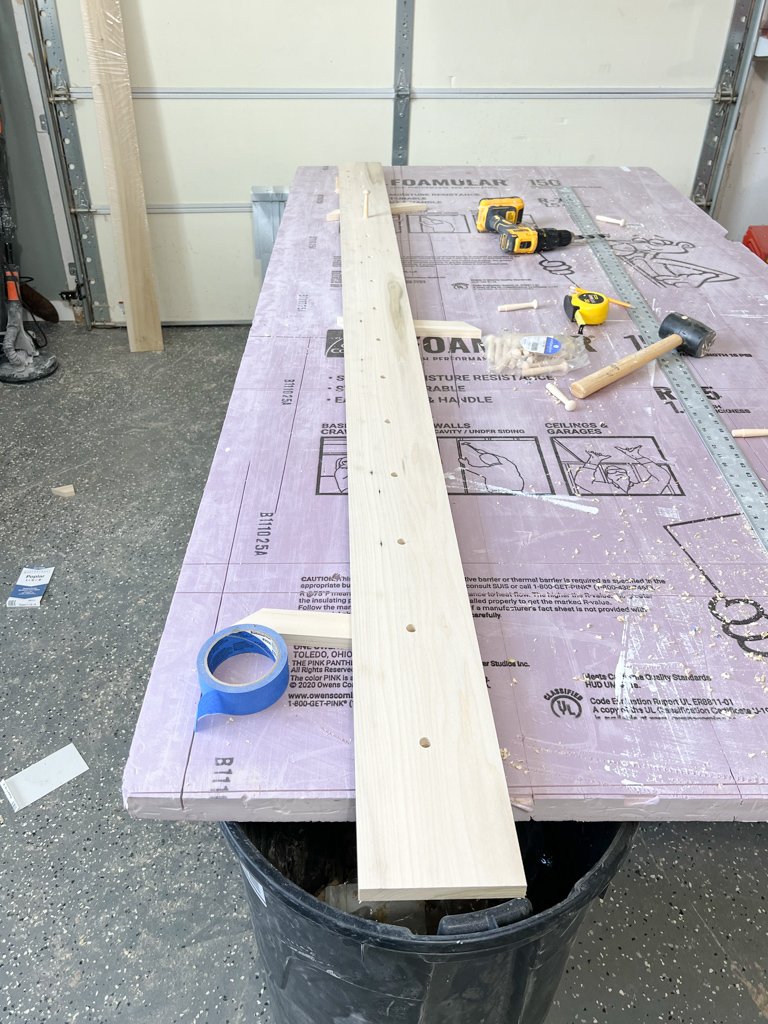
Make sure you use a rubber hammer for this – a regular hammer would damage the pegs.
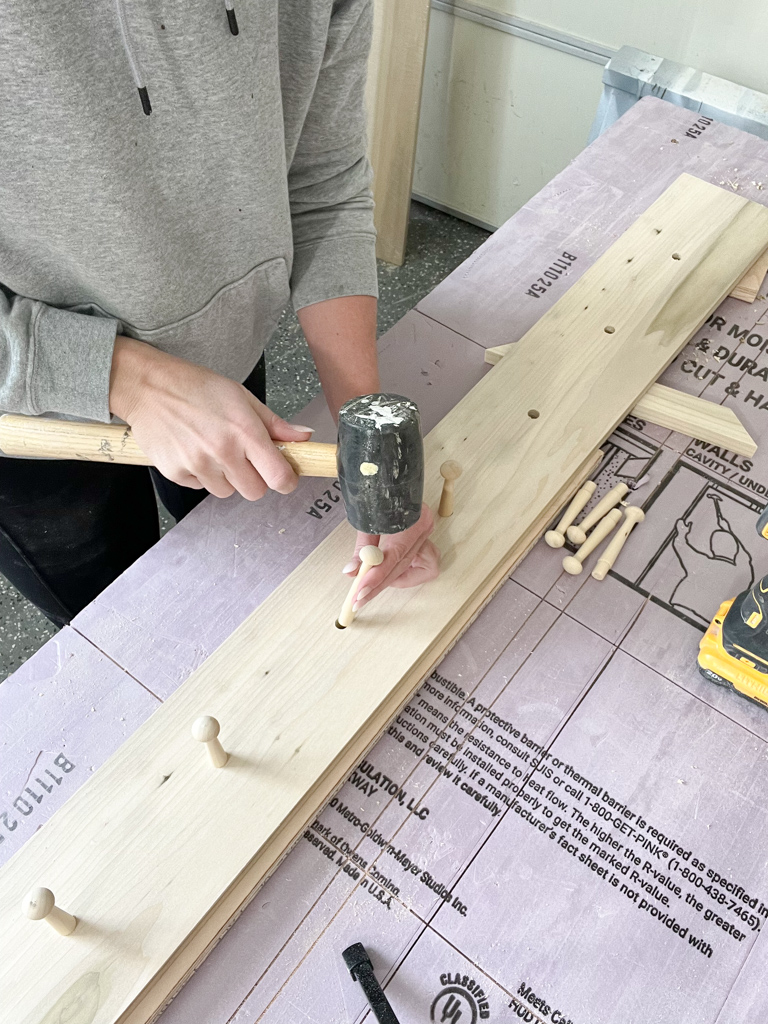
I didn’t need to use any glue at all and trust me, they aren’t going anywhere!
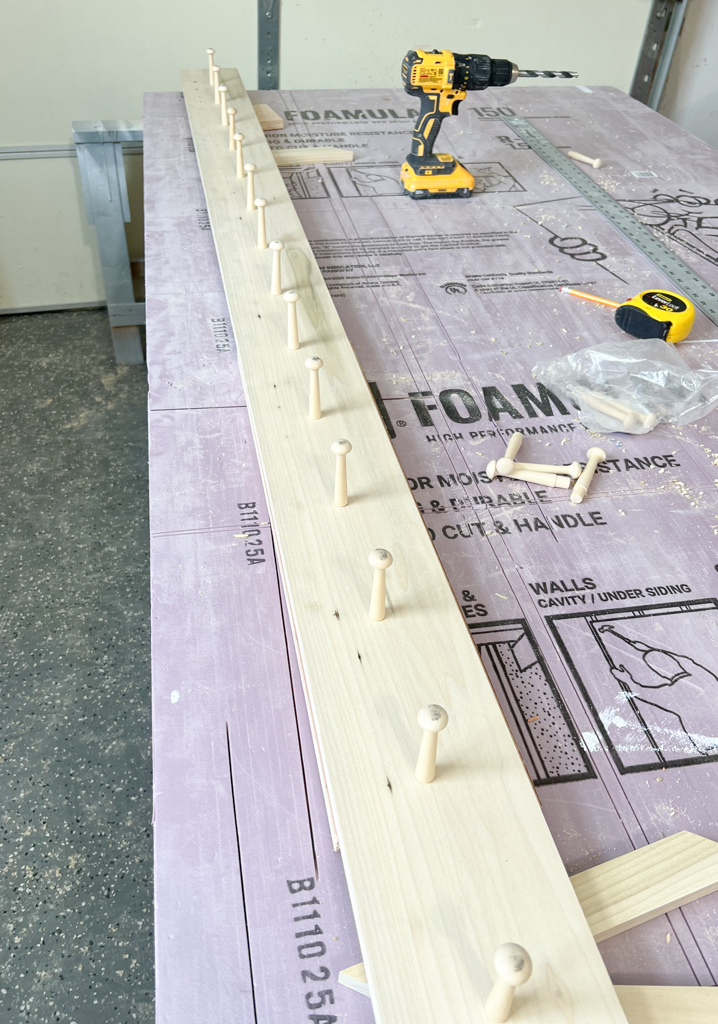
Voila! Instant bag and jacket storage. You could add this below cabinets or even just on a blank wall.
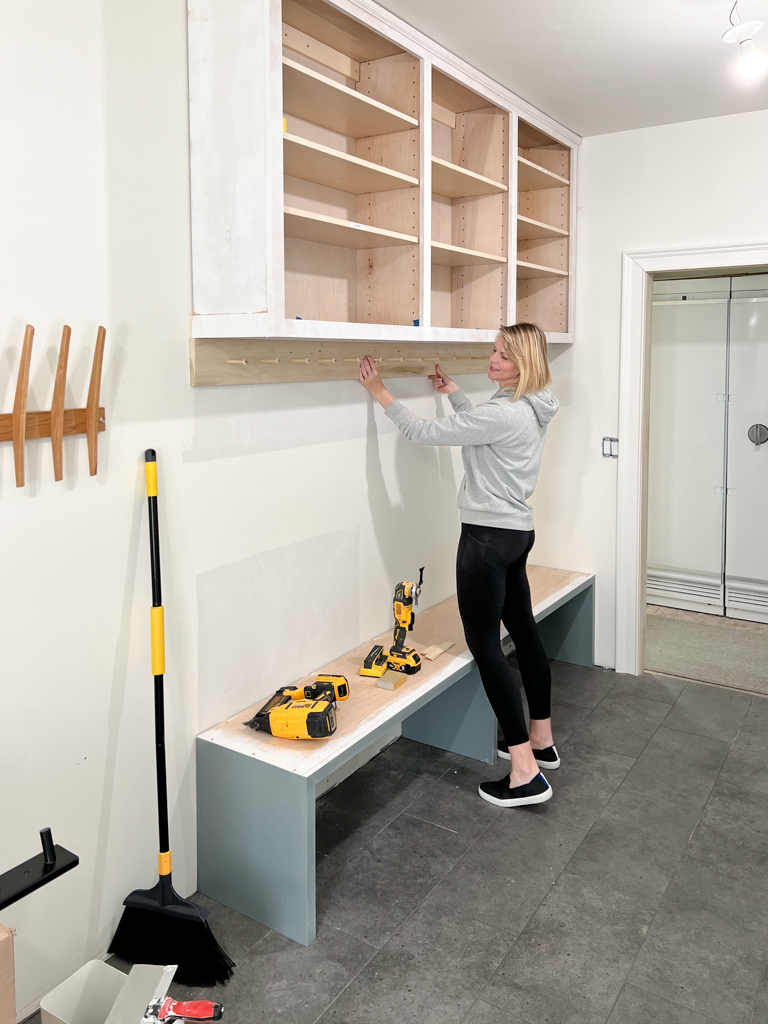
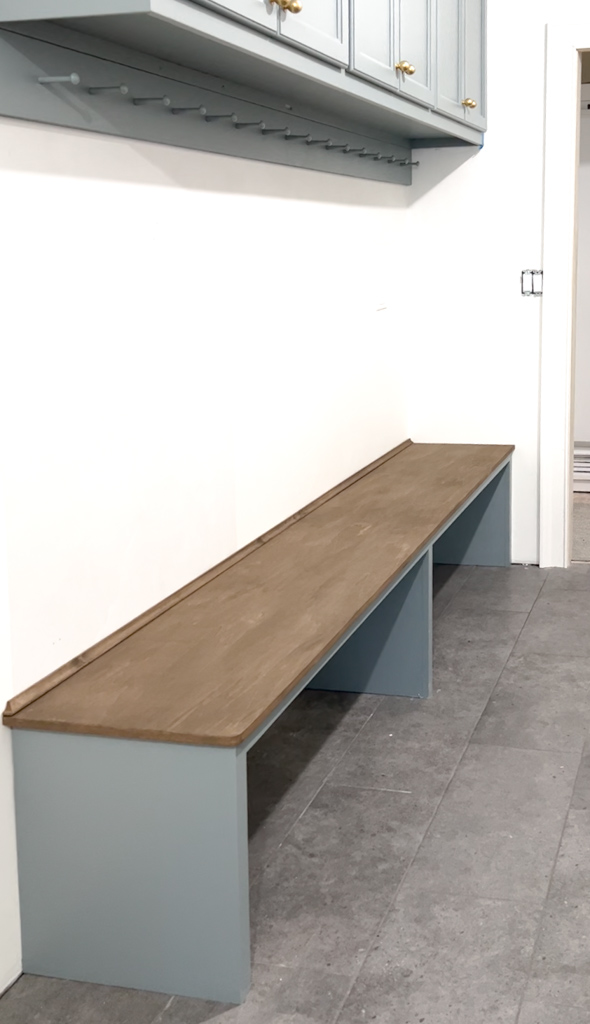
Here she is installed! I’m so happy with this instant solution to bags and jackets all over the floor!

WIFE, MAMA, DESIGNER, RENOVATOR, & PASSIONATE DIY EDUCATOR
I'm Jennifer Gizzi.
Let's create our dream homes together.
Navigate
home
about
blog
courses
shop
Social
Youtube
Legal
Terms & Conditions
Privacy Policy
© 2021 Making Pretty Spaces