Hey There!
Thanks for stopping by the MPS Blog. Here you'll find all the nitty gritty, behind-the-scenes details of the projects you see on my Instagram. Grab a cup of coffee and take a look around. Happy DIYing!
I'm Jennifer Gizzi.
Browse by Category
design
sourcing
diy TutorialS
moodboards
SHOP OUR HOUSE
gift guides
Search the Blog
How To Order Custom Curtains
September 19, 2023
Introduction
If you’re looking to elevate your home, custom window treatments are a great place to start. You might associate custom with being pricey and complicated, but I recently found a brand that offers quality window treatments for every budget. It can seem overwhelming when you look at all of the options and ordering details, so I wanted to break things down for you and walk you through all of the important stuff: header styles, how to measure, and what additional options you might want to include.
First Things First: Order a Sample
Before placing your order, it’s important to start with physical samples. TwoPages offers five free samples that you can order from their website to get a better idea of the fabric and color. I would recommend ordering the booklets (all under $5) to give you a good idea of the different colors available. I always like to order a physical sample of any fabric for long-term investment pieces – this ensures you get exactly what you envision. Screens can always be a little tricky, so if in doubt, order a sample!
Getting a sample will help nail down color, fabric texture, and weight. Keep in mind that different fabrics may hang differently. Getting that exact fabric in hand will help you make a more confident and informed decision. Here is the link to order TwoPages curtain swatches.
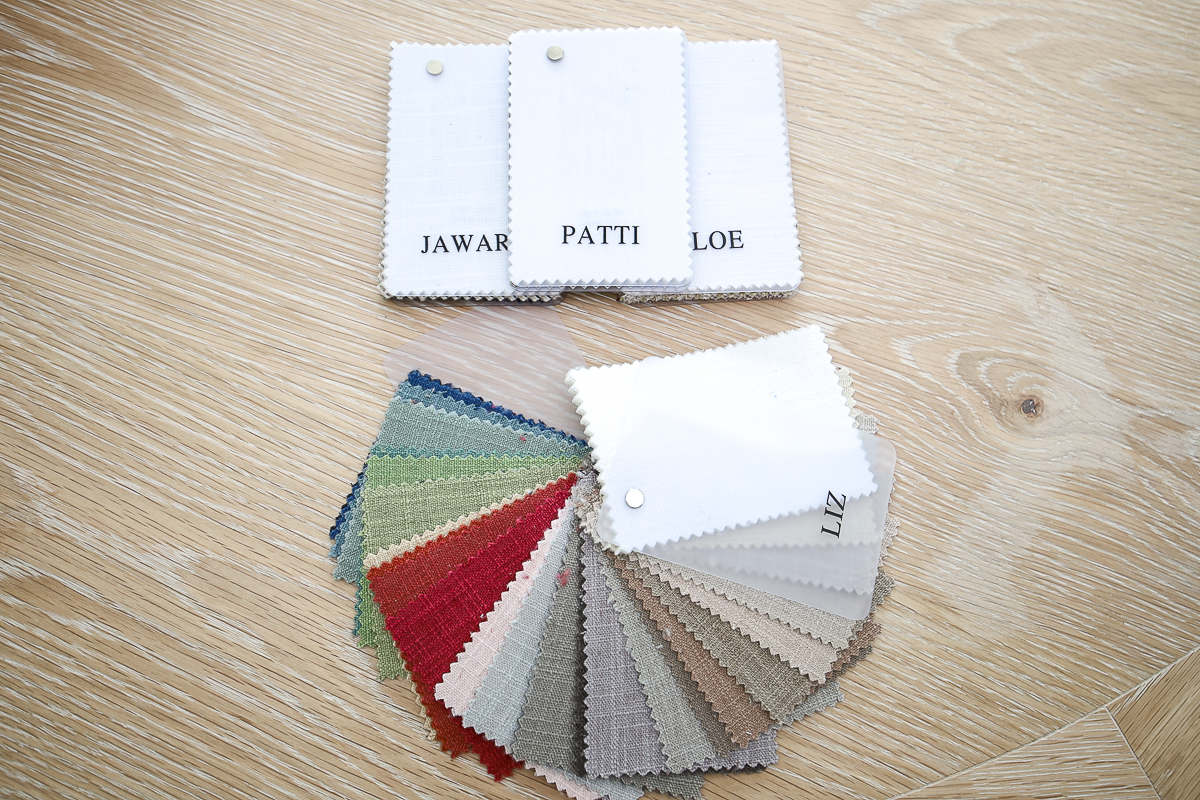
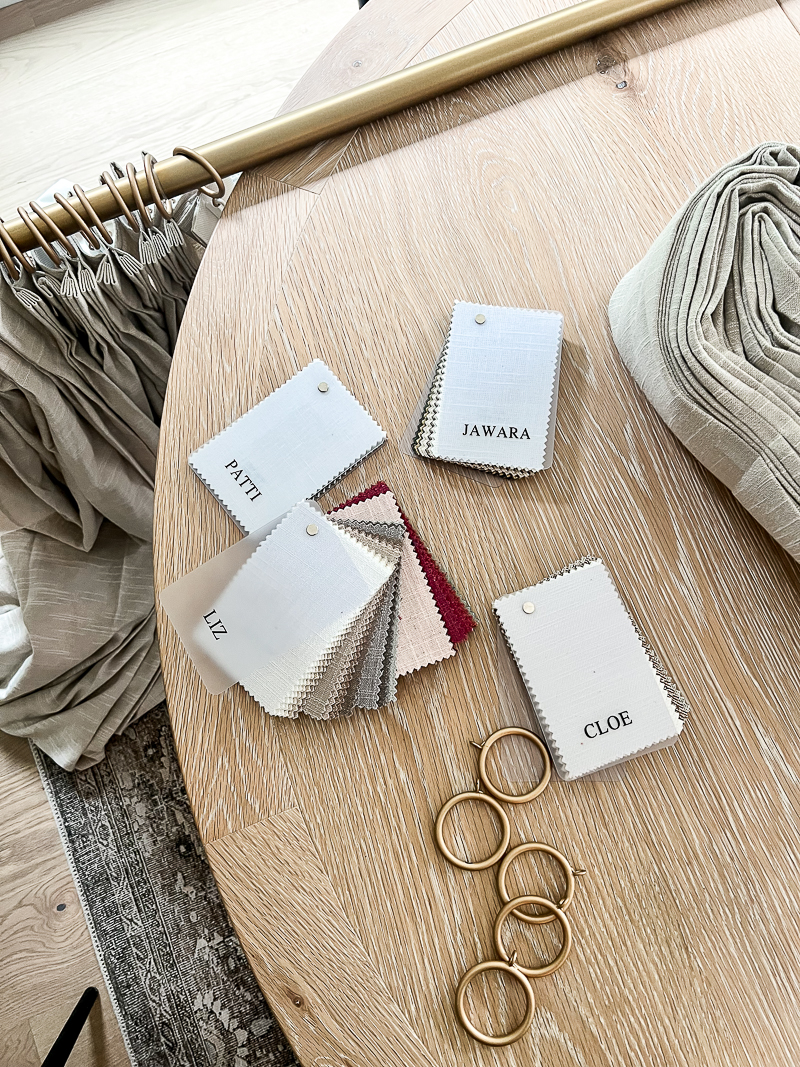
Fabric sample booklets come with up to 40 swatches. If you have several rooms to decorate, having a booklet is well worth the small investment.
Choosing a Header Style
The header style of your curtains will determine their overall look and feel. There are many options for headers, including various pleated, soft top, and grommet styles . If you’re looking for a more traditional and formal look, I recommend going with a triple pleat or pinch pleat.

Determining the Height
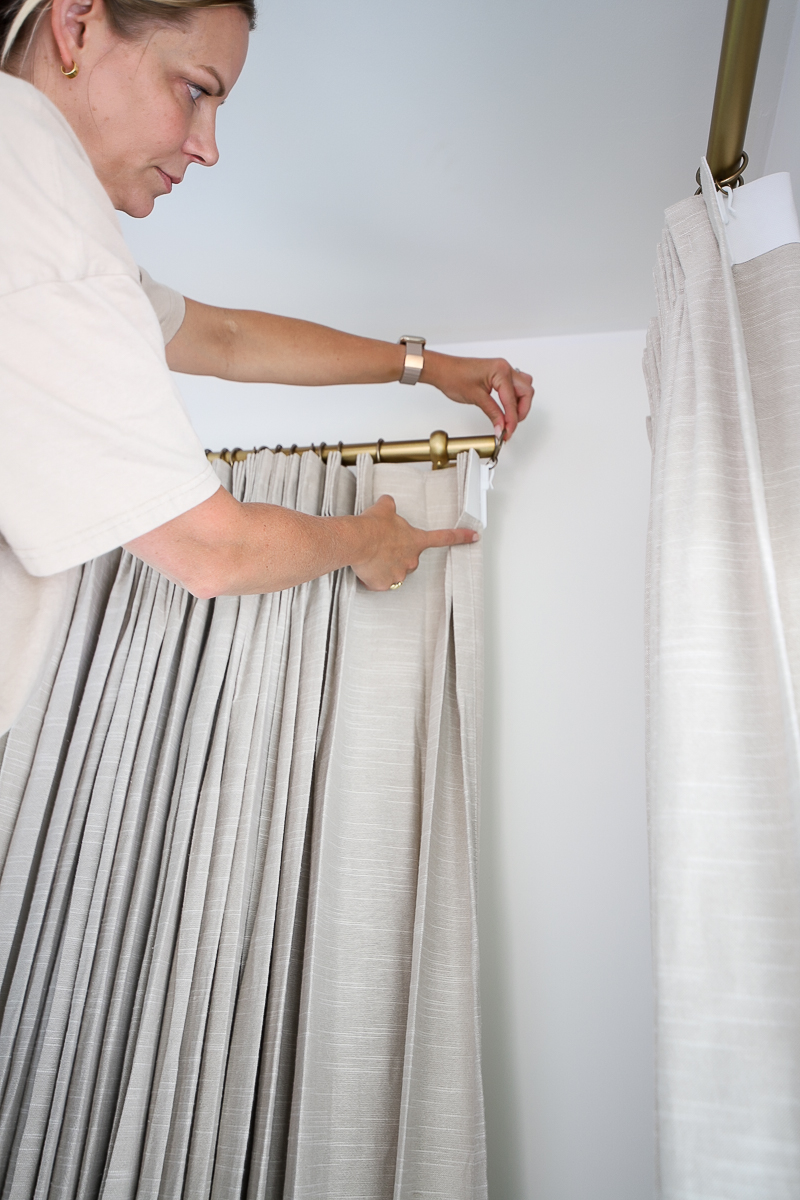
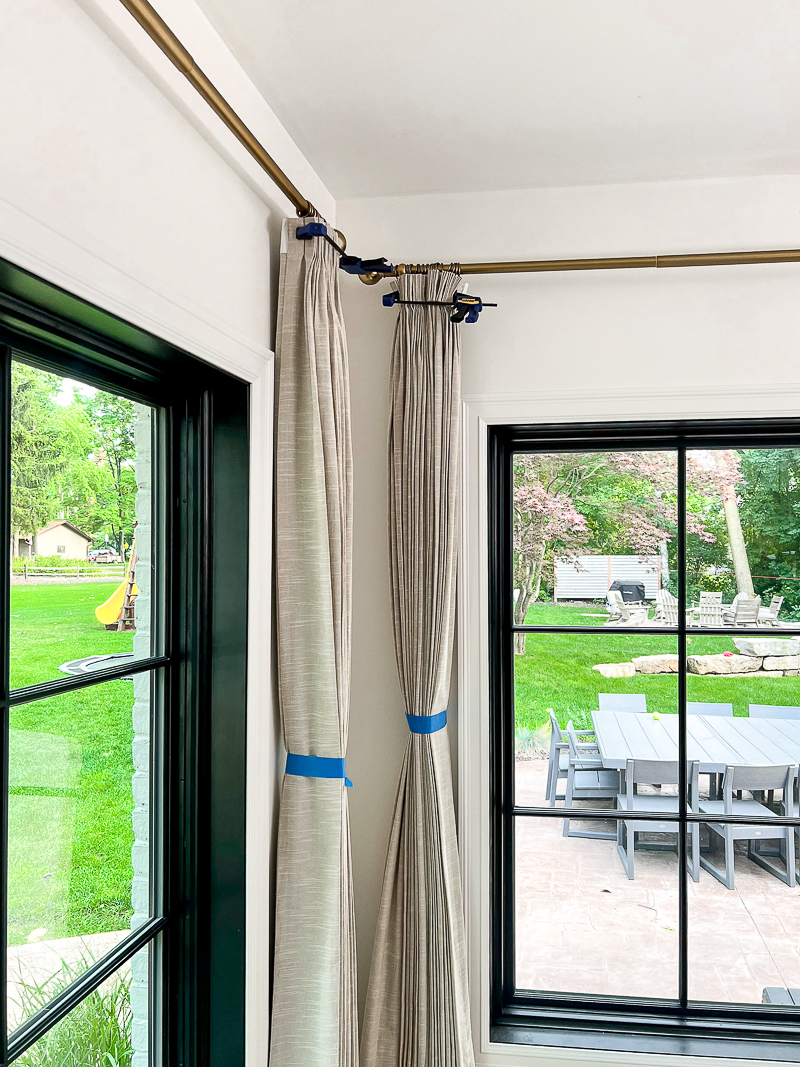
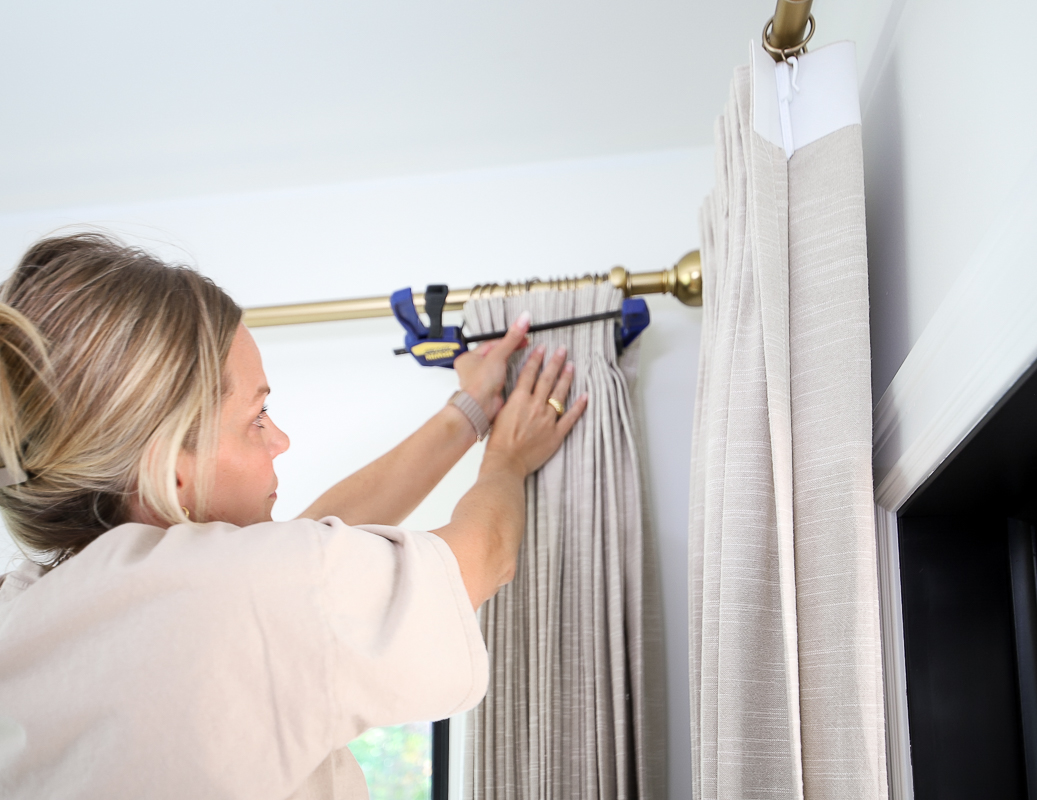
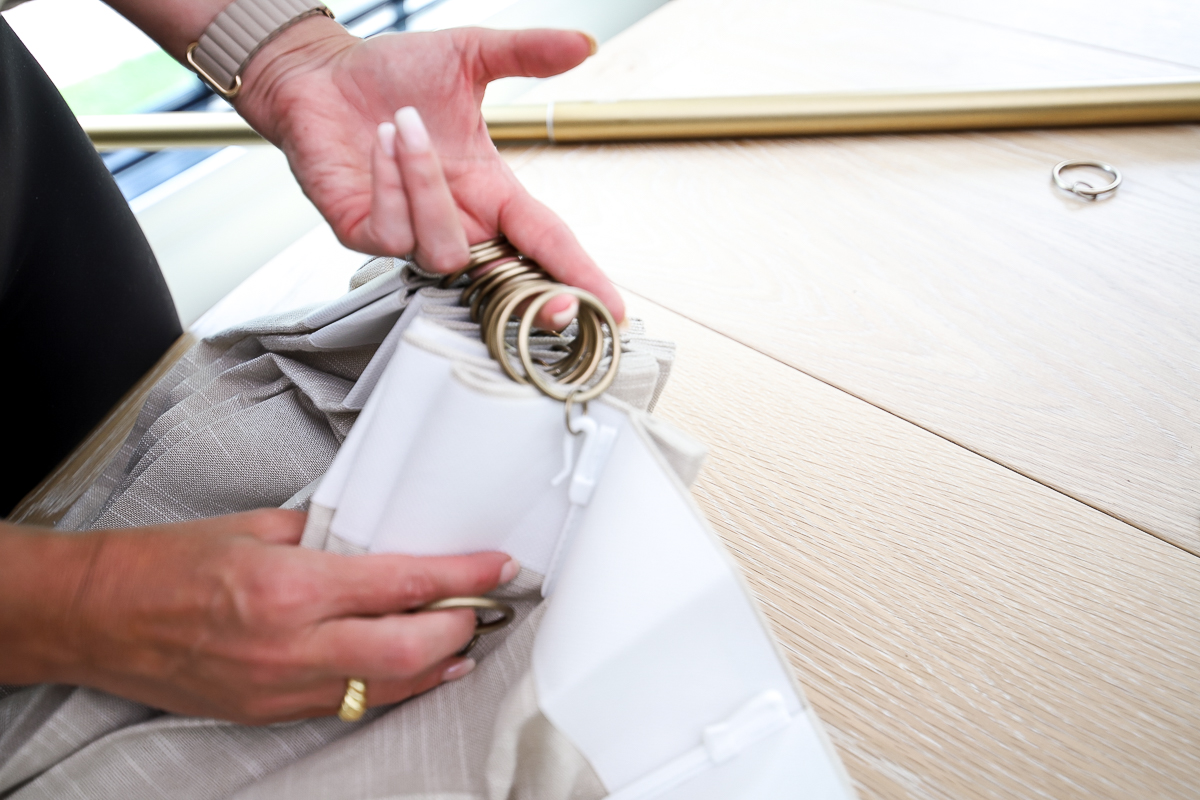
When determining the height of your curtains, it’s important to consider the room’s overall look. I always recommend hanging them higher and wider than the casing but not overly dramatic to the ceiling. Each panel comes with adjustable hooks, which can help you dial in the perfect height.
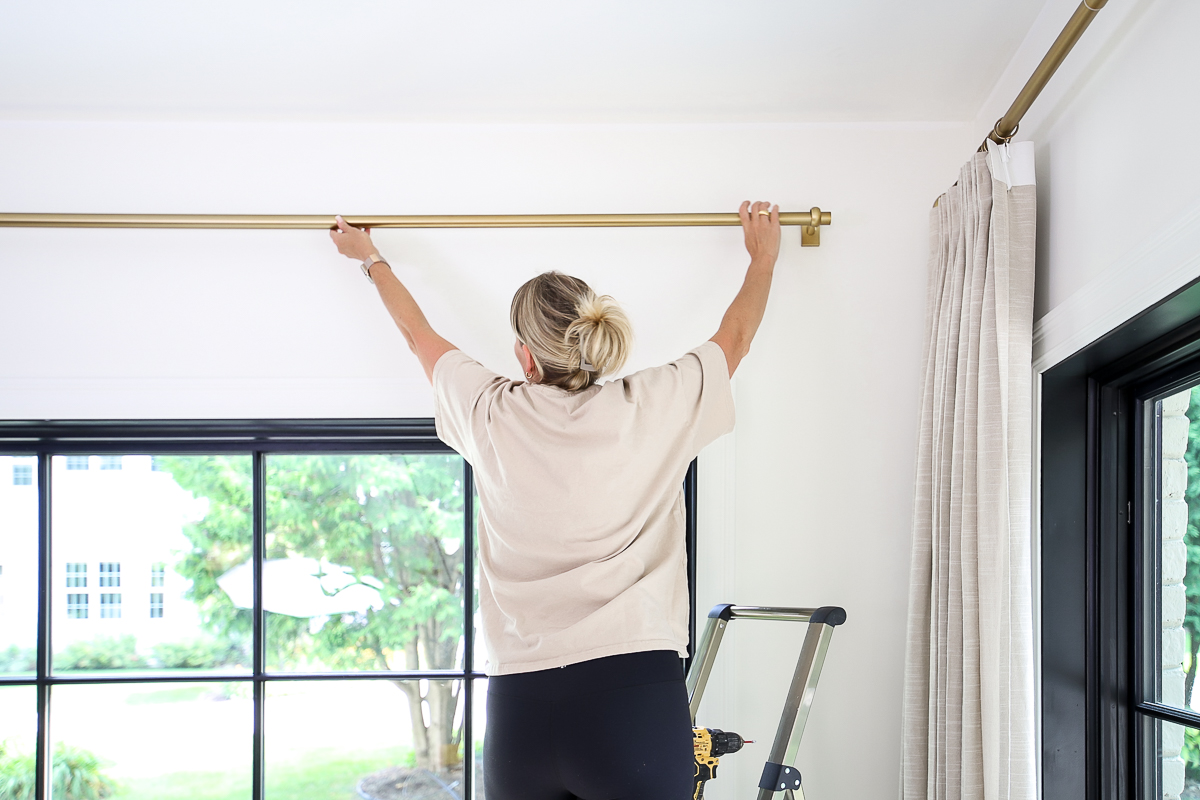

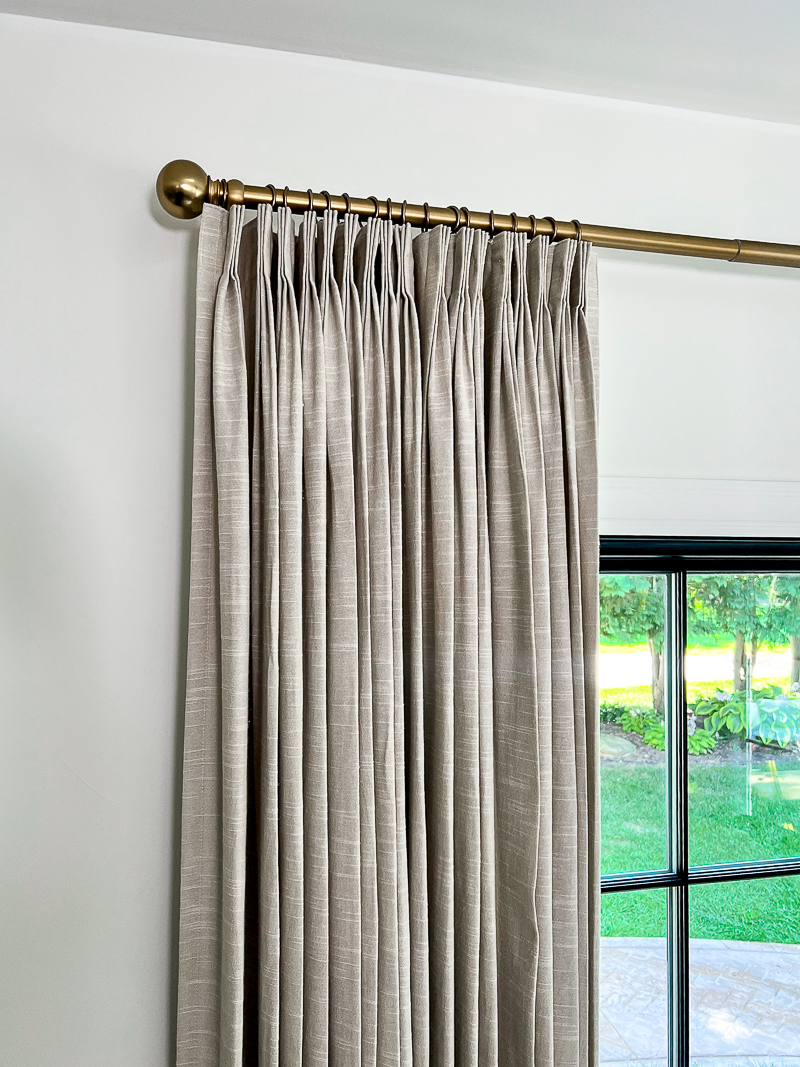
See above: depending on the ceiling height and windows,
I like to split the difference between the top of the casing
and the ceiling.

TwoPages Drapery Measurement Finder
TwoPages offers an online drapery measurement finder. Click here to access it. It is helpful to walk you through the entire process.
Step 1:
Decide what style of drape hanging header you would like to use (see illustration above). You can choose from:
- Soft top: No pleats on top. Suitable for 4-in-1, hook belt, flat hook, tab top, rod pocket, and back tab. Consider fullness for width.
- Pleated: For a structured modern look. Suitable for pinch pleat, tailor pleat, goblet, inverted box pleat, tape pleat, triple pleat, triple fold, cylindrical goblet.
- Grommets: For a structured modern look.
Step 2:
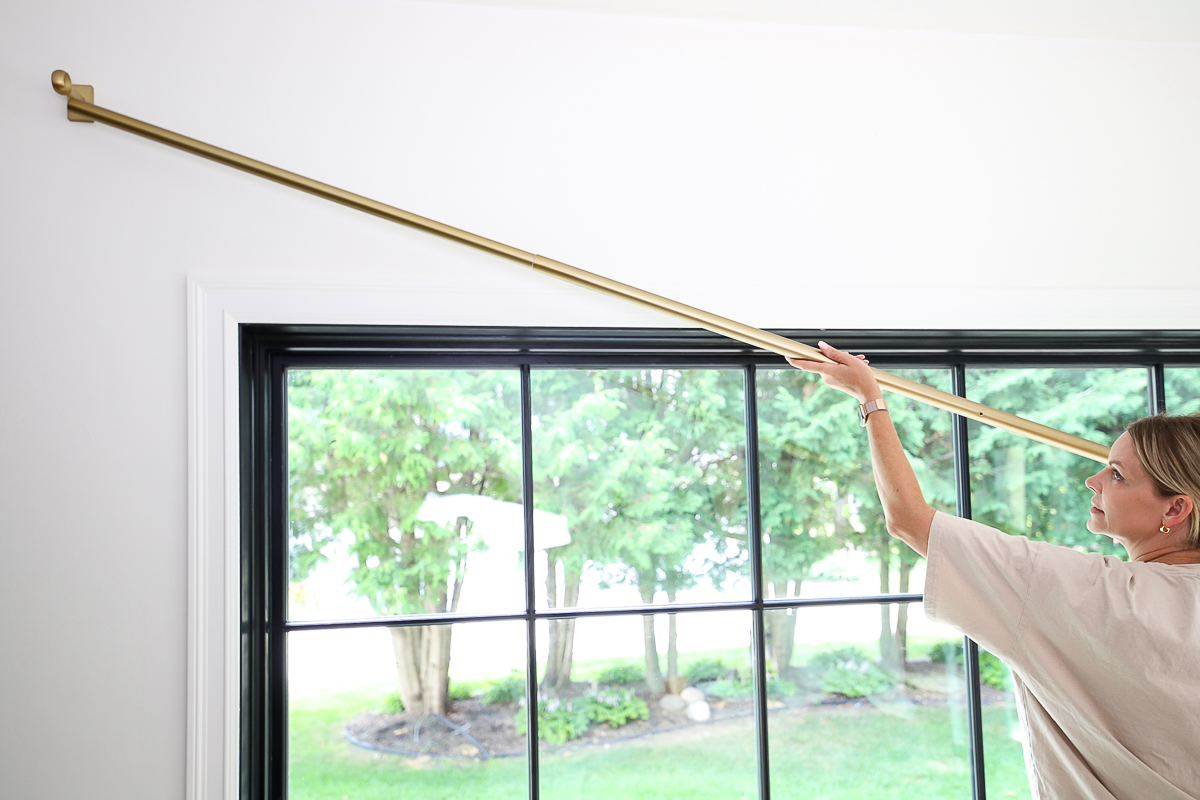
Do you already have the rod installed? If you already have a rod installed and don’t want to move it, you can get a very precise measurement. If you’re starting from scratch, you have some flexibility and can always adjust your rod placement based on the measuring tips you learn here.
Step 3:
If yes, what is the length of your rod? Measure the height to decide the drapery length. Do you want single or split panels? What kind of finished length would you like for your drapes? I prefer most of my drapes to have a slight break above the floor (see middle example below). This allows the pleats to fall beautifully but avoids getting them dirty on the floor.

Once you’ve determined how you want your curtains to hang, you can easily calculate the height.
If you haven’t installed your curtain rod, you can get an accurate measurement and then fine-tune the exact placement once you receive your drapes.
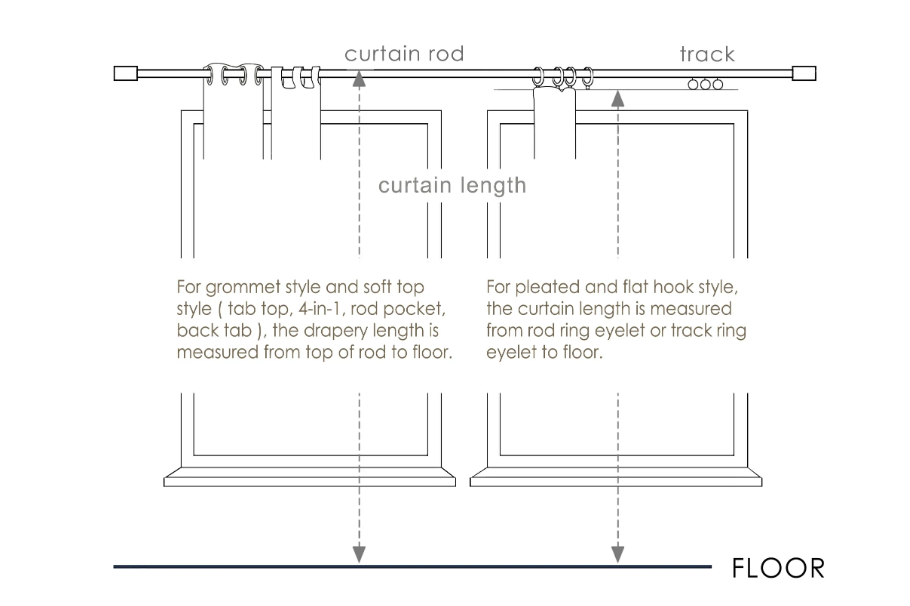
For soft top style, the drapery length is measured from the top of the rod to the floor.
For pleated and flat hook styles, the curtain length is measured from the rod ring eyelet or track ring eyelet to the floor.
For grommet style, the length is measured from the top of the rod to the floor.
Calculating the Width
Next up, you will want to determine how wide you need your curtains to be. Calculating the width of your curtains can seem daunting, but it’s crucial to get it just right to make them look amazing. This will start with determining how far you want your curtain rod to extend past your window. I would recommend this to be at least 4” – more if space allows, depending on the size of the window. The larger the window, the wider this can be and still feel proportional.
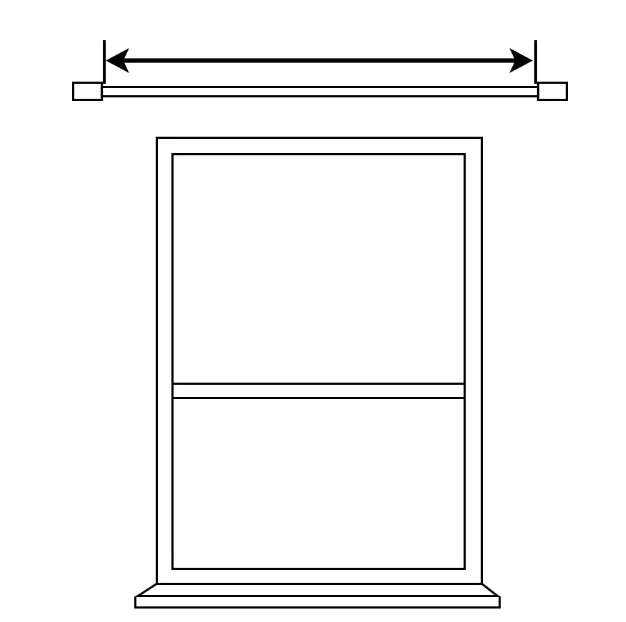
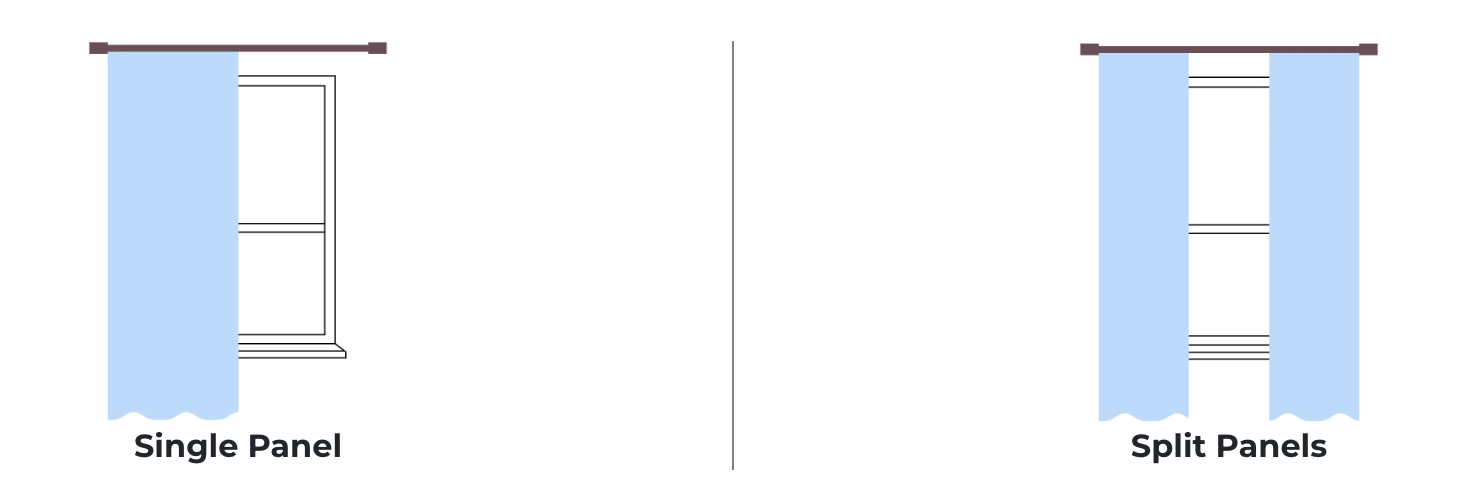
Once you have your overall width, you need to decide if you will be ordering a single panel or split panels. For split panels, you would take the overall width calculated above and divide it by two.
One other term you need to understand is “stackback.” This is the amount of width required to be added to the curtain panel in order for it to drape beautifully. If you choose a pinch pleat or tailor pleat, you need to add 20% to the width of your window or the part you’d like covered. If you choose a triple pleat or tailor pleat, add 30% to the overall width. When your curtains are closed, you want to ensure that you still have that “pleated look” – which is accomplished by adding this extra width up front.
Deciding on Lining
The decision to line your curtains will depend on how much privacy and light filtering you want in your space. TwoPages offers unlined curtains, which allow light to filter through, and privacy or blackout lining, recommended for bedrooms or rooms facing the sun.
I chose unlined in my dining room as I wanted the light to shine through. This will also give the fabric look from outside of the room.
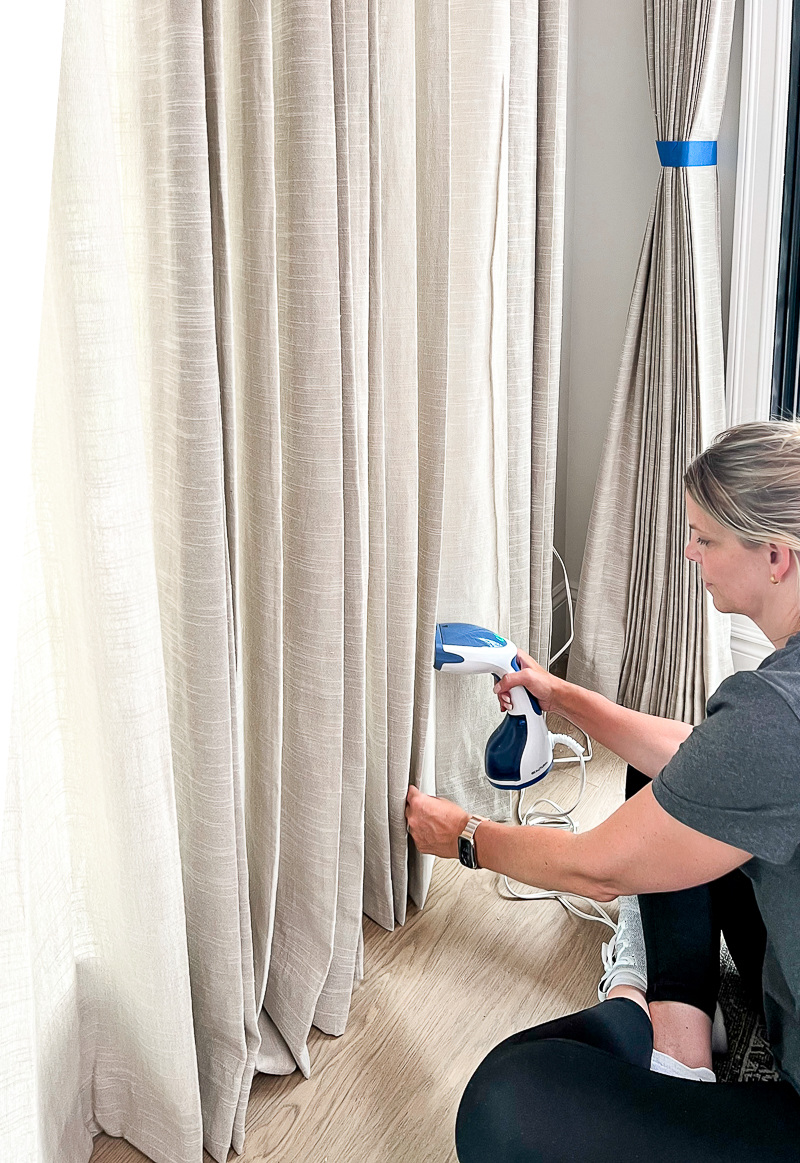
Considering Memory Shaping
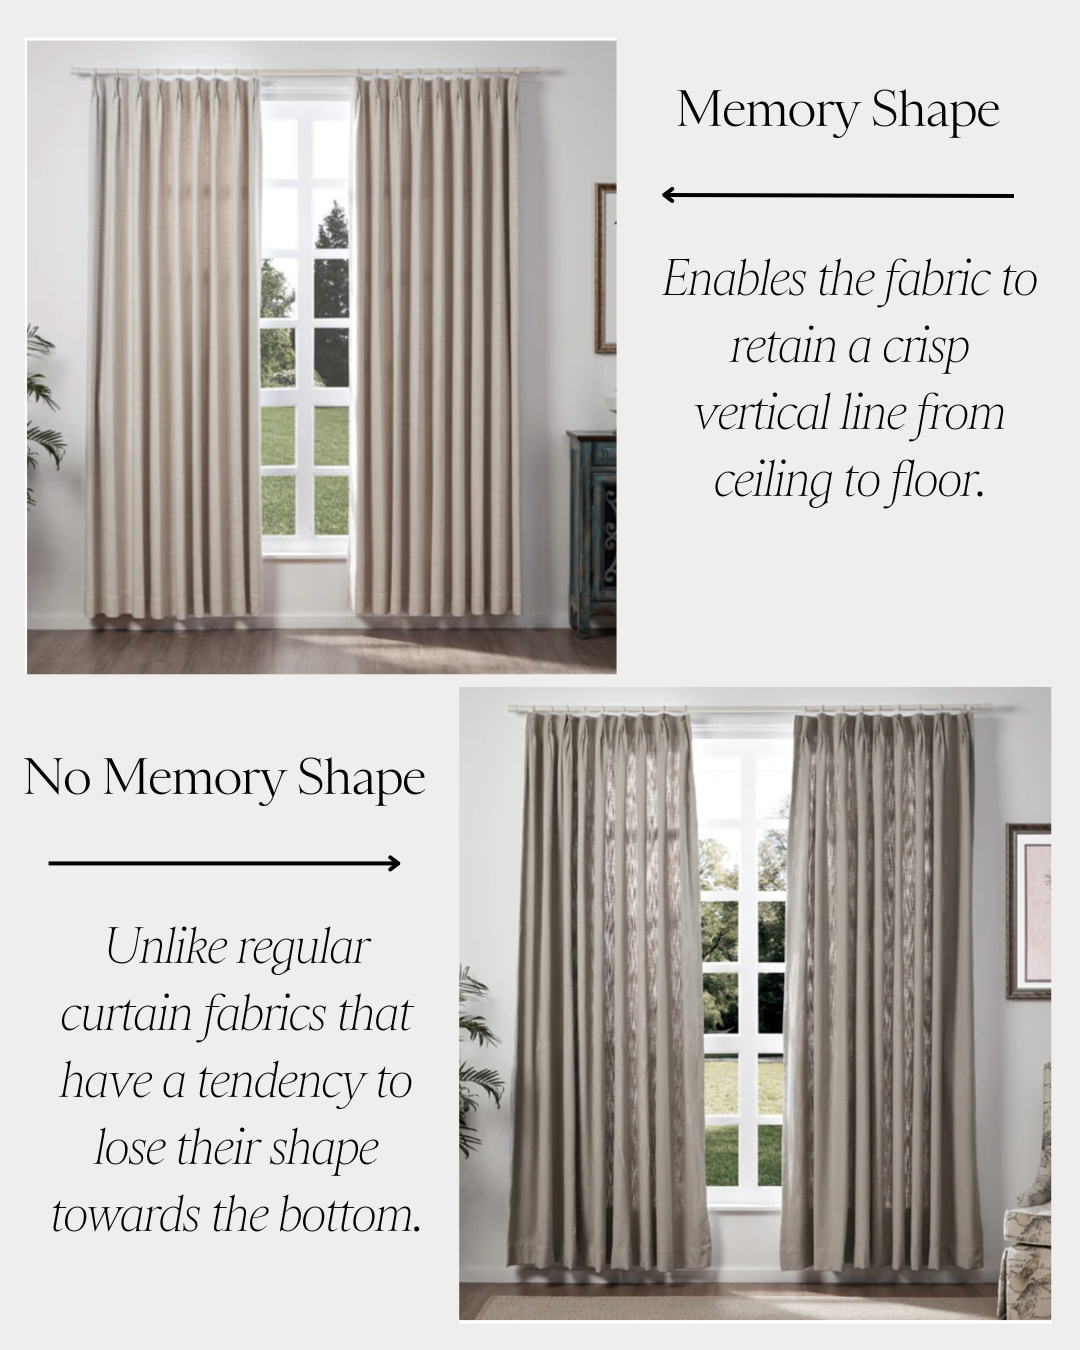
Memory shaping is another option that TwoPages offers. This option helps the drape of your curtains and is especially important if you can see the full curtain, as there isn’t any furniture in front of it like a bed or sofa.
Ordering
You can order TwoPages curtains directly from their website, which offers more options.
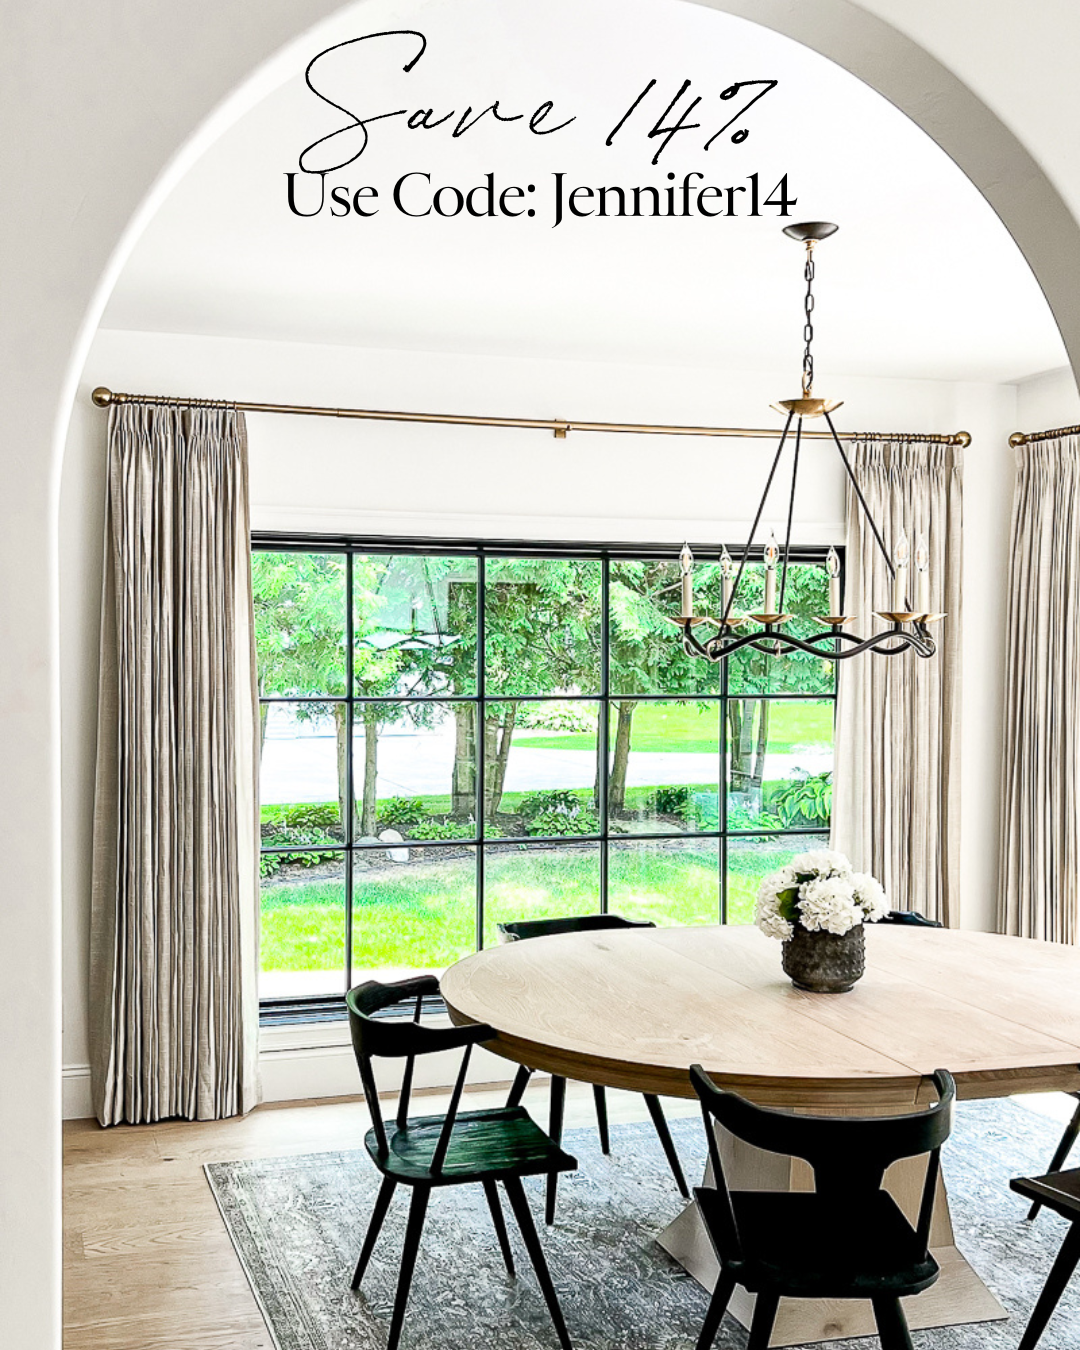
https://twopagescurtains.com/discount/Jennifer14 (Valid 9.22-9.29)
WIFE, MAMA, DESIGNER, RENOVATOR, & PASSIONATE DIY EDUCATOR
I'm Jennifer Gizzi.
Let's create our dream homes together.
Navigate
home
about
blog
courses
shop
Social
Youtube
Legal
Terms & Conditions
Privacy Policy
© 2021 Making Pretty Spaces