
Tool Time – Everything you need to tackle your tiling job
If you’re someone who likes to be prepared… this post is for you.
“It’s all about the tools baby.” – exact quote I told my husband after coming back from Home Depot for what seemed like the 58th time since starting this tiling project. As much as I love shiny new things, I don’t however love the idea of buying new tools that I will only use once. I usually don’t mind borrowing, renting or down right improvising for my DIY projects if I feel like I can get away with it. If you are on a budget, this strategy can work out great. And sometimes, it just doesn’t work. I have made more than a few mistakes during this bathroom project and most (okay all) of them could have been prevented with having the right tools from the start and doing a little more research before laying that first tile.
I took a lot of notes during this process. If you are a beginner in the tiling world, then I hope this post will save you some time and frustration! Get out a list, look through what you have and get all your tools lined up before starting your project to save yourself some time, money, and sanity!
I am including everything necessary (including sources) to help your next tiling project go effortlessly!
1. A GOOD TILING SAW
- This is not the place to improvise. I started this project with a very basic tiling saw that I borrowed. This would have been fine if I would have only had straight cuts and minimal square footage. My first day of tiling lasted 4 hours but looked like approximately 40minutes of work on the walls. I knew that if I wanted to save my sanity, I would need an upgrade. I headed to the neighborhood Depot at 7am the next morning. This is the tiling saw I ended up with. I think for the price and how well it worked for a fairly large project, it was a good purchase and saved me “days” of work – not to mention the cuts are more precise and the overall project looks great. Note: part of this is to make sure you have a sharp blade. If you have a good tiling saw, but an old blade, you’re not doing yourself any favors.
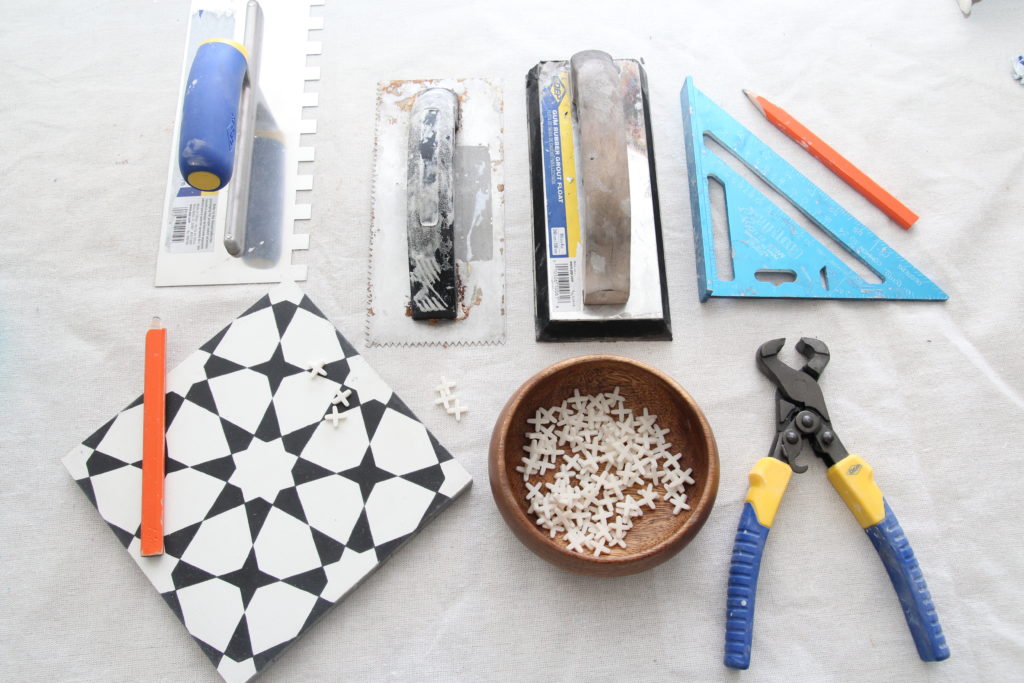
2. THE BASICS (must haves)
- Several sponges – great for cleaning up thin-set after tiling each few pieces – you can always get it off later, but it is much easier to clean as you go.
- Trowel – size depends on what size tile you are installing. I have used this $4 trowel for several smaller tiling projects.
- Measuring Tape – I like to have 2 (one at tiling location and one by tiling saw)
- Several sharp pencils or marking pens that won’t wash off easily with water from wet saw
- Miter box and aluminum hacksaw – only if you are using schluter or any type of metal trim that needs cutting
- Grout float – I like this rubber one.
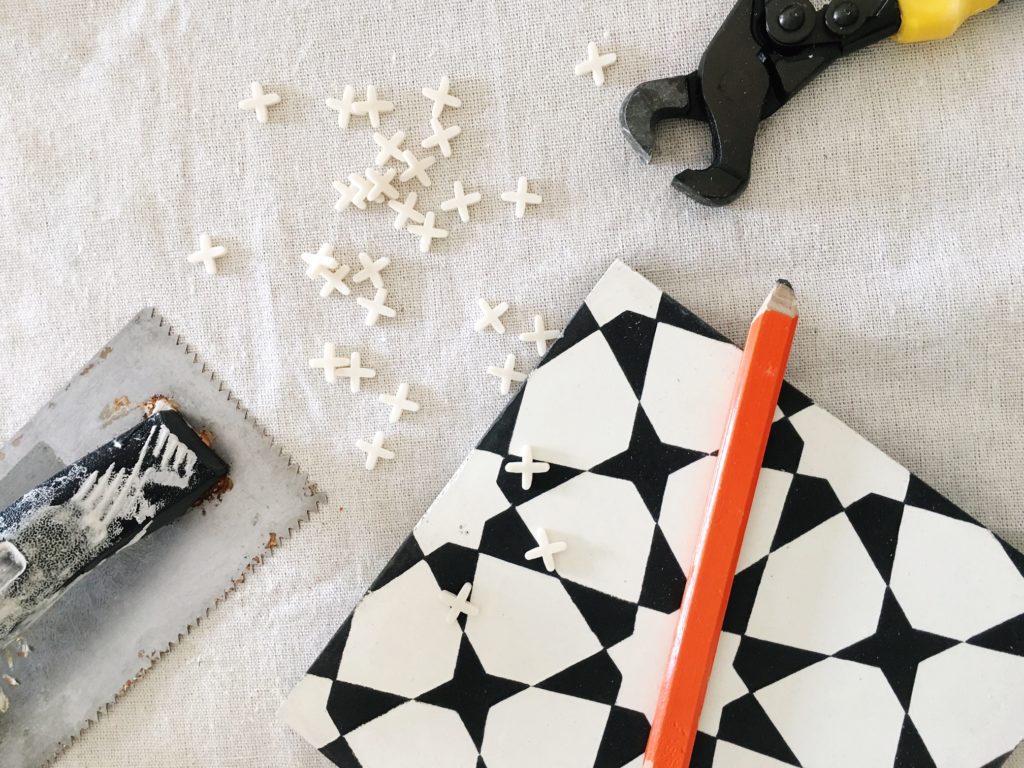
- Spacers – this will depend on your preferred grout line, but I like these for multiple reasons.
- Builders Square – great for marking straight lines on tile and leveling out tile after placement.
- Tile snips – only if you have to cut penny tile
- Level – I used both a small laser level and a larger level multiple times
- Sandpaper – 100 grit worked well to smooth rough edges and I finished off with a smaller grit for some areas.
3. EXTRAS (but valuable)
- Backerboard scoring knife – if you are using durock or cement board this tool is best to cut it with.
- Rip ceramic tile cutter – $20 manual cutter great for cutting tiles in half easily and precisely. It does not accomplish all cuts but works for simple cuts and would be great to have if you have 2 people working.
- This tool – LOVED this tool for for safely scraping dry mortar off of tile
- Knee pads – helpful for any flooring installation
- Specialty Drill Bits – There are several cuts that you can’t do on a typical tiling saw. These mainly include cutting around plumbing fixtures, but also things like installing towel hooks or toilet paper holders require special drill bits. I ended up using this kit to drill larger holes for plumbing fixtures and it worked like a charm. The kit comes with the stickers to hold the template in place which made this very easy to drill a perfectly round hole without having the drill skip around on you. I used a diamond blade on my jigsaw to accomplish some uneven cuts and larger circular cuts. Lastly, a simple diamond drill bit is pretty invaluable and will work effortlessly to hang any accessories like towel bars or hooks. Note: they have complete kits on Amazon that are more affordable if you order ahead of time – like this one.
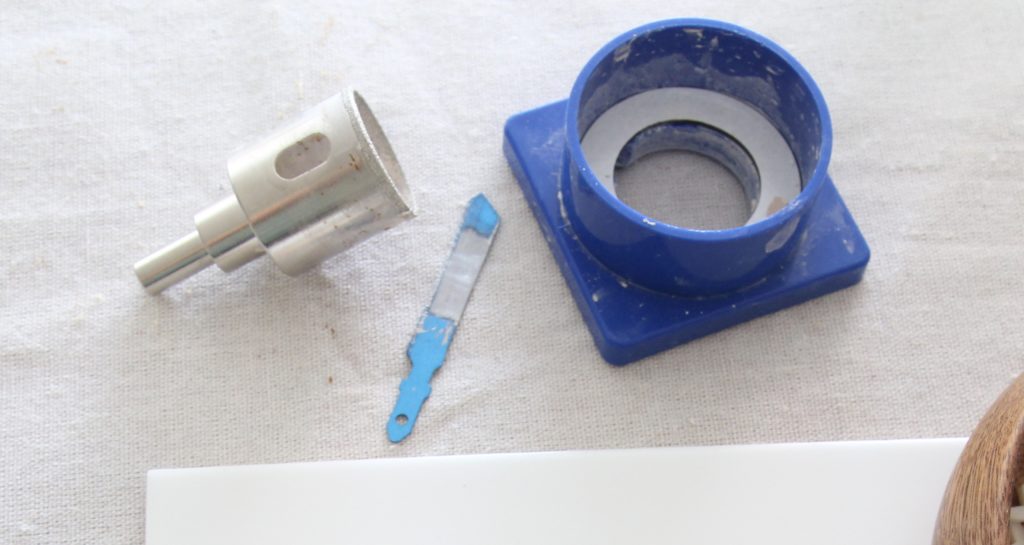
Diamond Drill Bit Kit & Jigsaw Blade
Materials
Tile – I purchased mine from South Cypress. Some other great sources are Wayfair, Home Depot, Lowe’s, Amazon, or your local flooring store.
Tiling Adhesive – thinset, mortar, etc… you can choose the pre-mixed or
Cleaner
Trim Pieces – I know it’s easy to just pick the tile that you think looks pretty, but it is important to think through how you will do all edges and corners ahead of time. The tile that I chose did not have corner bullnose pieces so I had to get creative and use other trim techniques. I made it work and am very happy with my tile, but this is a personal preference on how you want to finish off edges and corners.
Schlüter Trim – Metal trim to finish off edges or corners.
Grout – unsanded or sanded, depending on tile and grout lines
Caulk – use for all corners (not grout) as it is flexible and will not crack. You can get most caulk in colors to match your grout.
I did not include the extra materials for more complex tiling jobs such as cement floor tiles. We will be finishing up our concrete tile installation in the next few days, so I will write a separate post to cover that process! Hopefully this is a good place for you guys to get started with any tiling project… the how to’s and some tutorials will be coming up as soon as I get this bathroom finished up!
Happy DIYing…
