Hey There!
Thanks for stopping by the MPS Blog. Here you'll find all the nitty gritty, behind-the-scenes details of the projects you see on my Instagram. Grab a cup of coffee and take a look around. Happy DIYing!
I'm Jennifer Gizzi.
Browse by Category
design
sourcing
diy TutorialS
moodboards
SHOP OUR HOUSE
gift guides
Search the Blog
My Dream Closet & IKEA PAX: Part 1
September 27, 2018
All supplies featured in this post are in my Amazon Store!!
My current mission is for everything to have a home and for every room to function as well as the space will possibly allow. I think this starts with the storage systems that are in place in each room. I am slowly but surely maximizing the potential of each space in our home… and our master closet felt like a good place to start. We wake up each morning and end each day in this space so I feel it has the most potential to transform our day from disorganized chaos to tackling the day in organized bliss. Dramatic? Maybe a little, but I do think it’s an underrated area of our home that can have a huge impact!
We started with what you see below. Our closet is fairly large and measures a little over 8 feet wide by 10 feet deep with oak (or pine?) solid wood built ins. I threw it up on Facebook Marketplace and had a buyer in a day. They gave me $200 and came and removed everything. Win, WIN.
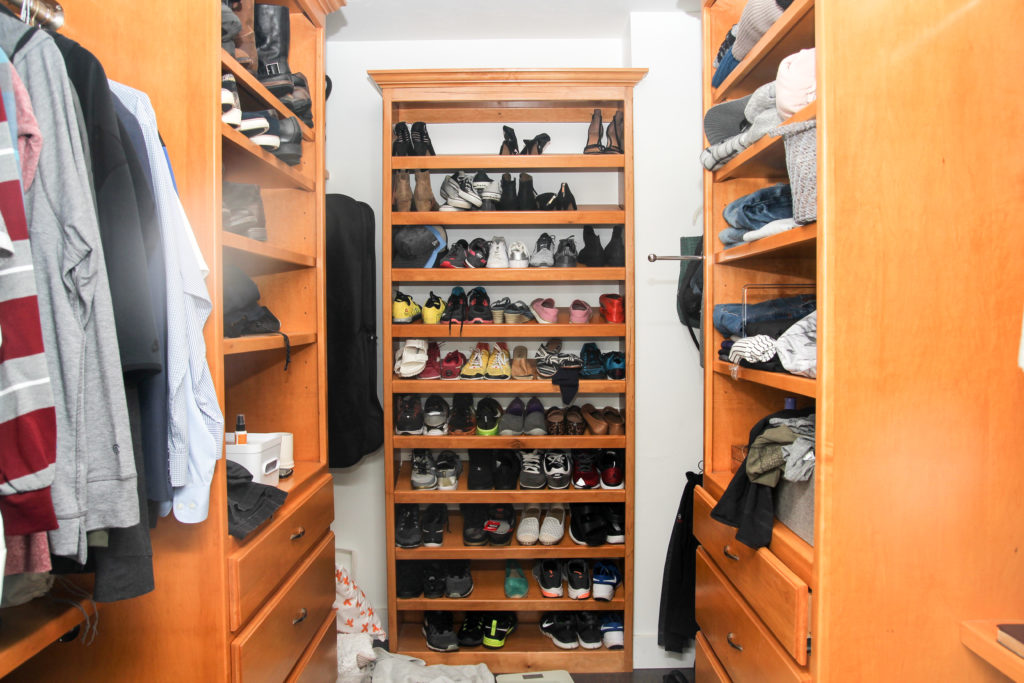
There are a few reasons I decided to change things up and they all revolve around function and beauty. I am a strong believer that if something is designed beautifully, you are more likely to take pride in it and naturally keep it clean and organized. I could have potentially made a big impact in this area by giving it a coat of paint and changing out hardware, but I was still left with the function issue. Our master bedroom is not large, so I knew I wanted to remove the need for a dresser in our bedroom.
I narrowed down my options to the elfa system from The Container Store and my tried and true Pax Wardrobe system from IKEA that I’ve installed in all of my kids bedrooms. By now, you know which option I went with so we can skip the anticipation! Cost was a big factor in my decision although TCS is having an Elfa sale right now and if I could have waited, it would have been comparable. More, but comparable.
Spoiler Alert: I DID purchase an Elfa closet system and am using it to create my very own office in our guest bedroom… I’m getting excited just thinking about it.
Back to the master closet:
These are the things I was looking for in our closet renovation:
- Drawers…. give me all the drawers.
- Divided tray to store jewelry, sunglasses, accessories. I have this in my daughters Pax Wardrobe and I absolutely love it.
- Accessory storage for him: ties, watches, etc.
- Beautiful color: bright and light… or dark and moody? Jury is still out on this… but I’m working on a few color palettes that inspire me and will make me want to keep this space neat and tidy.
- Wallpaper, maybe?
- Thoughtful and divided shoe space. We used to share one show rack, which wasn’t terrible, but I definitely wanted a clean break with the his and hers aspect of this closet.
- Seasonal storage: top shelf with all the bins and labels.
I got to work on the IKEA PAX planner and started designing separate his and hers wardrobes that would function for what we owned. Keep in mind, I had just gone through my closet and have downsized my wardrobe significantly. That’s always a work in progress but I’m getting there!
There are a lot of factors to consider when ordering and shopping for an IKEA closet so I plan to dedicate all those little tips to a separate post. However, it is worth to mention here that these components are HEAVY! I had to look up the weight limit for my minivan and decided that I would have to make 2 trips to IKEA to avoid a possible vehicle mishap from hauling 1,500 pounds of flat packed boxes. I picked up my husbands side of the closet first since he’s the one who has to suffer through all my crazy projects.
Our closet height is a little over 9′ so we went with the taller unit at 93″. I went to work assembling each unit separately. For reference, it takes about 30-45 minutes to assemble each unit. I highly suggest doing this with 2 people. I did most of it solo and it was… interesting.
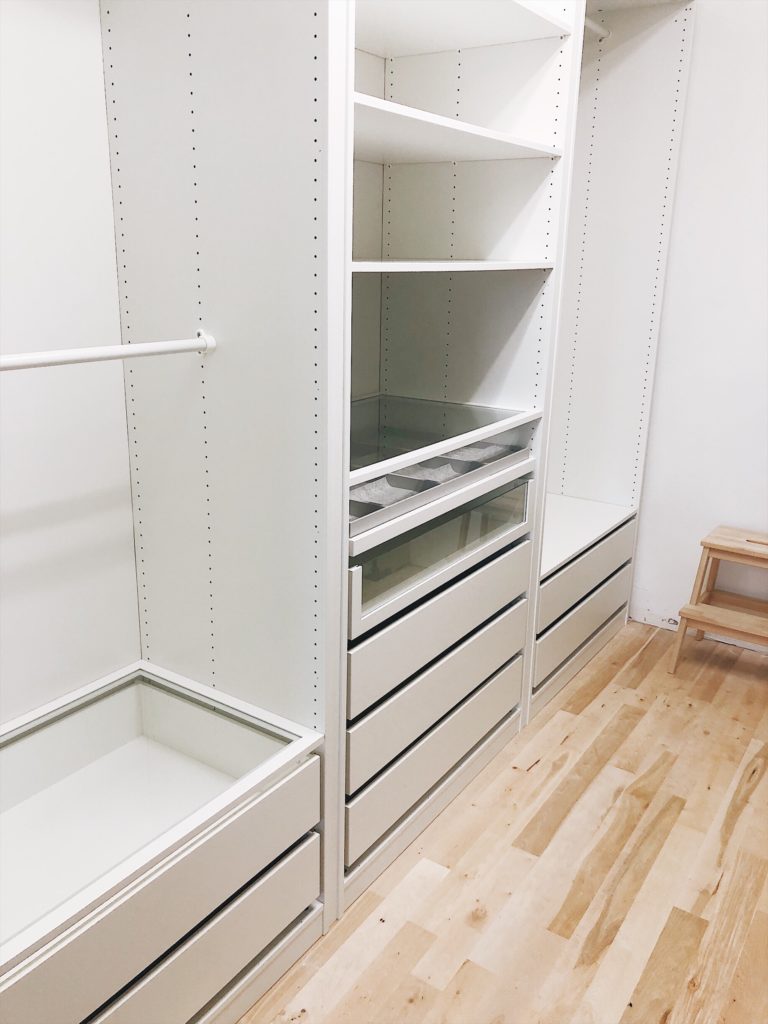
This is where I think you can elevate a basic unit to a more built in look. One option is to build a platform like I did with my girls wardrobe (picture below) so that you can install baseboard around the entire bottom. I opted not to do this in our closet so that I have extra room when I decide to build out extra storage on top.
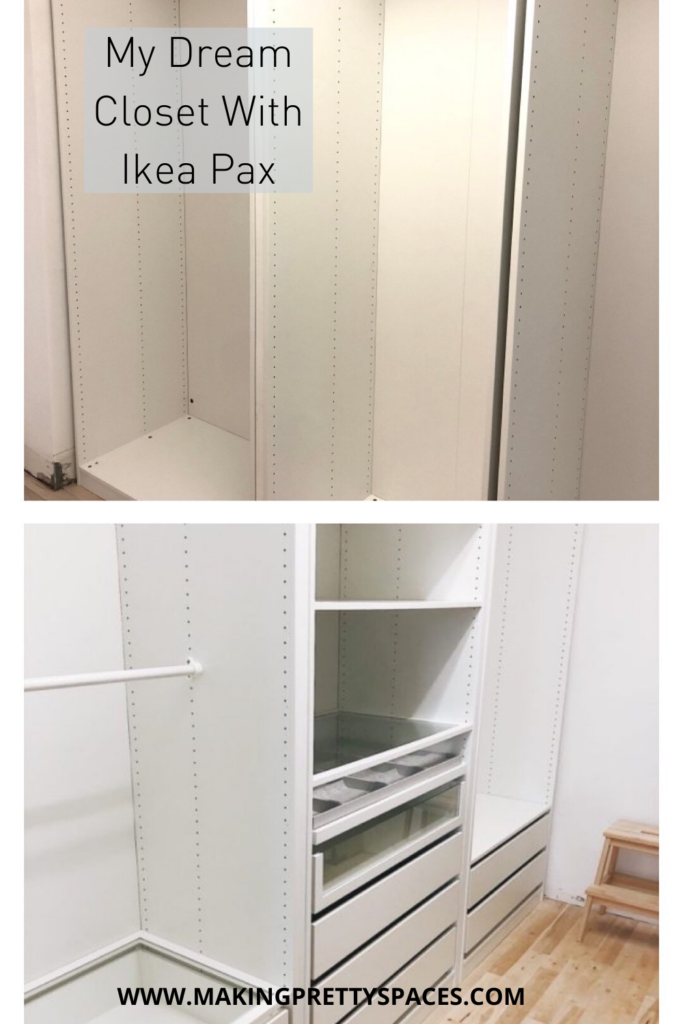
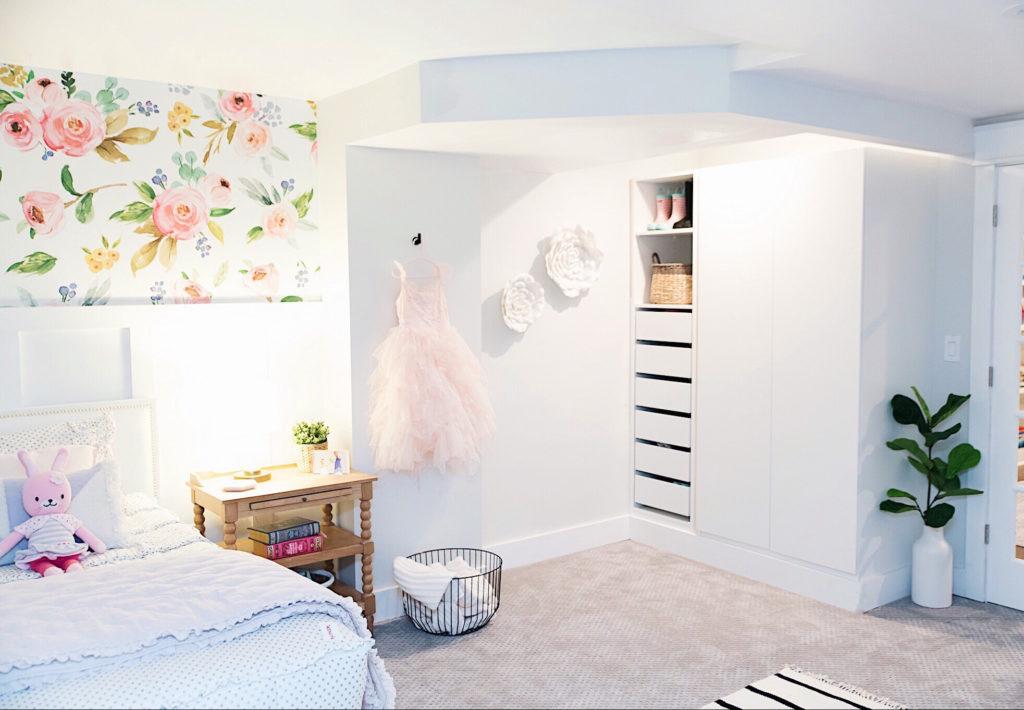
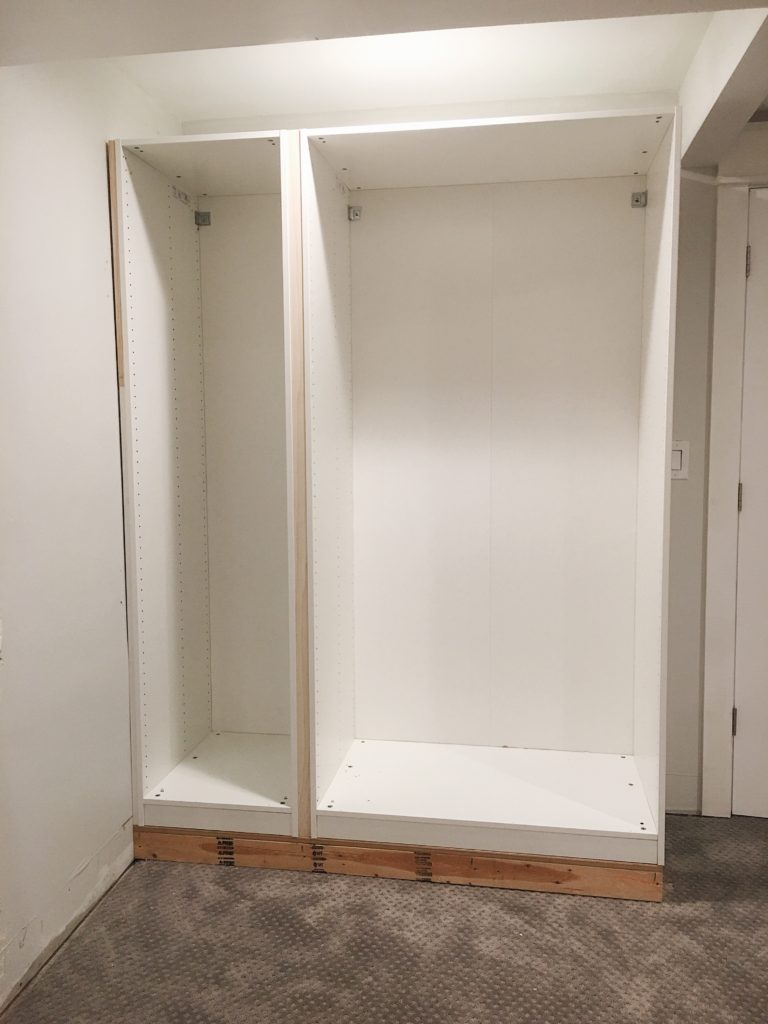
A second option that you can do if you have a little room to work with is to add small trim in between individual units for a truly custom look.
Processed with VSCO with a6 preset
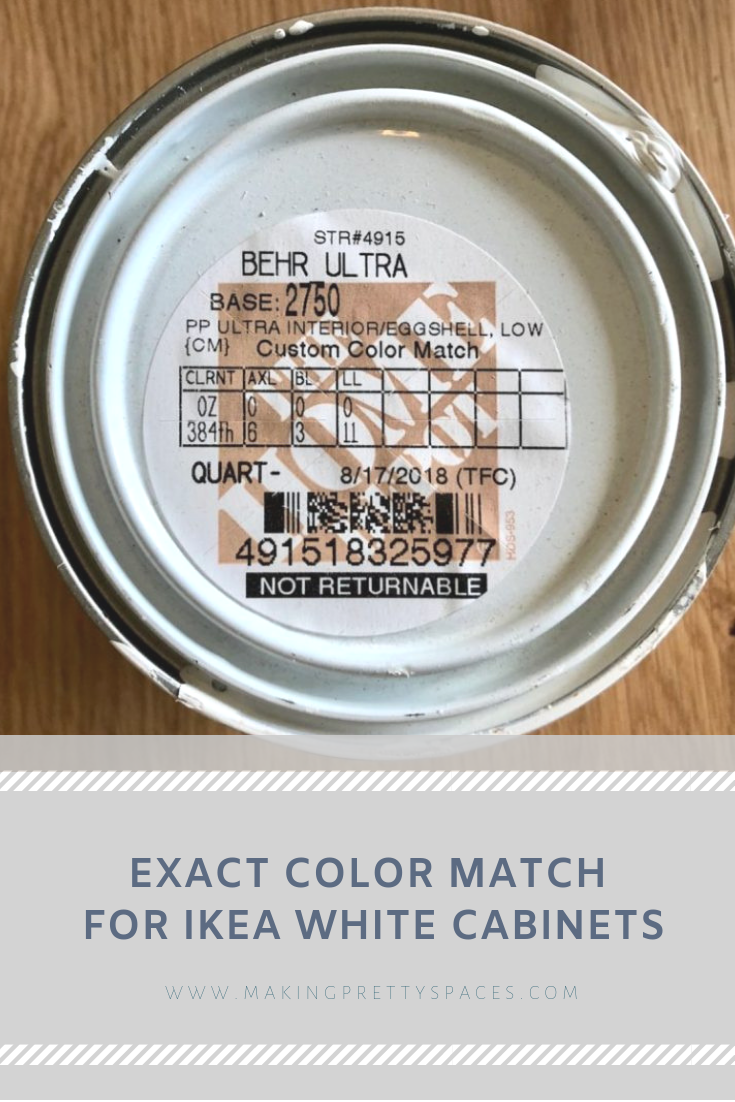
I measured the excess space that I had on the wall after the units were assembled and decided to add 1×2’s slightly recessed between each unit. Depending on the space you have, this could also be a 1×3 if you have more excess space. Before installing them, I took a shelf to Home Depot to have them color match so that I could paint all the trim the same color as the unit.
This is the formula that I ended up with and it came out perfect!
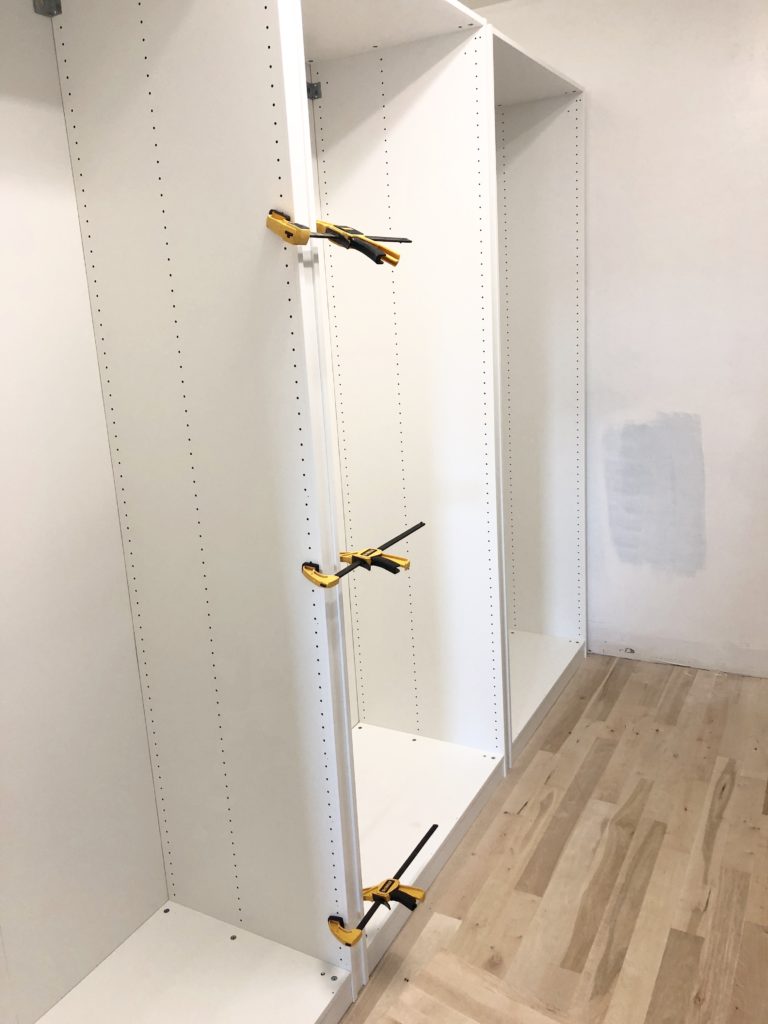
I cut each painted 1×2 to the exact height of the unit and attached them with a nail gun using clamps to hold them in place.
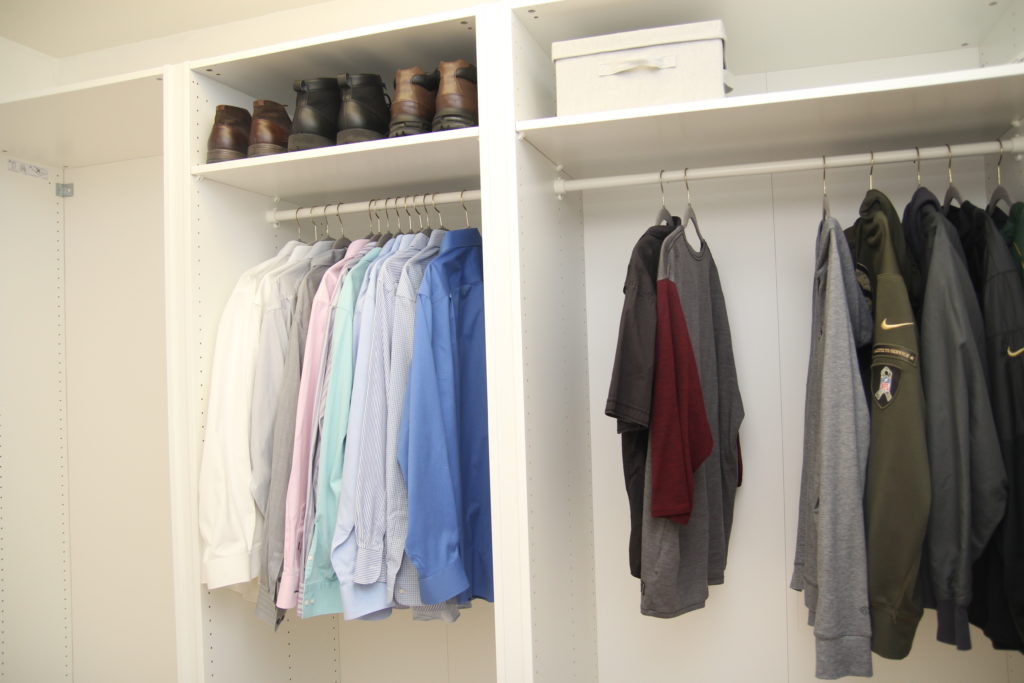
You can see from the photo above, the extra little trim between units gives it a nice finishing touch! It also is a great way to customize units to fit the exact width of a wall you are working with.
I am working on finalizing the entire closet with some essential organizing tools and will show you the final organized closet of my dreams in the coming week. Thanks for following along and I hope this helps you as you are planning an Ikea wardrobe of your own!
WIFE, MAMA, DESIGNER, RENOVATOR, & PASSIONATE DIY EDUCATOR
I'm Jennifer Gizzi.
Let's create our dream homes together.
Navigate
home
about
blog
courses
shop
Social
Youtube
Legal
Terms & Conditions
Privacy Policy
© 2021 Making Pretty Spaces