
How To Measure For Your Shiplap Project
Related blog posts:
–SOPHISTICATED LITTLE GIRLS BEDROOM REFRESH
So you want a shiplap wall… or maybe an entire room? The most important things in getting started is determining what product you are going to use and how much you will need.
There are two common sizes of shiplap. You are more than likely familiar with 5″ planks, but there is also a wider version that comes in 7″ width. They are actually slightly larger than that, but the groove is covered up by the overlapping board, so let’s work with with the even numbers.
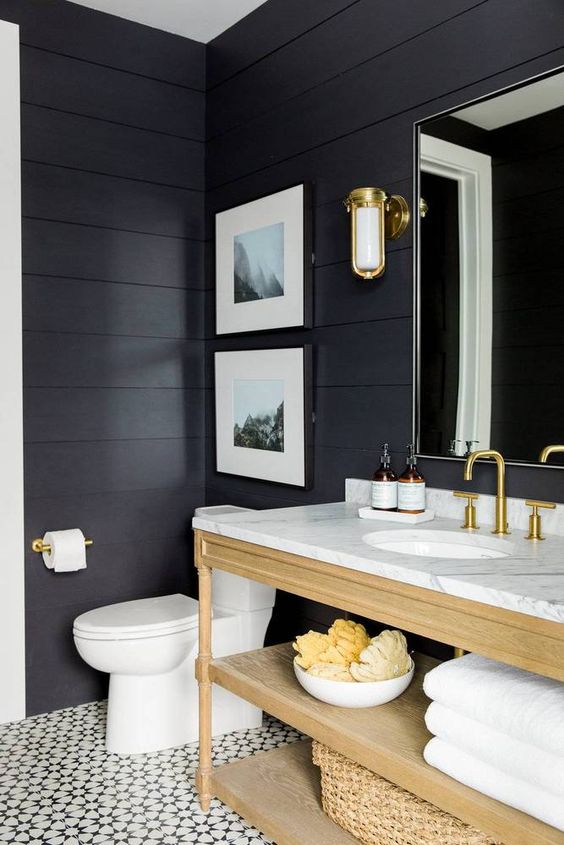
Here are some examples of traditional vs wider plank shiplap.
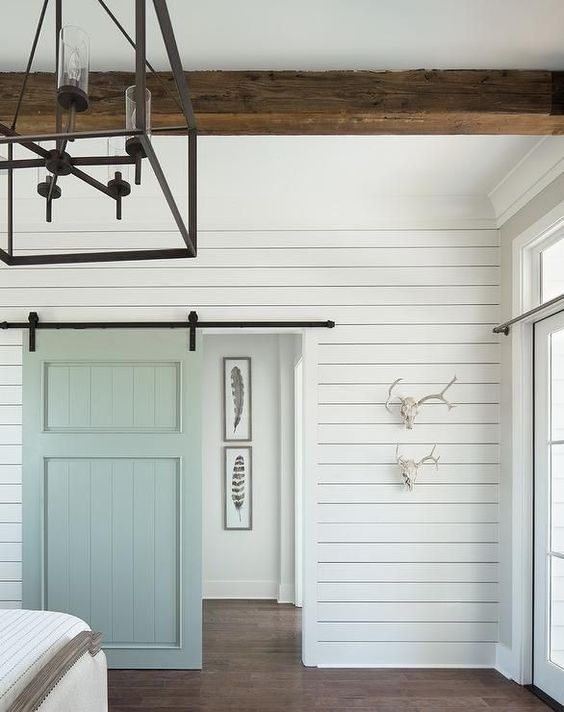
Once you’ve determined which look you like, you need to decide how you will install it. The most common installation is horizontal but you can also go vertical. I personally love adding some interest where I can, so I decided to go vertical in my most recent entryway project.

Here comes the math! You will first need to measure your installation area. How long is your wall? How tall is the wall where you will install your shiplap. Write those numbers down.
Let’s look at my most recent project as an example:
My wall is 16′ long. I planned on installing boards vertically to a height of 72″, or 6′.

(Length of area) x (Height of area) = 16′ x 6′ = 96 sq ft. (My project needs)
Here’s where you get a little more specific based on the exact product you are using. You will need to calculate the square footage of one board.
(Boards will come in standard lengths of 8′, 12′ or 16′ if you can order from a lumberyard.)
Common Plank Sizes
5″ x 8′ plank = 3.33 sq ft
5″ X 12′ plank = 5 sq ft
5″ x 16′ plank = 6.66 sq ft
7″ x 8′ plank = 4.66 sq ft
7″ x 12′ plank = 7 sq ft
7″ x 16′ plank = 9.33 sq ft
For my project, I ordered the 7″ x 16′ planks. You will take the total square footage needed and divide it by the square footage of an individual plank to get the total amount of planks needed to complete your project.
Back to my example:
96 sq ft / 9.33 sq ft = 10.28 boards. I would suggest always rounding up, so for this project I would order 11 or 12 boards. This way, if one is damaged or if you make a wrong cut, you won’t have to wait for a return trip to the store to complete your project. You can always return extra!
I plan to go over total cost of this project in a later post, but if you’re antsy about how much that Joanna Gaines wall is going to cost you, I did a little breakdown for you so you can do some quick calculations.
The cost of real shiplap will range from $1.50 – $2.50 per square foot.
Actual cost will vary depending on your source, material, etc. I paid $2 and used this product from Metrie. I also used their wainscot cap since I wasn’t going all the way to the ceiling.
My entryway required almost 100 sq ft, so my cost was roughly $200. You will need to add the cost of supplies to this which should be minimal: (liquid nails, brad nails, paint, etc.)
One last thing that you need to think about when deciding on which length of board to buy is the length of wall you are covering and how to avoid waste (while also trying to avoid seams). If you are installing boards in 7′ vertical lengths, you would not want to buy 12′ planks. The 5′ leftover would be waste. But if you bought the 8′ boards, you would only have 1′ of waste. On the flip side, if you are going to go 6′ up the wall, you would definitely want to buy the 12′ boards, and not the 8′ boards… make sense? For horizontal installation, you want as few cuts as possible without excess waste that is not useable.
Note: I originally bought 16′ boards thinking I was going to install them horizontally on a 16′ wall… easy peasy! My plan changed after ordering, but I am going to use the leftover lengths in a separate project.
I hope this quick rundown helped and you are busy planning out your next project! I would love to see your projects so please use #makingprettyspaces or tag me on Instagram if you want to show off your work! Let me know what other questions you have about shiplap so I can help you make that perfect space in your own home!
