Hey There!
Thanks for stopping by the MPS Blog. Here you'll find all the nitty gritty, behind-the-scenes details of the projects you see on my Instagram. Grab a cup of coffee and take a look around. Happy DIYing!
I'm Jennifer Gizzi.
Browse by Category
design
sourcing
diy TutorialS
moodboards
SHOP OUR HOUSE
gift guides
Search the Blog
Guest Bathroom Reveal
May 20, 2020
This post is in partnership with Kohler.
This post has been a long time in the making! I started updating this bathroom over 6 months ago – one cosmetic upgrade at a time. I used the power of paint and beautiful Kohler fixtures to really transform this bathroom into a beautiful space that I feel proud to have guests use!
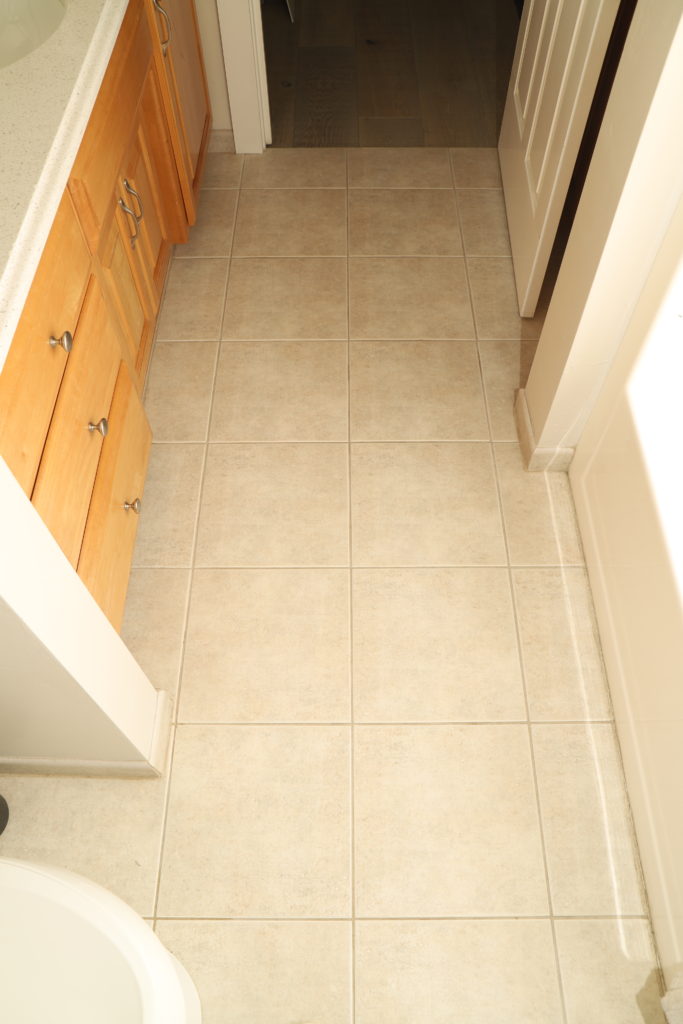
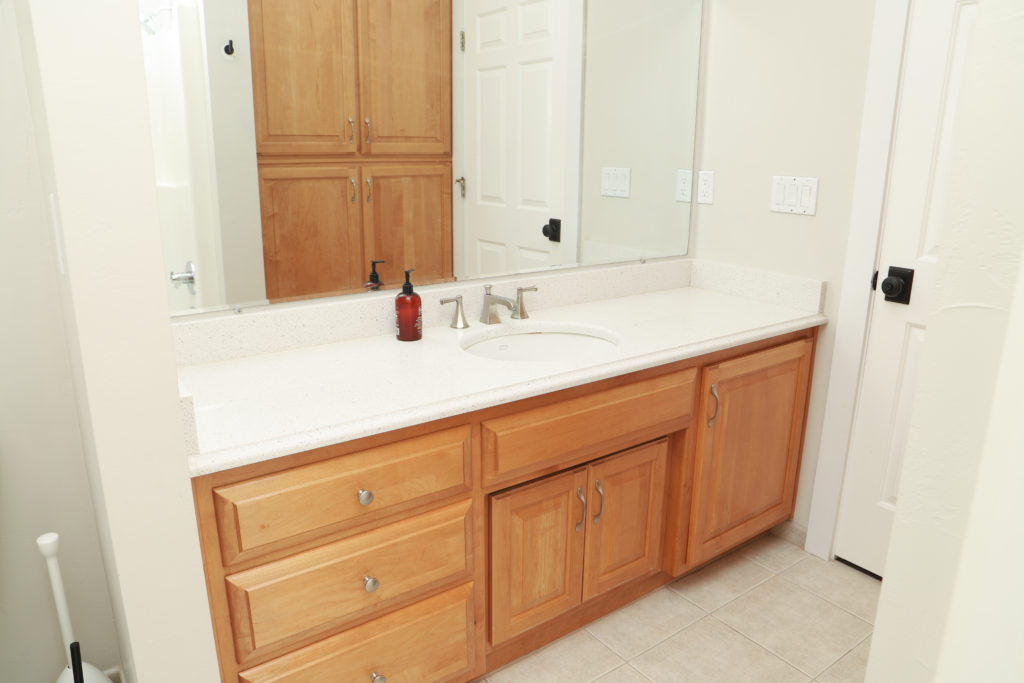
If your house was built 15-25 years ago… you might have a bathroom that looks a little like this. Builder grade mirror, stock oak cabinetry… those textured beige tiles. Yep, apparently it was a thing.
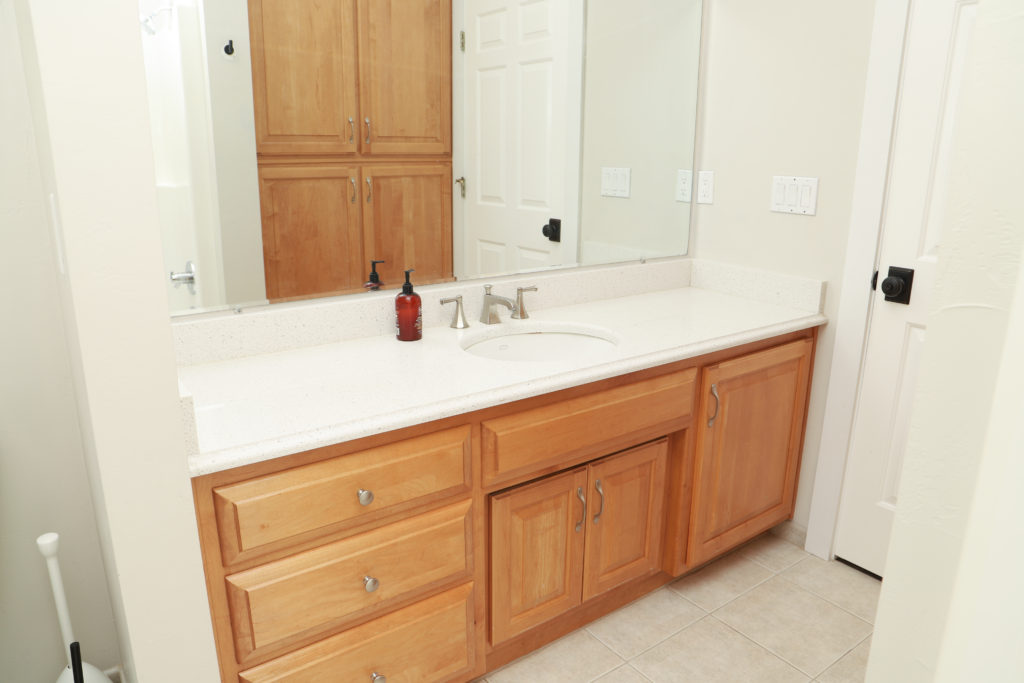
Renovating this bathroom from head to toe was not in the budget or timeline for us. This is our guest bathroom and we have a lot guests stay with us – my guess is 30% of the year! I really want my home to feel welcoming for anyone that stays with us so getting this bathroom in more hospitable shape was very motivating for me.
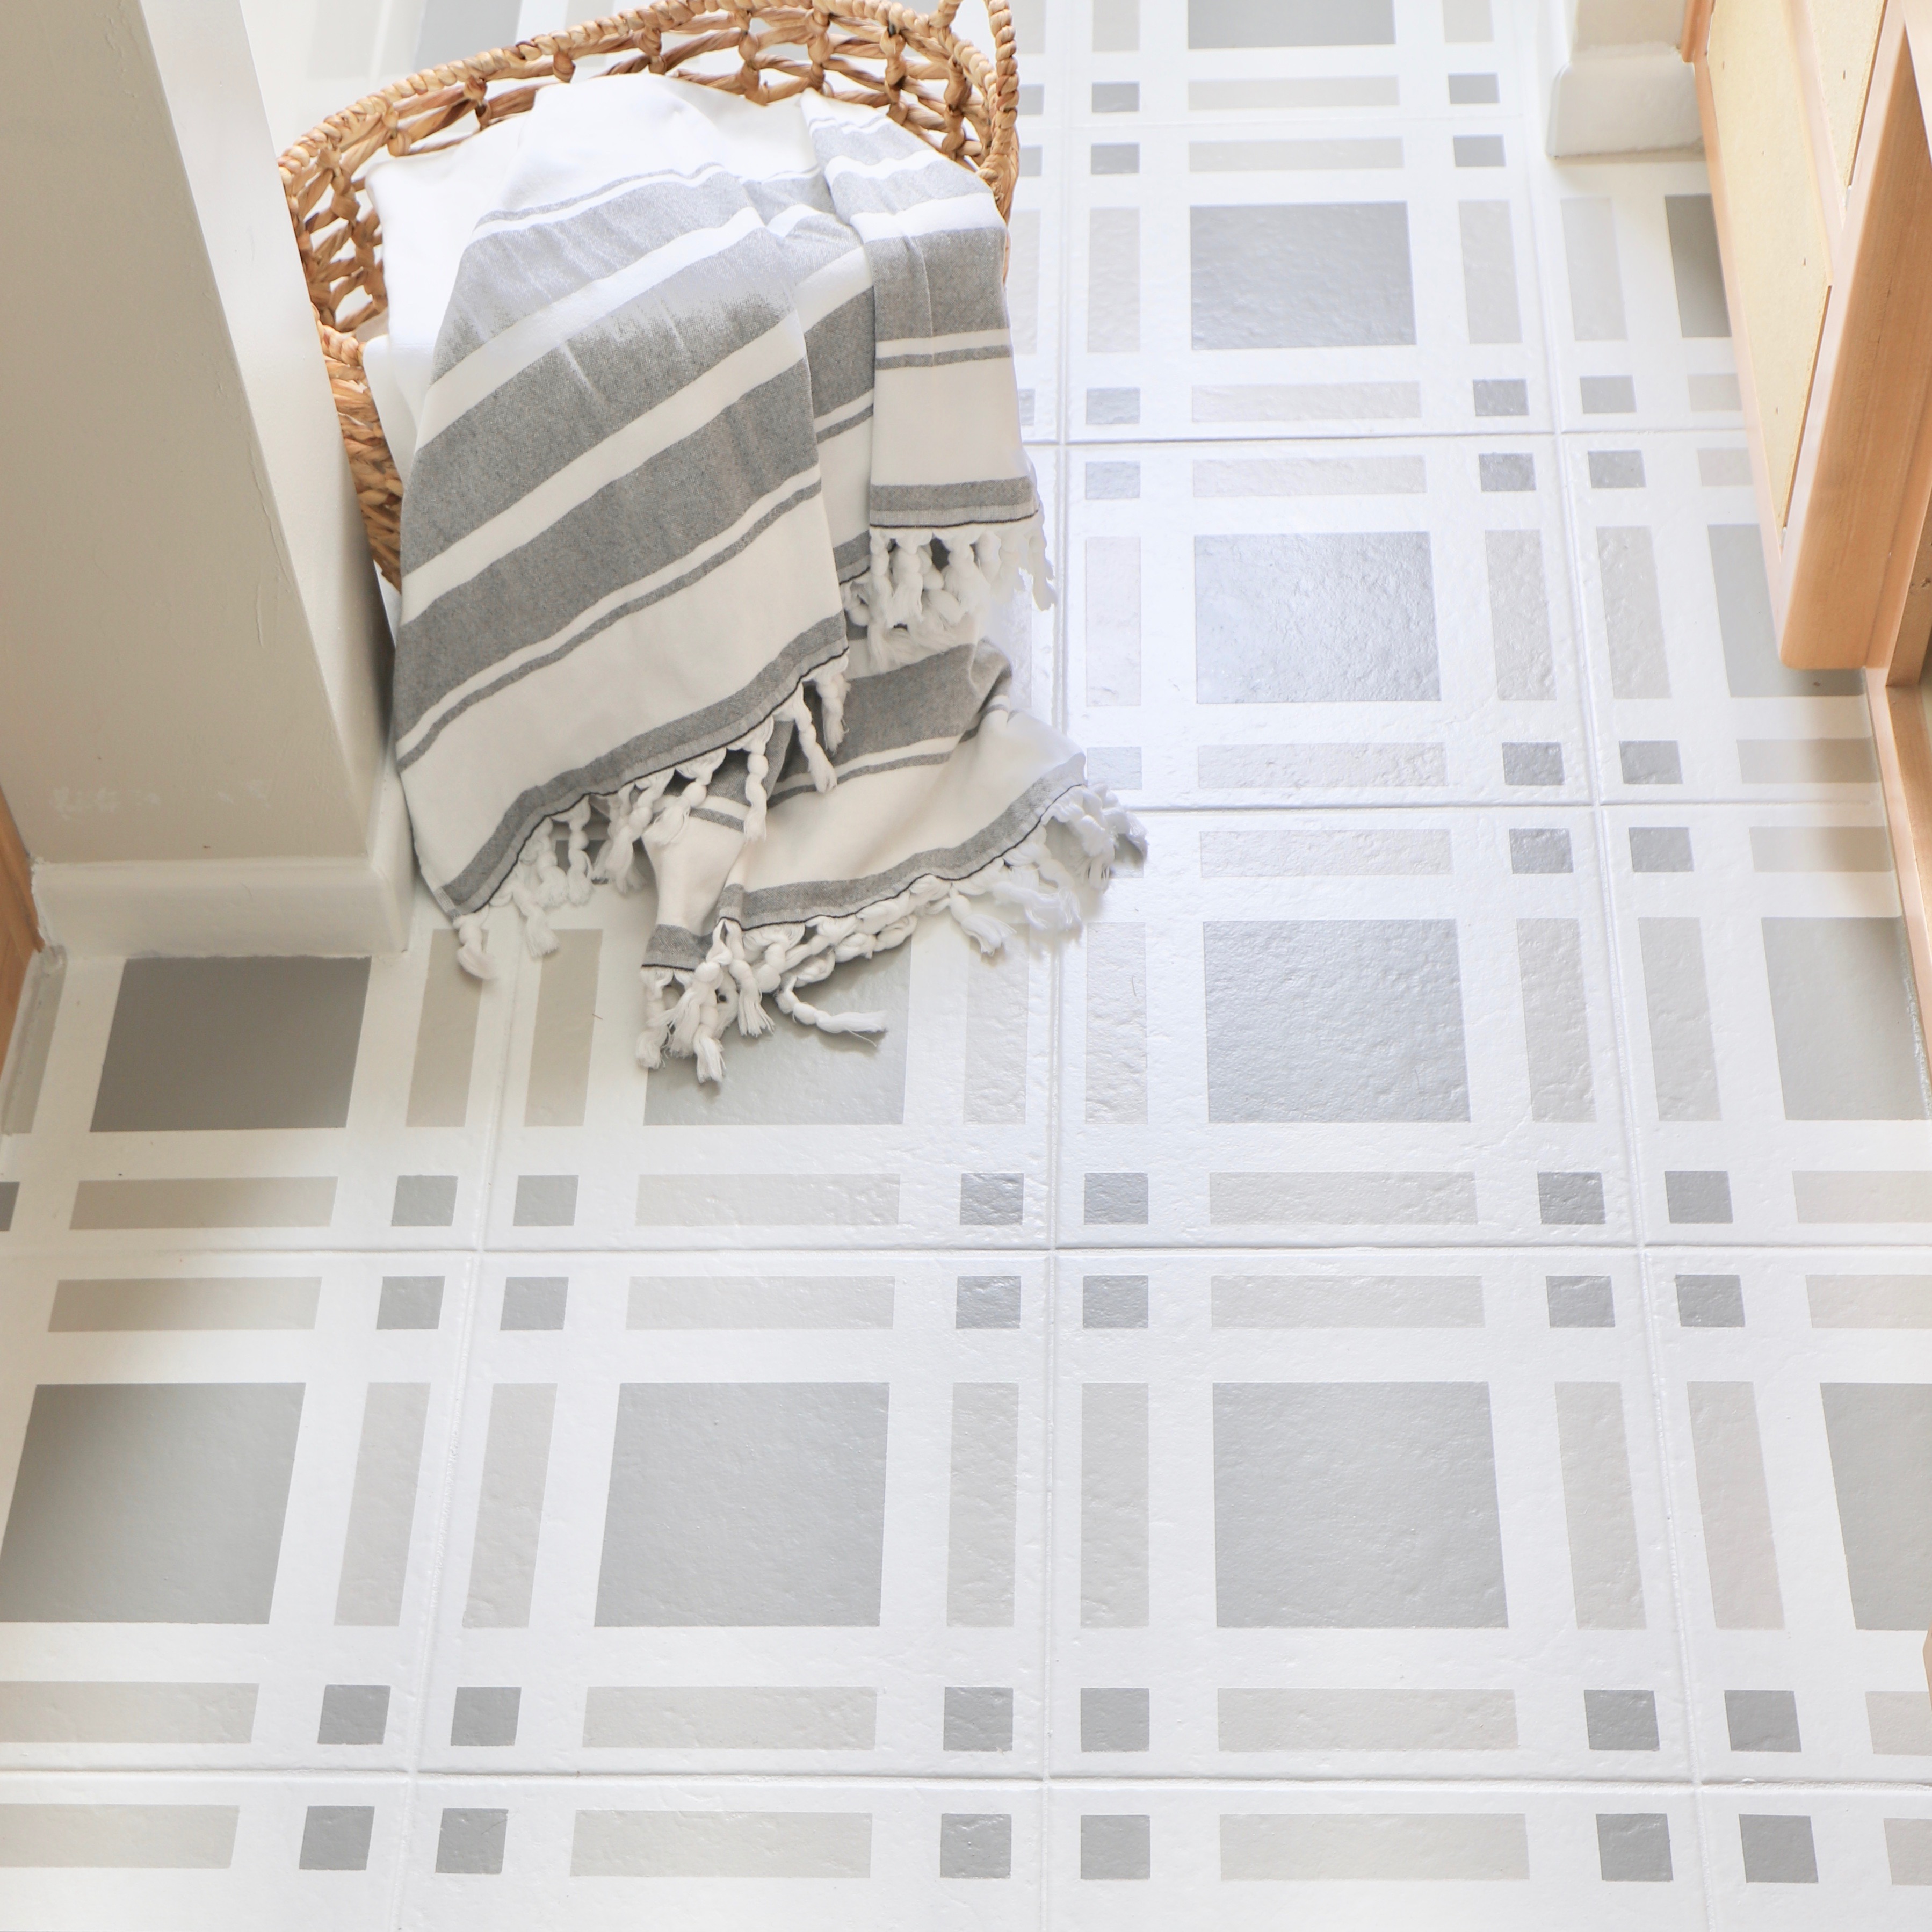
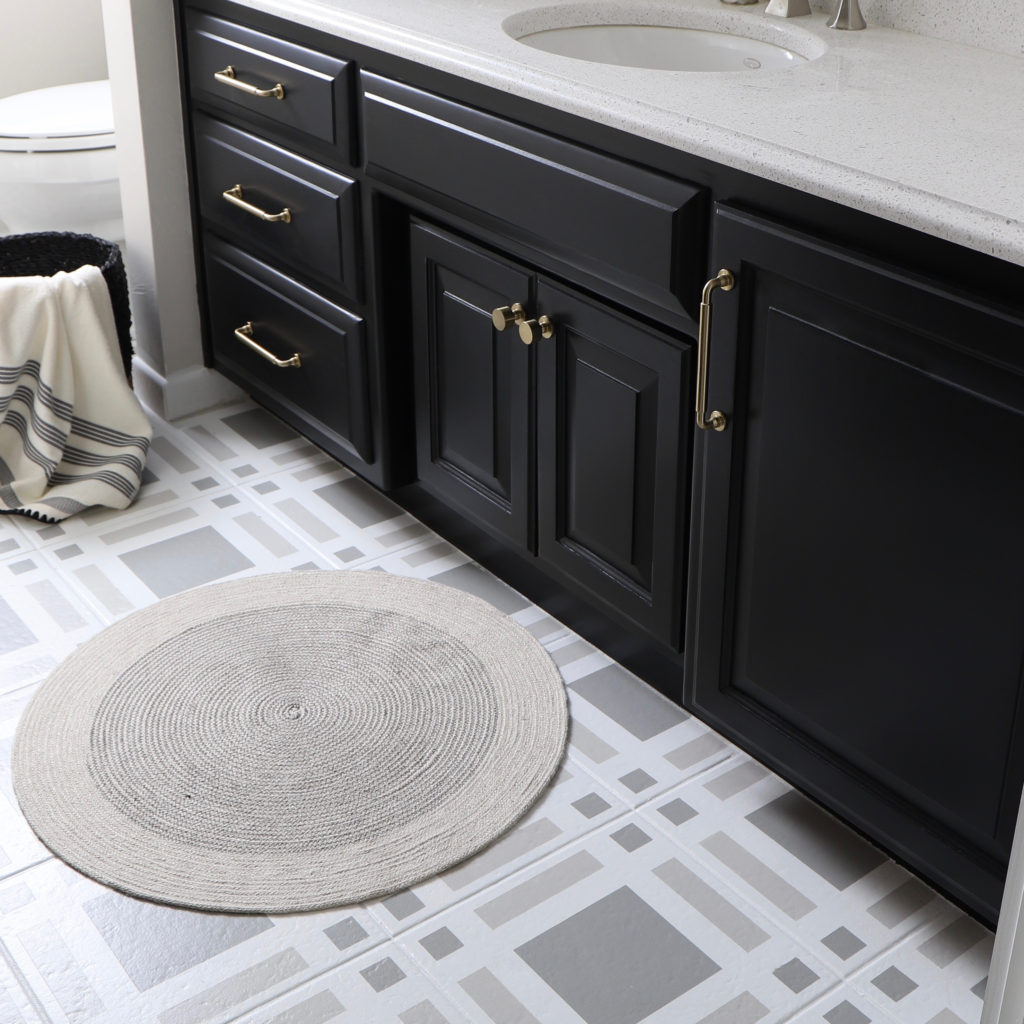
The first thing I tackled in this bathroom was the floors! Ripping up tile is rarely an option unless you’re doing a full renovation, so painted tiles for the win! I had painted tiles in our hallway with success so I felt comfortable using a new Rustoleum Home floor paint that was designed for tiles and other floorings. I did a full tutorial and answered a ton of questions about painted tile in this post. It’s been almost 8 months and I’m happy to share that it’s held up GREAT! I honestly don’t think you would even be able to tell that it’s painted tile if you saw it in person.
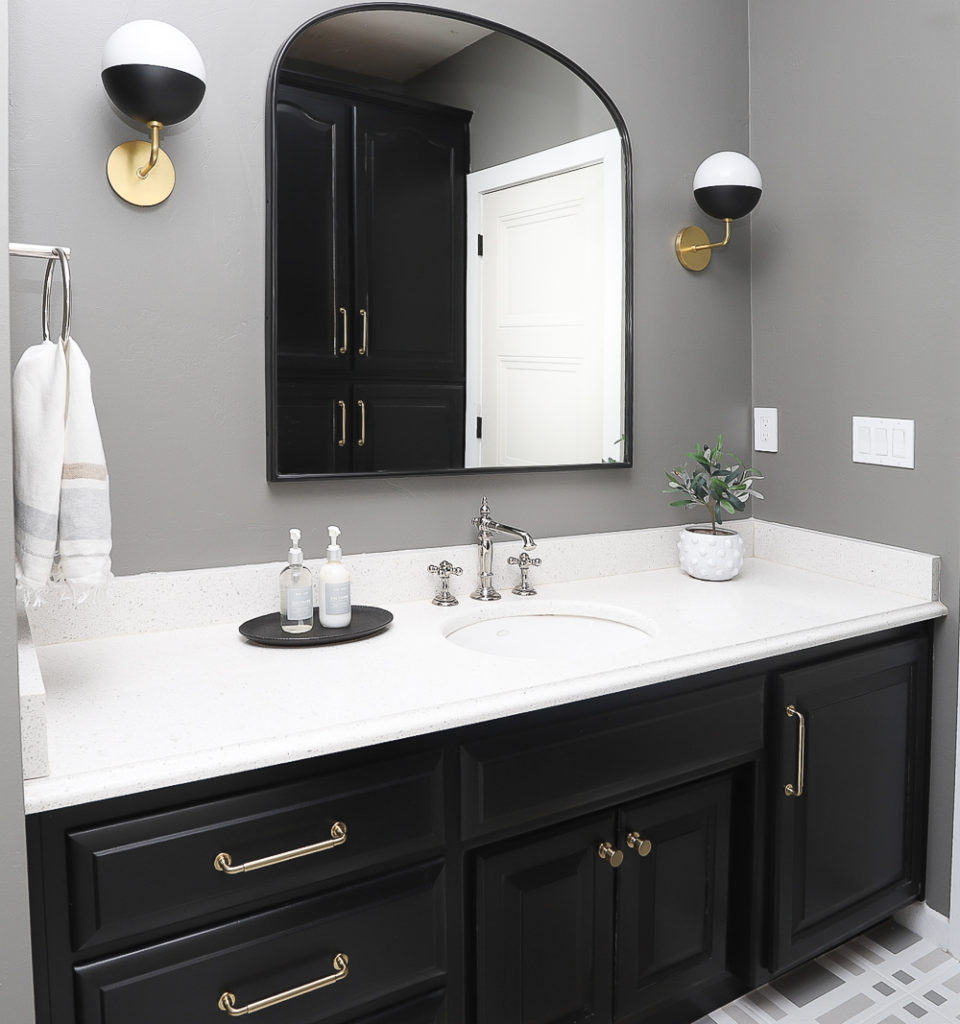
Next up was the vanity. I was VERY tempted to rip this out and get a new vanity – but if and when I ever completely renovate this bathroom, I would change the layout a bit, so that seemed silly. I chose to paint it with a product called Rustoleum Cabinet Transformations.
I used the dark base and had it tinted in their black color (they have a lot of options). I would normally spray cabinets and hold strong that spraying is always the best way to get the most professional finish. I wanted to show all of you an option that was attainable if you didn’t have a sprayer and I was pleasantly surprised at how they turned out. The topcoat was a little fussy but I’m pretty sure it’s what gives it the crazy durability. I swear there’s not a ding on it and I have 4 small kids running around! You can find the full tutorial for this in my painted vanity tutorial post.
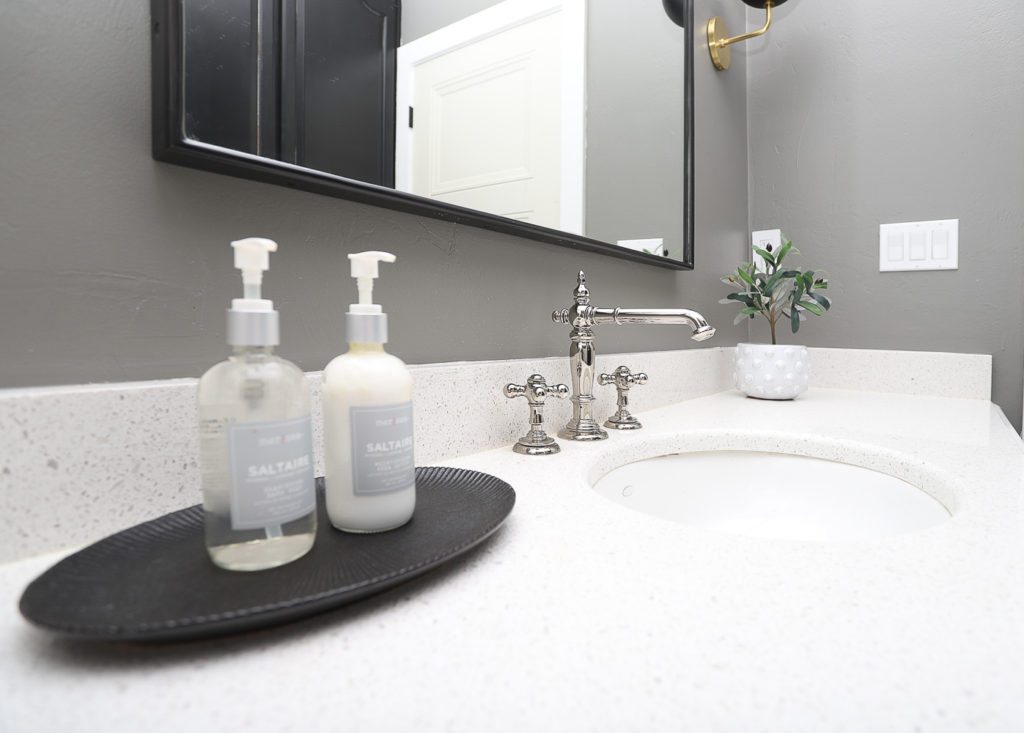
I did not change the countertop at all… but suddenly it did look MUCH better! The real upgrade here was this beautiful Kohler faucet in polished nickel. It is from the artifacts collection that I recently added in my kitchen as well. You can mix and match the spout and levers to get the exact look you want and it comes in most of Kohler’s signature finishes. I love that this faucet is both modern and classic. I can’t see it ever going out of style.
I have a fairly large vanity for a single sink and taller ceilings at 9′. There was a lot of space to fill once I took down the builder’s grade mirror. Note: I get a lot of questions about removing mirrors. Mine was not glued so I simply removed the tabs and had my husband help me take it down. It was a pretty easy process.
It’s no secret that arches are in! I had been in love with this beauty for quite some time and I felt this was the perfect opportunity to use it. I played around with keeping the location of the vanity lighting and adding shelves on each side. I went back and forth and landed on adding sconces to fill the space instead and it really balanced everything out.

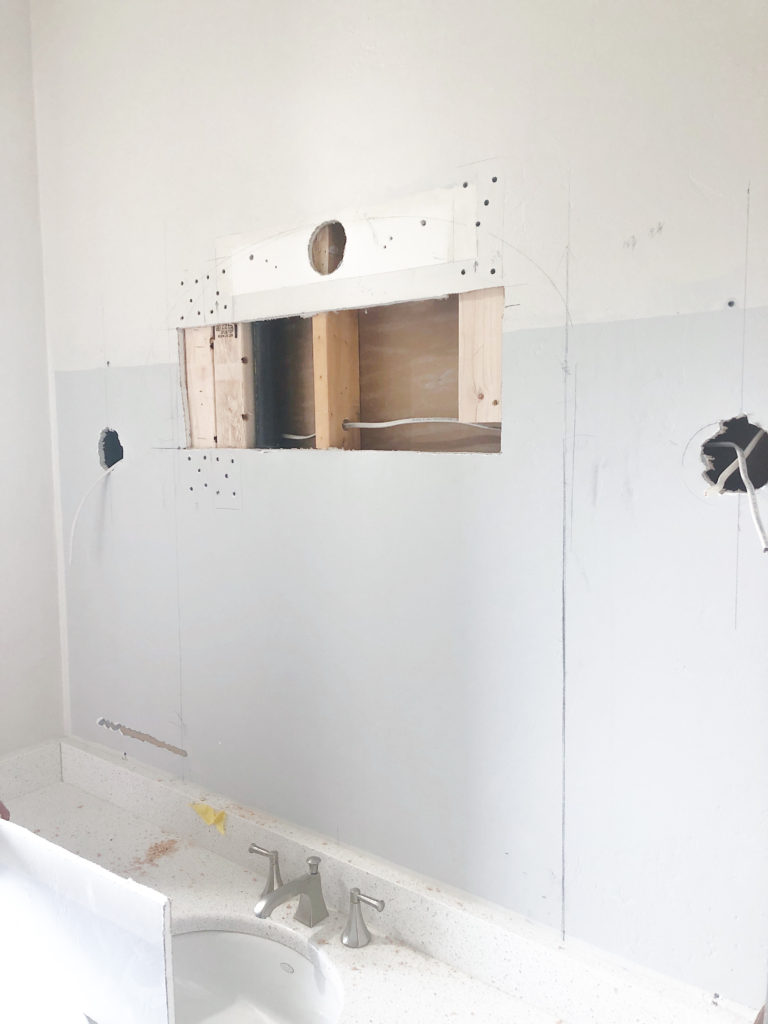
The process was fairly simple to swap out the location of these lights. Luckily, the wire was running from the switch as opposed to the ceiling so I was able to pull the wire back to the location of the first sconce and then add another wire that connected the 2 sconces together. I’m working on a full tutorial post for this as it’s been a popular request. Note: it will require removing drywall… but those are easy patches.
Next up was upgrading our toilet! This was an exciting upgrade to say the least. Kohler has a line of continuous clean toilets that literally clean themselves! I used the Corbelle model and I love how it has flat sides that make cleaning the exterior of it a breeze. If you are renovating a bathroom soon, I can’t recommend this toilet enough.


A bathroom renovation wouldn’t be complete without an upgrade to the shower! I wasn’t able to change out my dated tub surround or any valves as that would have required major plumbing updates. Kohler has a product called the HydroRail that blew my mind as I was learning about it.
You replace your standard showerhead and the HydroRail lets you mix and match different fixtures. I chose a rain head and a handheld sprayer. The bottom of the Kohler HydroRail simply attaches to whatever surface you have with screws. You could attach this to a tub surround as I did or a tile surface. This was honestly such an easy replacement that has completely transformed my showering experience with NO plumbing changes!
Overall, this cosmetic makeover hasn’t happened overnight but I’m so happy with the end result and all the changes I made have been so approachable. I hope this has given you some inspiration to make some changes you’ve been thinking about!


Walls: Benjamin Moore Chelsea Gray at 75% (Satin)
Vanity: Rust-Oleum’s Transformations Kit – Black
Painted Tiles
Rust-Oleum Home Floor Coating
2 part floor coating system
Rust-Oleum Home Floor Coating Base Coat in White
Rust-Oleum Home Tint Base Coat (Windsor Grey)(Owl Grey)

Sconces
Mirror
Rug
Soaps
Lotions
Black Tray
Plant
X-Long Shower Curtain
Shower Liner
Curtain Rod

Knobs
Pulls
Kohler HydroRail Arch
Hand Shower
Hand Shower Hose
Rainhead
Spout
Handles
Kohler Corbelle Toilet
WIFE, MAMA, DESIGNER, RENOVATOR, & PASSIONATE DIY EDUCATOR
I'm Jennifer Gizzi.
Let's create our dream homes together.
Navigate
home
about
blog
courses
shop
Social
Youtube
Legal
Terms & Conditions
Privacy Policy
© 2021 Making Pretty Spaces

