Hey There!
Thanks for stopping by the MPS Blog. Here you'll find all the nitty gritty, behind-the-scenes details of the projects you see on my Instagram. Grab a cup of coffee and take a look around. Happy DIYing!
I'm Jennifer Gizzi.
Browse by Category
design
sourcing
diy TutorialS
moodboards
SHOP OUR HOUSE
gift guides
Search the Blog
Basement Bathroom Plans & Mood Board
August 12, 2017
I have been dreaming about transforming our basement bathroom since the day we moved in. It always felt to me that they built the house, looked around at things they had in a pile called “leftovers”, and threw them in this bathroom. Tile, vanity, mirror, trim… none of it resembles anything else on the main floor. This was truly a basement bathroom… the 1980’s oak-trimmed stepchild of our home.
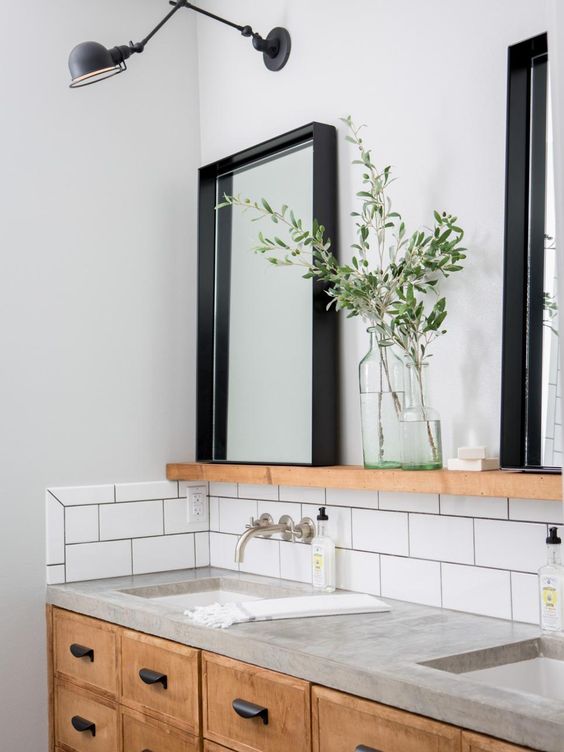
Having the ability to start from scratch on any room design is both a blessing and a challenge! It is undoubtedly more costly, but ultimately it gave me the freedom to design this exactly the way I wanted in terms of both style and function. It also gives me extra homework as every detail has to be thought out to include trim, tile, finishes, paint colors, mixing metals, layout, storage, lighting etc etc!! This bathroom is going to be 95% dedicated to our 4 small kids, so I wanted certain things in terms of storage (drawers) and ample room for morning/nighttime routines! I want it to feel clean and playful, yet comfortable enough for guests when we entertain downstairs. After weeks (months) pinning away, the theme was clear… black and white for the win! I also knew I wanted bronze finishes throughout. I have mixed opinions about mixing metals, so Pinterest helped confirm my fears about this. Every inspiration photo I found had some mixing going on, so that helped with some of my decision making.
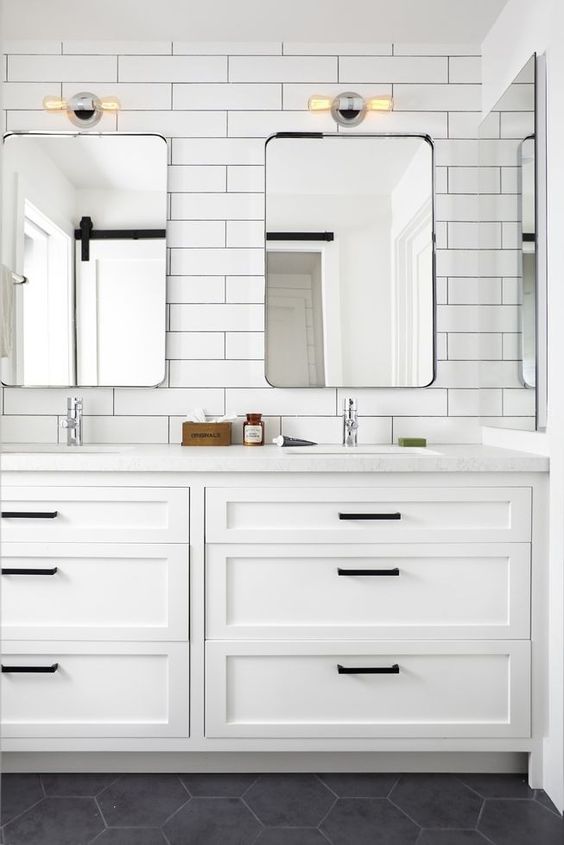
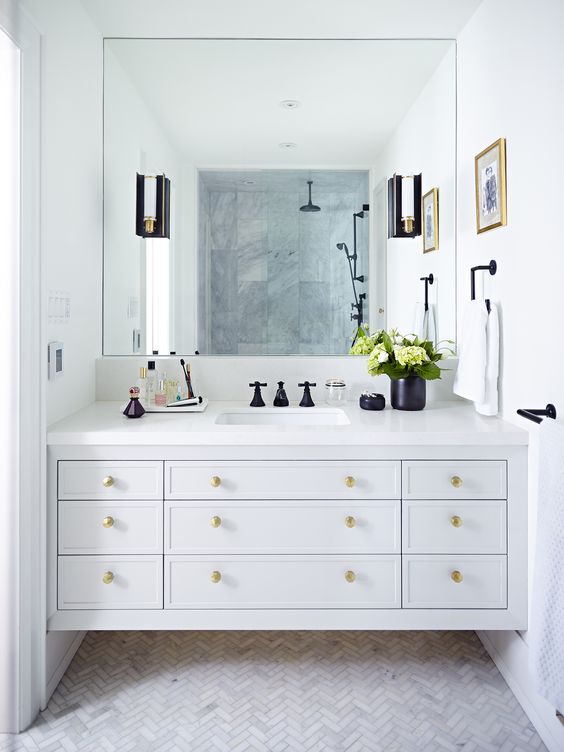
I took a hard look at my favorites and ended up with this mood board:
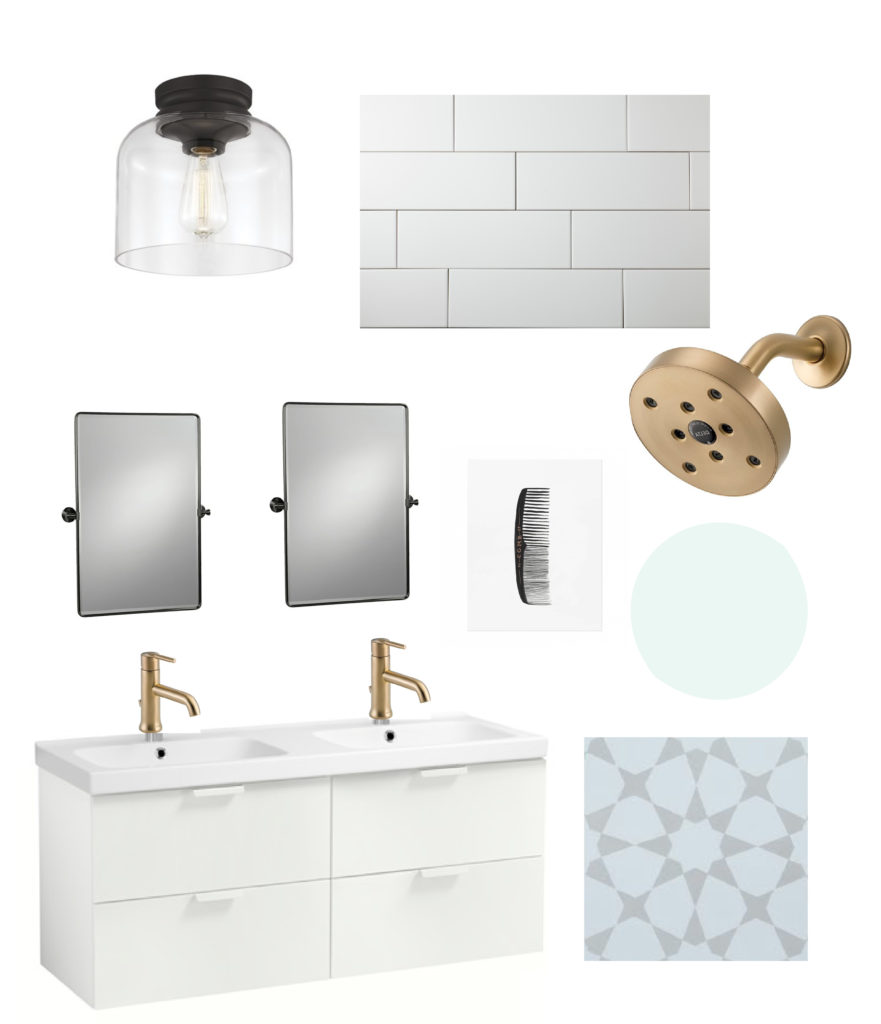
Vanity | Flooring Tile | Wall Tile | Mirrors | Artwork | Faucets
Now let’s take a look at what we are working with. Being in the basement that previously had no bedrooms, this was built as a half bath. We bought the house with 3 bedrooms, but built out a 4th bedroom for guests in the basement almost immediately after moving in. While we always thought it would be nice for guests to have a shower downstairs, we lacked the motivation to take on a project this big. That is, until we realized that with baby #4 coming, we were running out of rooms, space and functional bathrooms!
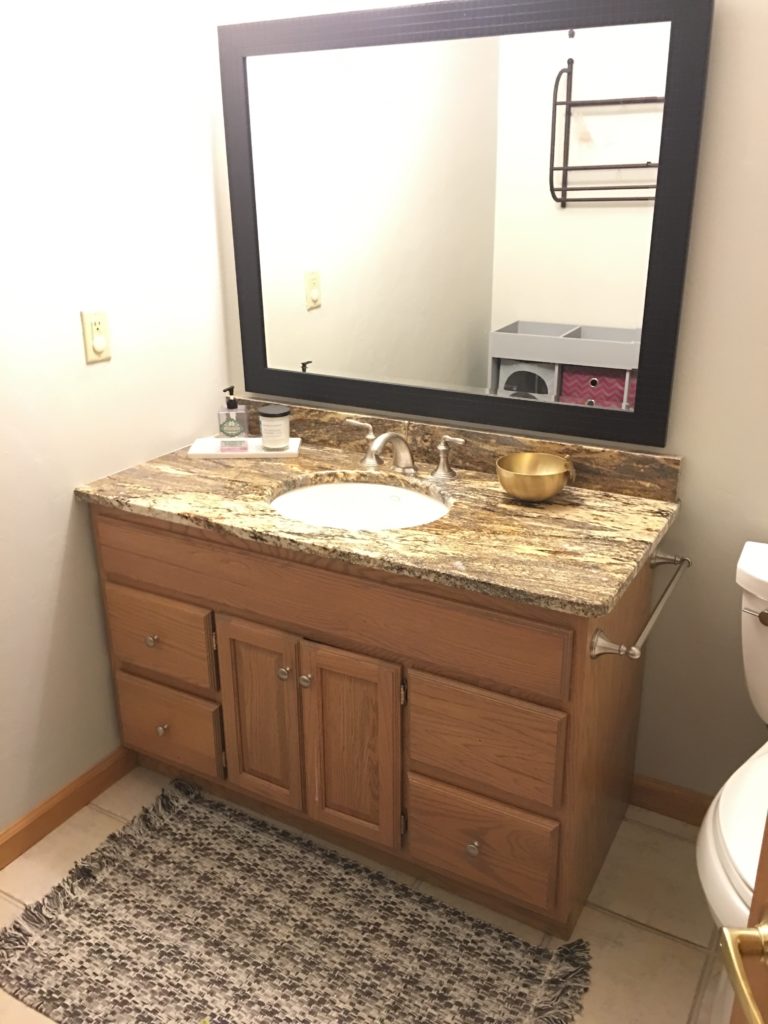
It took a bit of creativity, but we were able to move all 3 older kids downstairs into a large “shared bedroom suite” (I’m calling it)… more in another post on that! It only takes one week of running up and down stairs with 3 small humans and their necessary bathtime equipment to make you realize that a full bathroom on the same level is not a luxury, but a necessity! I immediately made the call to implement #demoday and listed the vanity on Craigslist. While it wasn’t my taste, it was in good shape and had a nice granite counter on it. I sold it for a $350! A nice couple came and took it off my hands and left me with a little something to get this party started!
I enlisted some help from 2 handymen and in a few hours we had knocked down some walls and framed up a new bathroom by pulling from our unfinished basement/storage space.
So this is where we are starting:
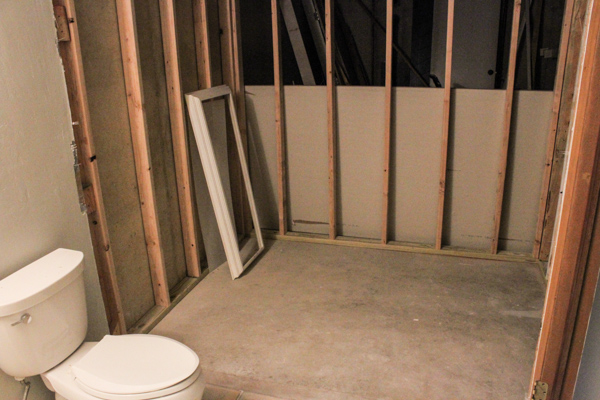
At the time of this picture, I was 9 months pregnant and trying to come up with a plan to accomplish this affordably but also sensibly. I knew there were a few things I would have to call in professionals for including plumbing and electrical. The plumber was my first call and after receiving 3 quotes, I went to work coming up with a new layout.
I have a million more updates at the time of me writing this but this will be Part 1… Part 2 hopefully coming tomorrow. This is by far the biggest DIY project I’ve taken on and I have made some mistakes, learned a lot and hopefully have some good tutorials and inspiration coming your way.
WIFE, MAMA, DESIGNER, RENOVATOR, & PASSIONATE DIY EDUCATOR
I'm Jennifer Gizzi.
Let's create our dream homes together.
Navigate
home
about
blog
courses
shop
Social
Youtube
Legal
Terms & Conditions
Privacy Policy
© 2021 Making Pretty Spaces
