Hey There!
Thanks for stopping by the MPS Blog. Here you'll find all the nitty gritty, behind-the-scenes details of the projects you see on my Instagram. Grab a cup of coffee and take a look around. Happy DIYing!
I'm Jennifer Gizzi.
Browse by Category
design
sourcing
diy TutorialS
moodboards
SHOP OUR HOUSE
gift guides
Search the Blog
Guest Bedroom: New Window Trim & Wallpaper
October 22, 2018
Related blog posts:
–GUEST BEDROOM & OFFICE
–$15 FLOATING FRAME FOR CANVAS ART
–SKIM COAT LIKE A PRO
–GUEST BEDROOM & OFFICE ROOM REVEAL
–BOARD & BATTEN: ORC WEEK 4 & 5!
Hello! Welcome to Week 3 of the Fall One Room Challenge! This is my second time participating in this 6 week challenge to completely transform a space in my home. If you love before and afters, you will not want to miss all the action by both chosen designers and guest participants like myself!
We are over halfway through the 6 weeks and the room I chose to transform (our guest bedroom) is nowhere near presentable. If you missed my first update, you can go back and see the entire plan here.
It is NFL season which means we have guests in and out for most of the home games. This room gets a ton of use from both visitors and hopefully for me as it will function as my home office. I have used a portion of the basement and most recently the dining room table for my at home work efforts, so a dedicated space for all my “stuff” will be welcomed with open arms.
Progress this week included closet demo, new wallpaper AND new updated window trim!
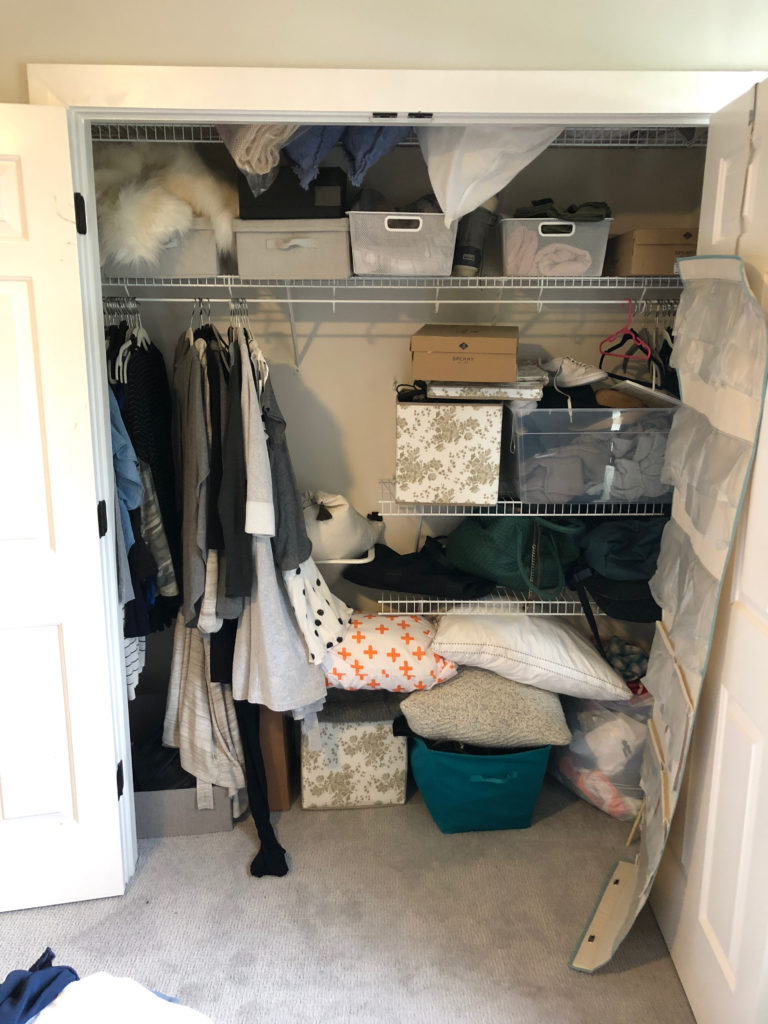
Here is a “before” of the closet situation… you know that one that you throw everything in when you want to clean up but don’t have a place for it… yeah that one.

The closet in this room has always been less than functional. “I love wire shelves in closets” said no one ever! Over the years, it has become a catch all for anything that doesn’t have a proper home. My idea to turn this closet into an office space was inspired from nothing short of a need and desperation to have a little space to call my own. I toyed with many ideas for this office nook including the option to DIY shelves and a desk to retrofit the area. I visit The Container Store website frequently and knew that their Elfa system had a desk top option that that would work seamlessly with their other Elfa components. I loved the idea of being able to adjust the shelves as well as easily turning the closet back into an actual closet when the time comes.
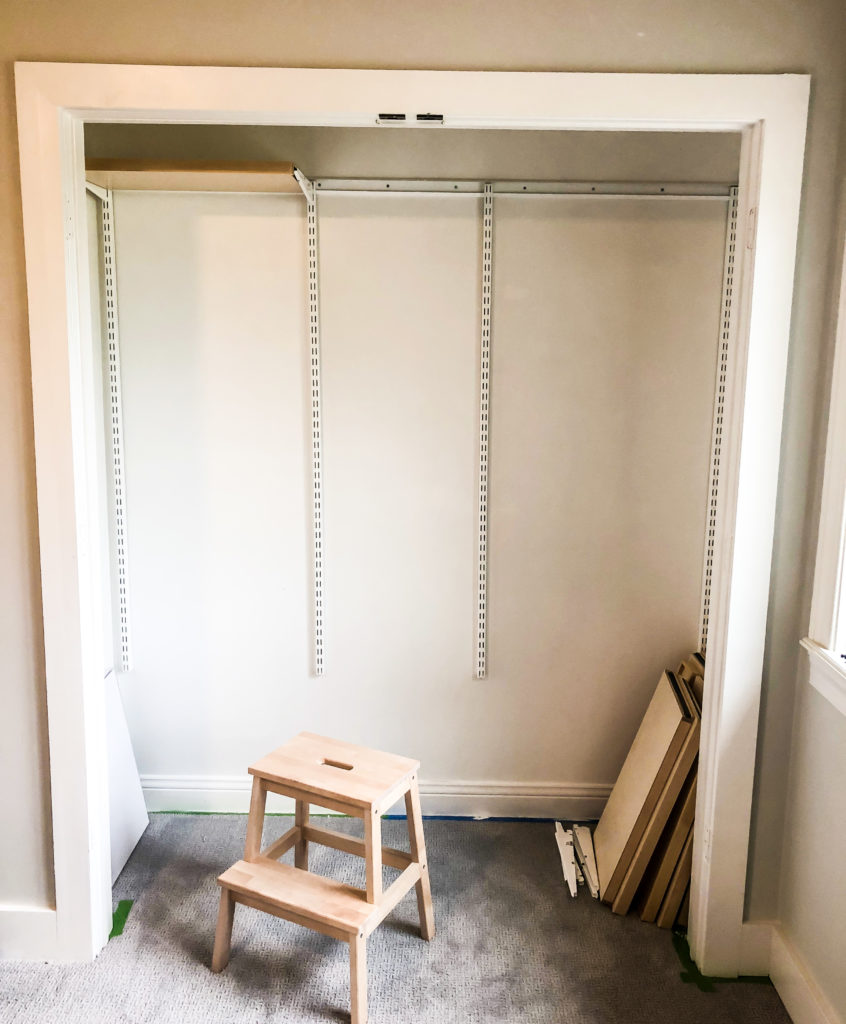
I spent some initial time editing what I did and didn’t need in this closet, followed closely by ripping out all the wire shelves and filling/patching approximately 220 holes. After one day dry time, some sanding and a fresh coat of paint, it was ready for the Elfa installation!

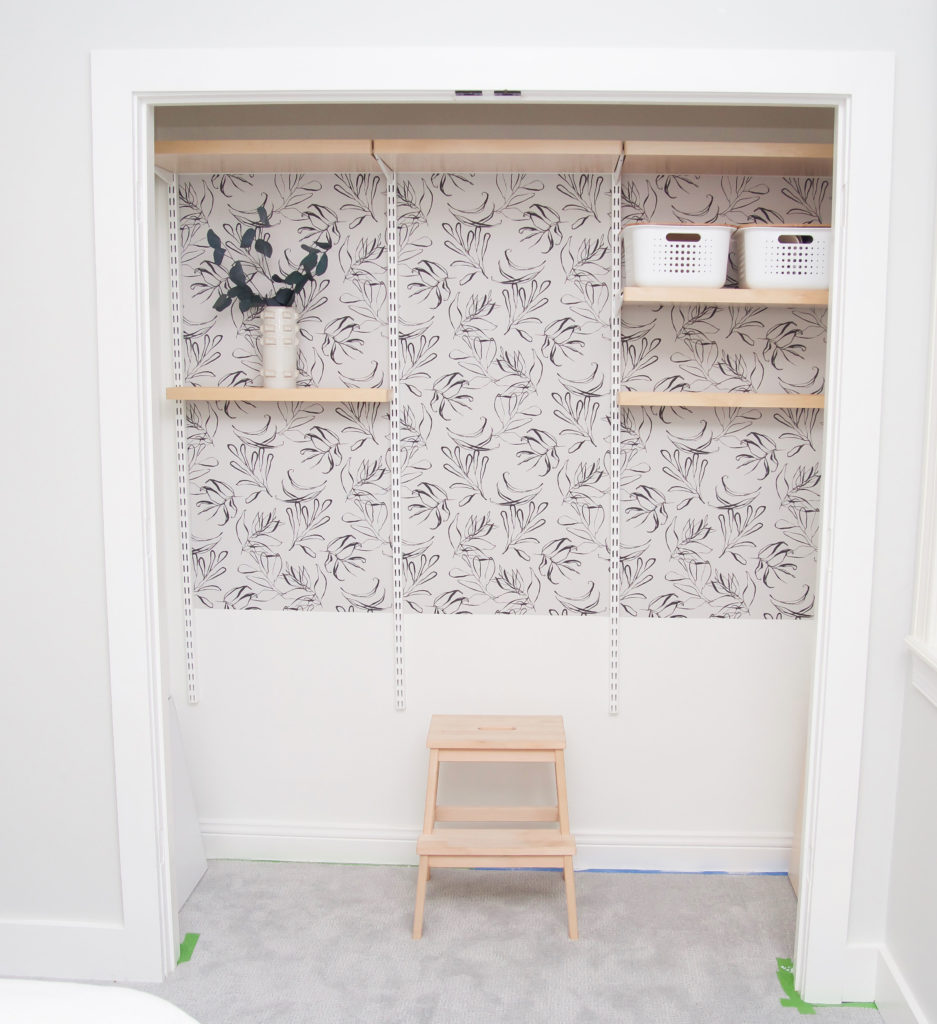
I promise to write a full post on measuring, ordering and installing the Elfa system, but as far as first impressions go, I can confidently say that I’m in love. The ONLY installation part of this system is the top track and then everything else fits together easily with zero tools required. There is a significant price difference between Elfa and comparable systems like IKEA’s algot system, but in my opinion, the difference is warranted if you have an area in your home that you want to invest in some beautiful organization. Part of the shelves were backordered but here is the progress so far. Stay tuned this week for a more finished view of this space!

Hopefully you noticed the wallpaper detail that I chose for the closet/office! I know that staring into a closet space doesn’t exactly sound dreamy, so my intention is to make it as beautiful as possible. This botany pattern by Chasing Paper has had my eye for a while and I couldn’t be happier with it. I think every room should have one statement piece or jumping off point, and this wallpaper was it for me in this room.
If you are looking for some quick installation tips for removable wallpaper, I filmed a few pointers and saved them to my highlights on my Instagram account, @makingprettyspaces.
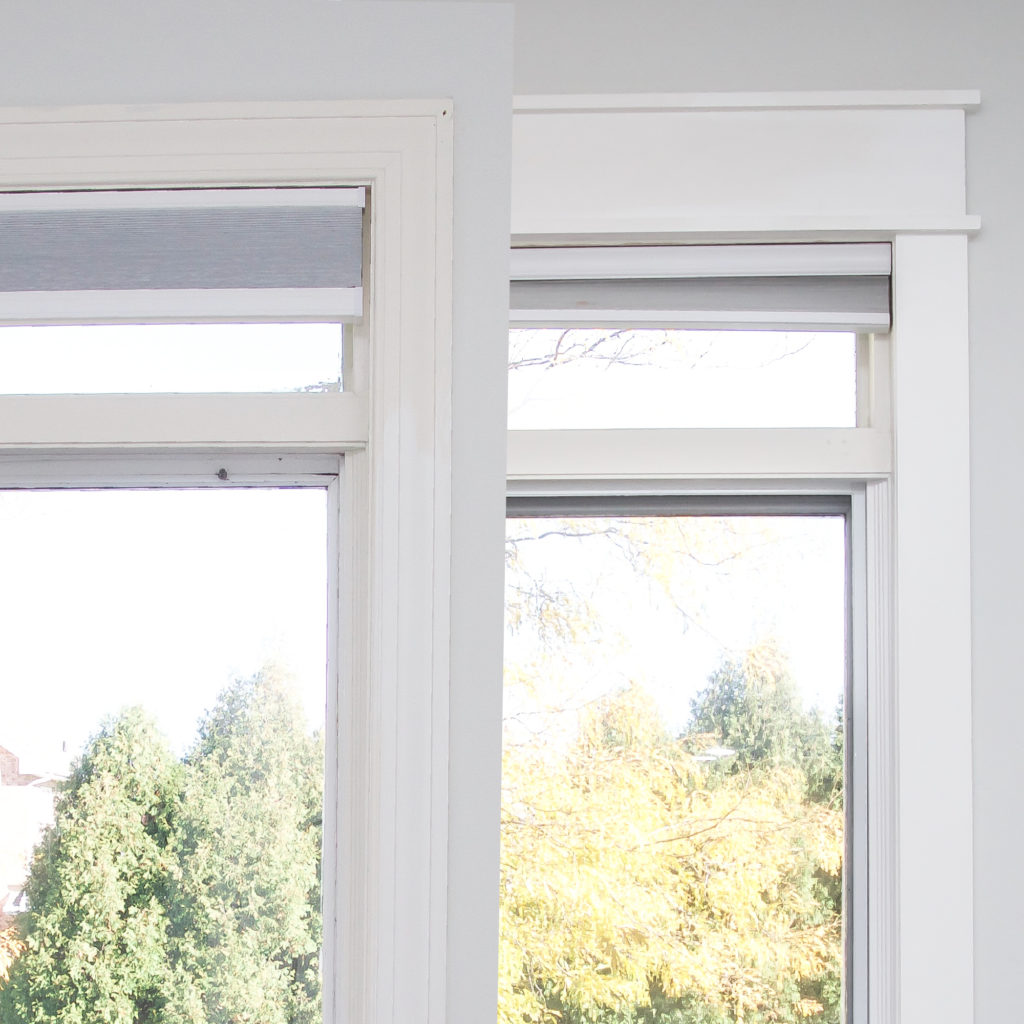
Lastly, if you are looking for an easy way to update your windows, updating your trim is a no brainer. We have a 20-something year old home and all of the trim is very traditional. We started with replacing all of the baseboards with simple 1×6 pine boards and it made a huge impact. I am on a mission to replace all the window trim to match a more craftsman modern vibe.

It took me less than 2 hours to demo the old trim and replace it with simple pine boards. Highlights of this simple process are here with step by step instructions under “Window Trim”.
This is the list I’m working with to pull off a complete room in less than 3 weeks:
- board and battan (all walls)
- finalize paint color (& paint)… I’m leaning towards this beautiful gray
- Order duvet cover & pretty linens
- Assemble bed – arrives Thursday!
- Order nightstands
- Print & frame artwork
- Office space organization
- Take pictures!
Can I do it? I’ll be sharing all the crazy details over on Instagram so make sure and come see me over there if you want to see it come together real time!
Remember to follow along and see what the Featured Designers and Guest Participants are up to!
WIFE, MAMA, DESIGNER, RENOVATOR, & PASSIONATE DIY EDUCATOR
I'm Jennifer Gizzi.
Let's create our dream homes together.
Navigate
home
about
blog
courses
shop
Social
Youtube
Legal
Terms & Conditions
Privacy Policy
© 2021 Making Pretty Spaces

Love the addition of updated trim. Makes a huge difference. Definitely will be on my to-do list for future home updates. Love your closet wallpaper!
Thank you so much! I wish I could snap my fingers and replace all of it but it’s definitely worth the effort!
I love that wallpaper. Cant wait to see it all finish. Keep going you got this.