Hey There!
Thanks for stopping by the MPS Blog. Here you'll find all the nitty gritty, behind-the-scenes details of the projects you see on my Instagram. Grab a cup of coffee and take a look around. Happy DIYing!
I'm Jennifer Gizzi.
Browse by Category
design
sourcing
diy TutorialS
moodboards
SHOP OUR HOUSE
gift guides
Search the Blog
The Reveal Of My DIY IKEA Kitchen!
March 24, 2020
It’s done! I can’t believe it. This has been 8 months in the making… small project by small project. I’m so happy that I can finally cross this kitchen off my list and share all the details of how I created my dream kitchen almost entirely DIY style!
But first, let’s take a look at where this kitchen started at the beginning of this renovation.
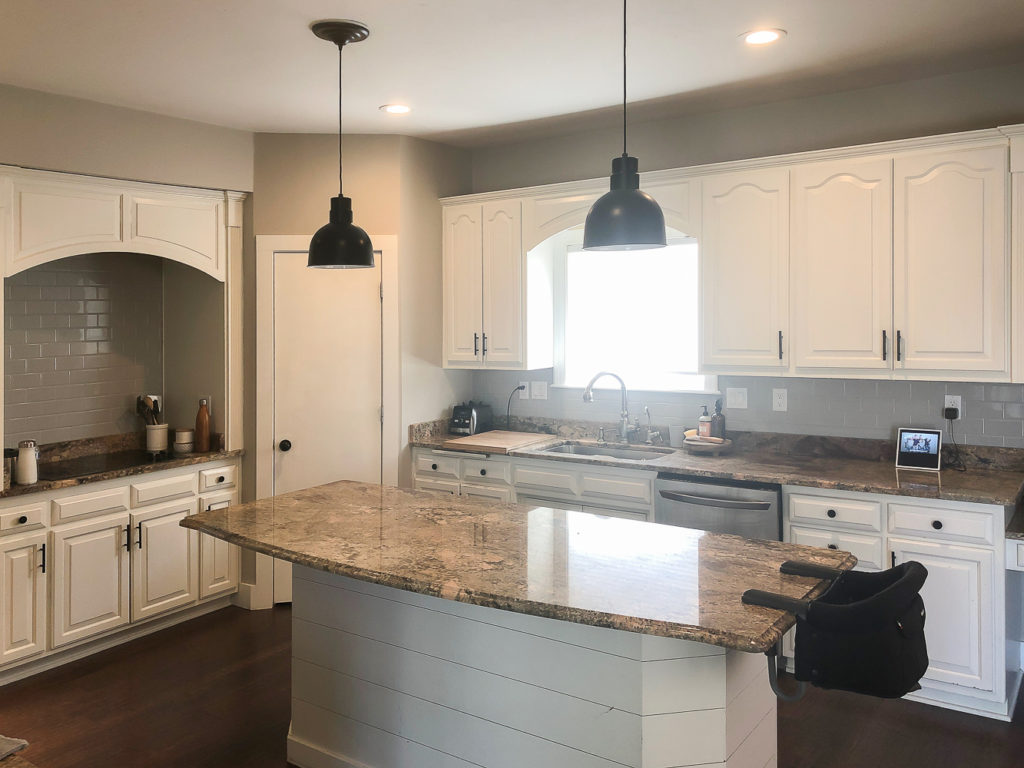
And let’s go back a few years before I added some cosmetic upgrades…

The goal of this kitchen was, of course, updating the look and feel of the kitchen, but most importantly, how it functioned for our family. There was a huge wall separating the main living space from the kitchen and the layout was not conducive to a family of 6 moving around in what is supposed to be the “heart” of our home.
Before view into our living area:

And After!! Look mom… no wall!

I planned and dreamed of this kitchen renovation for years before we actually started – and I don’t take a single day I spend in here with my family for granted. It has completely changed how we live in this home and I could not be happier with the final result.
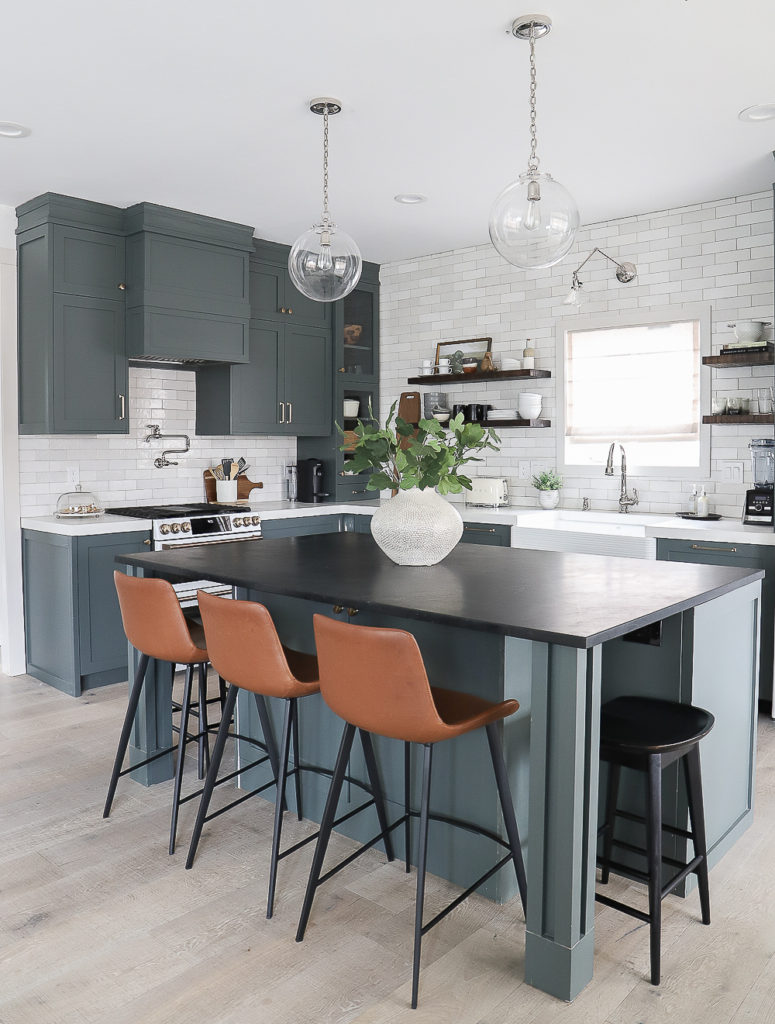
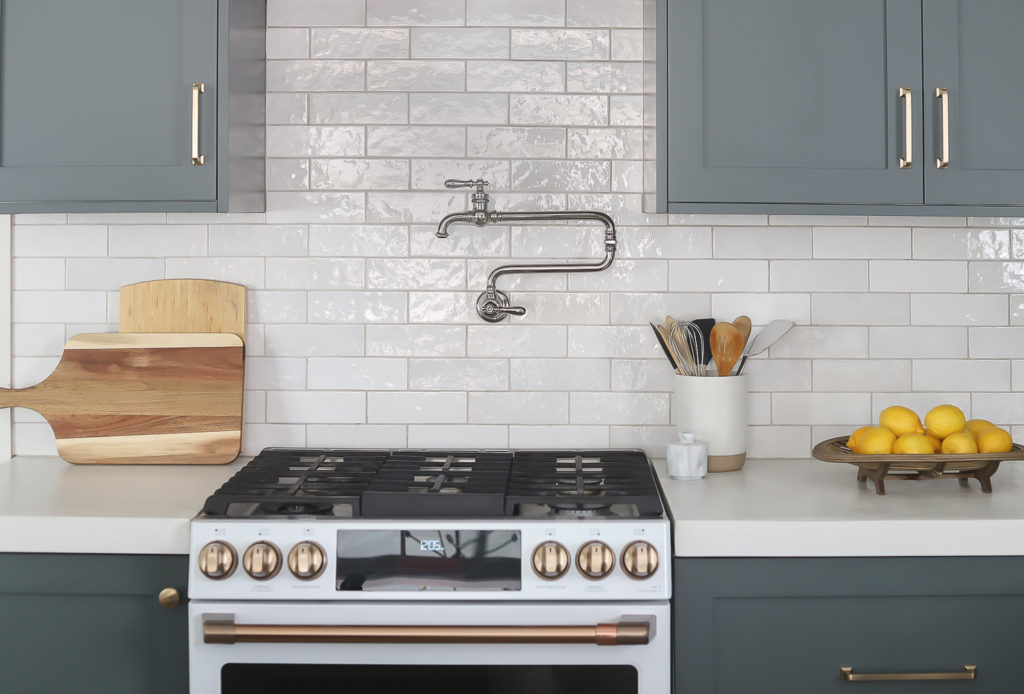
To save money and effort, I actually kept everything in the original place that I could. The range and sink/plumbing were not moved a single inch! The big layout changes involved knocking down the living room wall and relocating those appliances. I opted to replace my cooktop with this double oven gas range (it was electric before). I paid $500 to have a gas line ran to the same location and it was worth every penny!
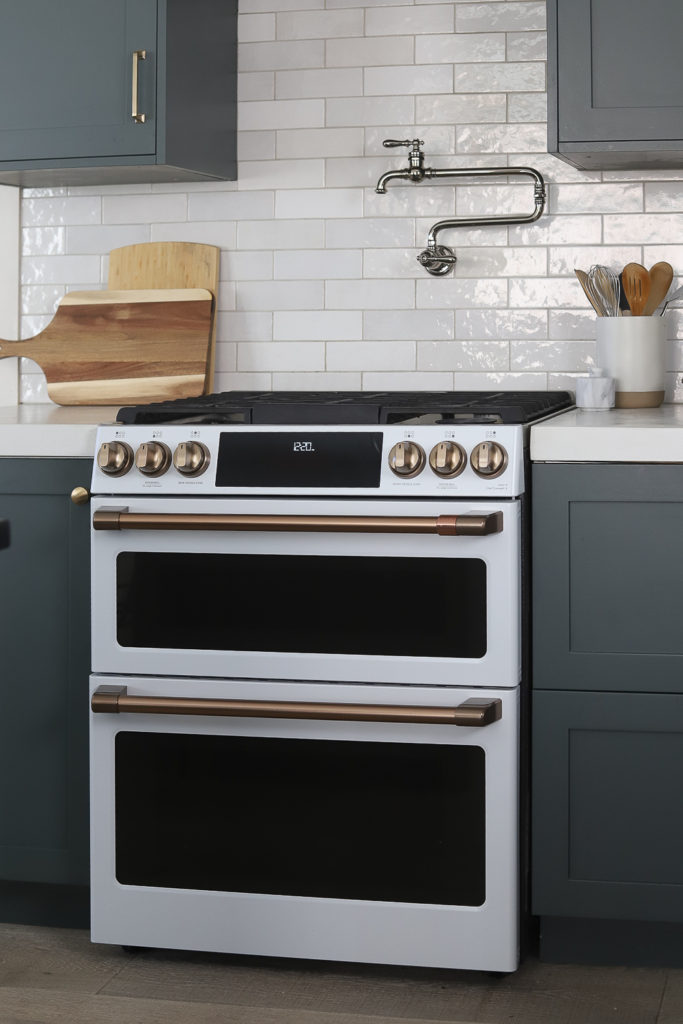
I actually looked at several cabinet options before deciding on using Ikea cabinets. I ordered Semihandmade DIY Shaker doors and painted them in the color Quarry Rock by Benjamin Moore. The DIY’er in me really wanted to see how custom I could make this kitchen so the paintable doors were a great option! Also… if I ever get bored over a weekend, I can paint them a different color! ha…
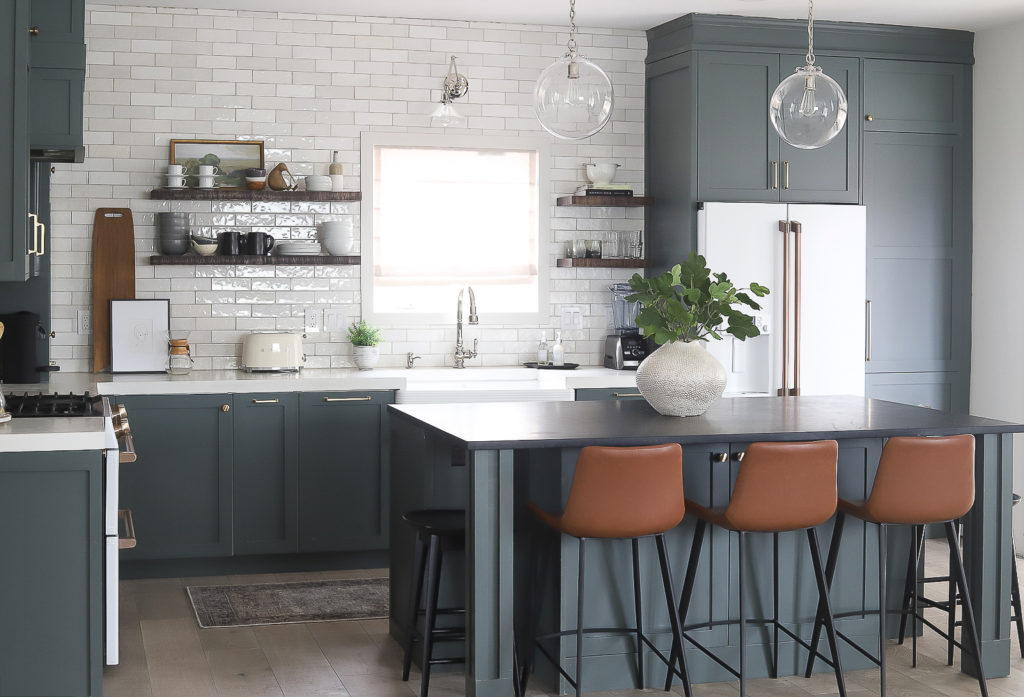
I plan on doing a full cabinet tour, but I can tell you I chose 90% drawers for my lower cabinetry and I am 100% confident in my decision. Ikea makes these cool interior drawers within drawers that make my OCD sing… stay tuned for those details!
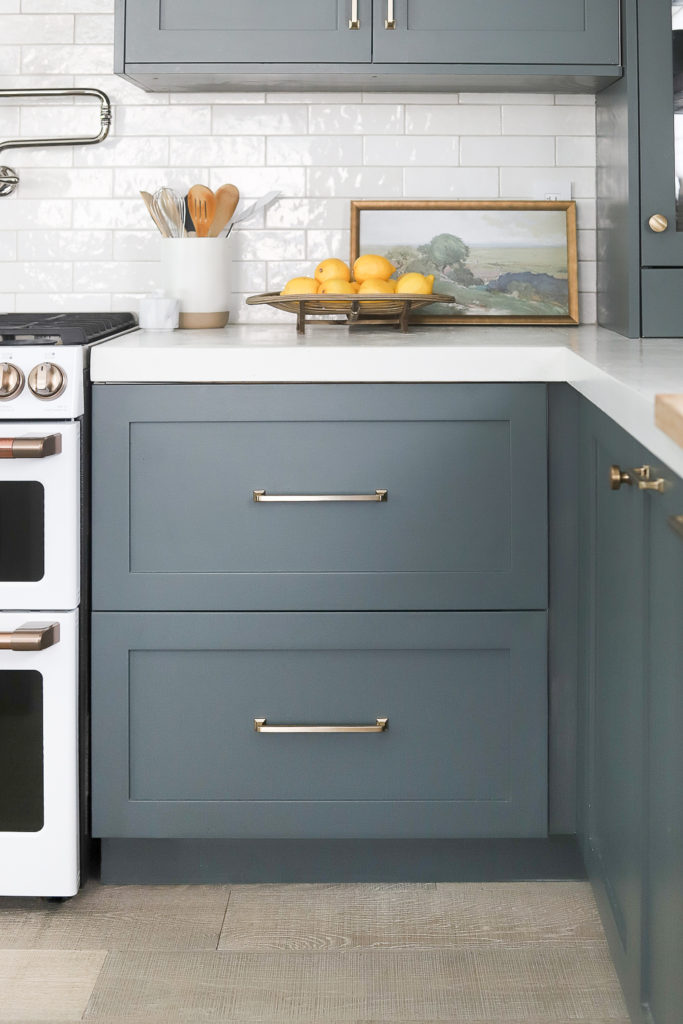
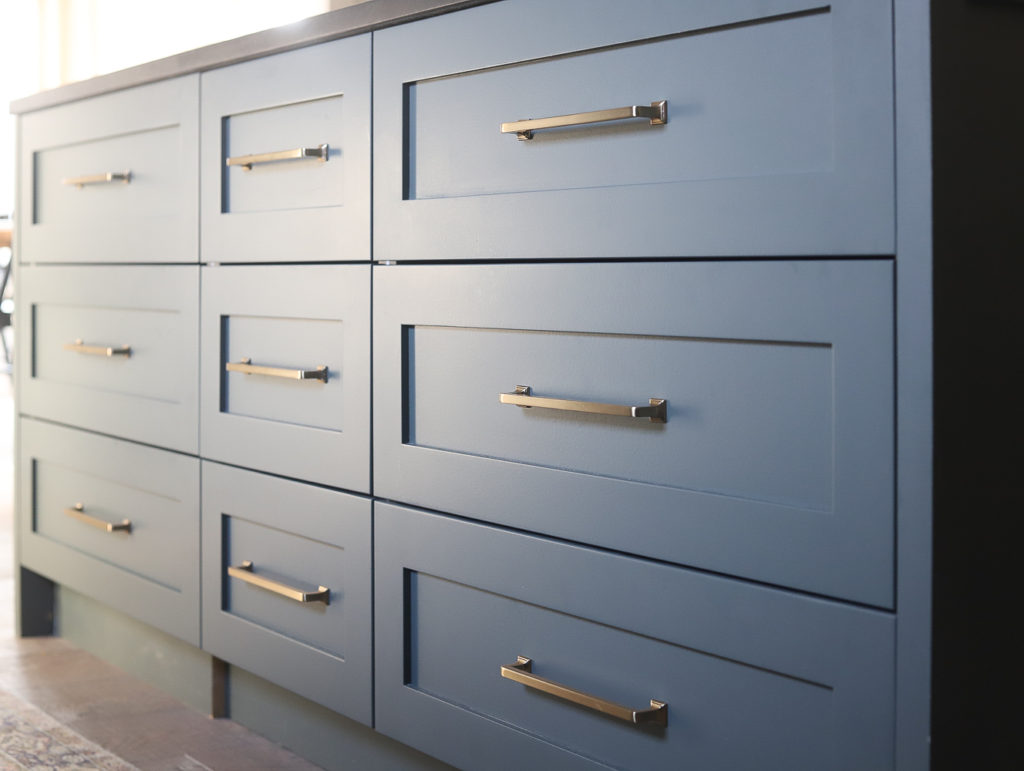
My other cabinet decision that I see, use and love every day is this counter cabinet. Ikea makes a 40″ cabinet with 2 drawers as a standard option. Based on my 9′ ceilings and my overall cabinet design, I knew I could modify that cabinet to 35″ and it worked beautifully.
You can see in the photo below that it is popped out slightly from the other wall cabinetry… I did just by mounting the rail system to a 2×6 that I first mounted on the wall. I love this extra detail so much.
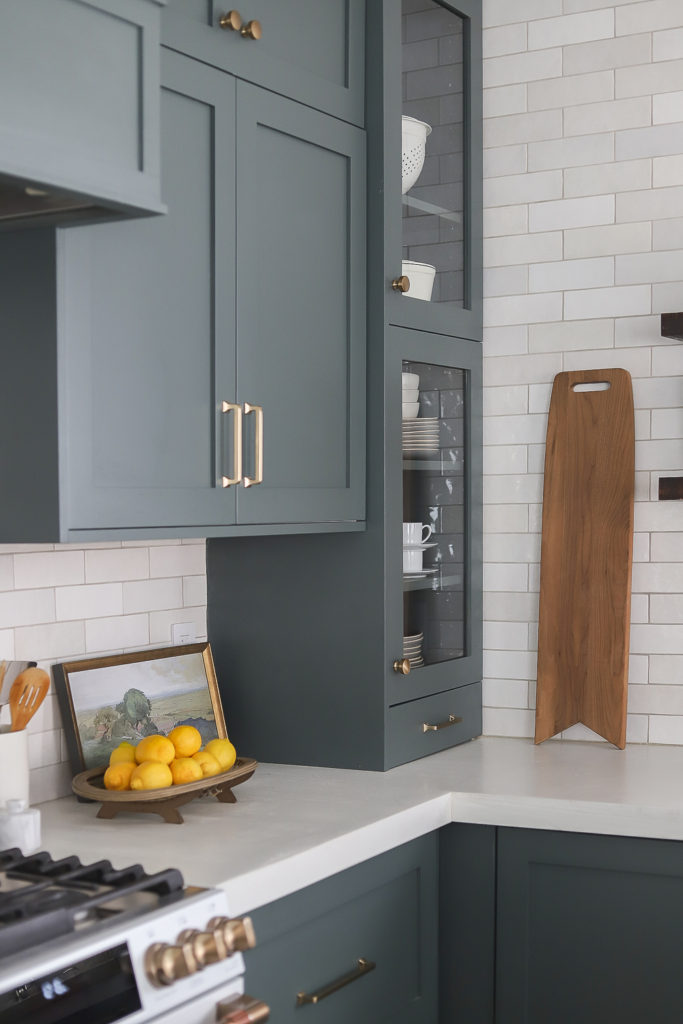
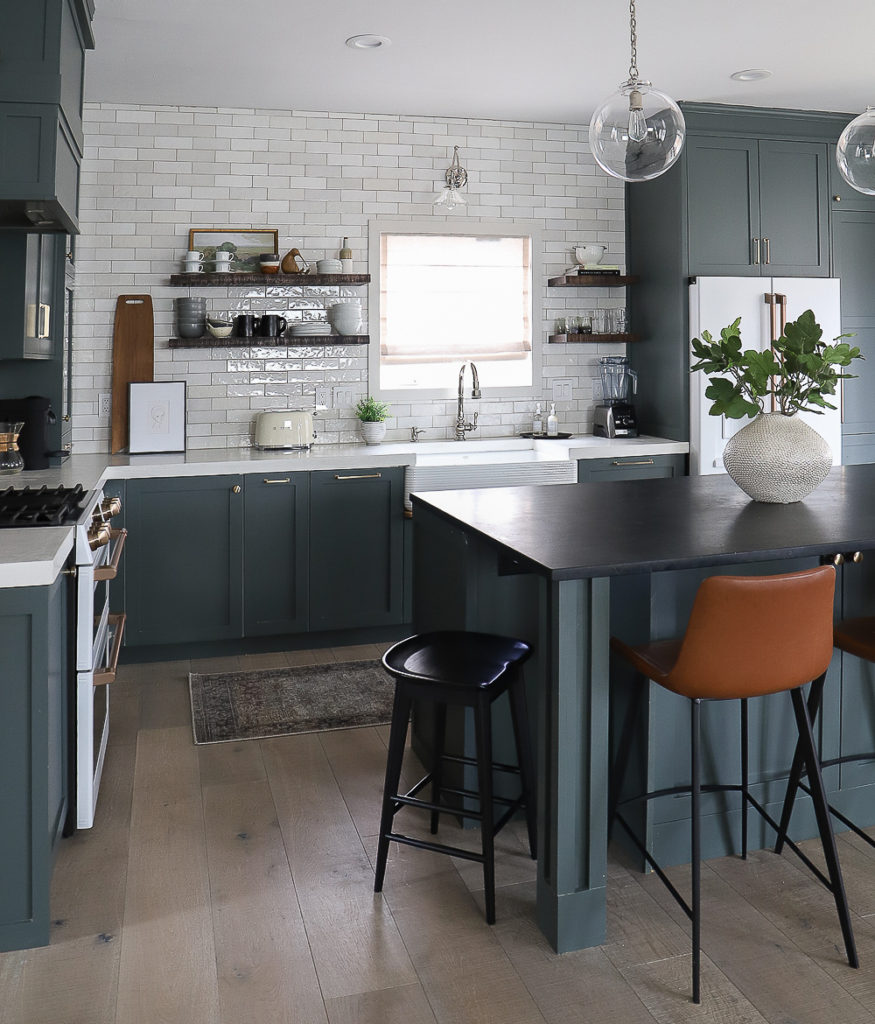
Let’s talk countertops. I went low and high… white and black. I DIYed my white concrete countertops on the perimeter and splurged on the most gorgeous black soapstone for my island. You can see the contrast below and I think it might be one of my favorite things… have I already said that?
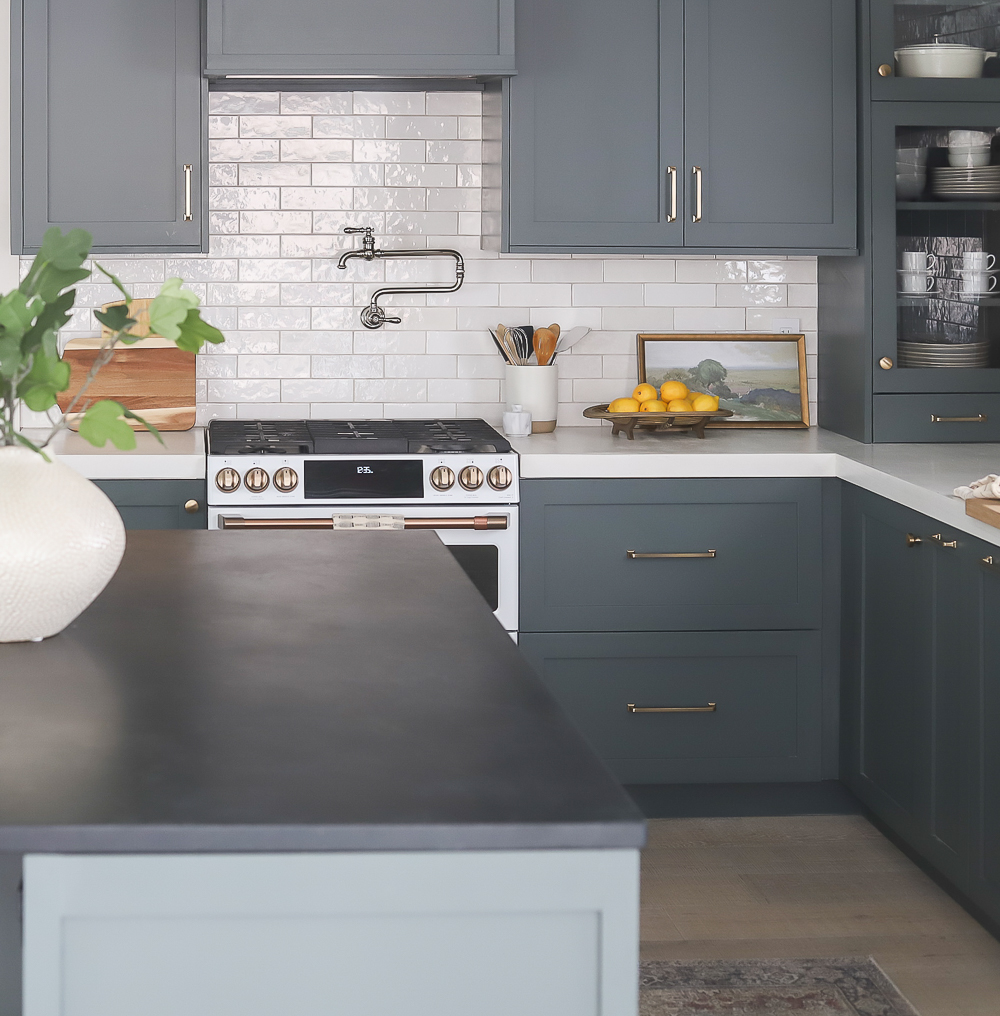
A close-up of the white concrete countertops… because I know you’ll ask. 🙂
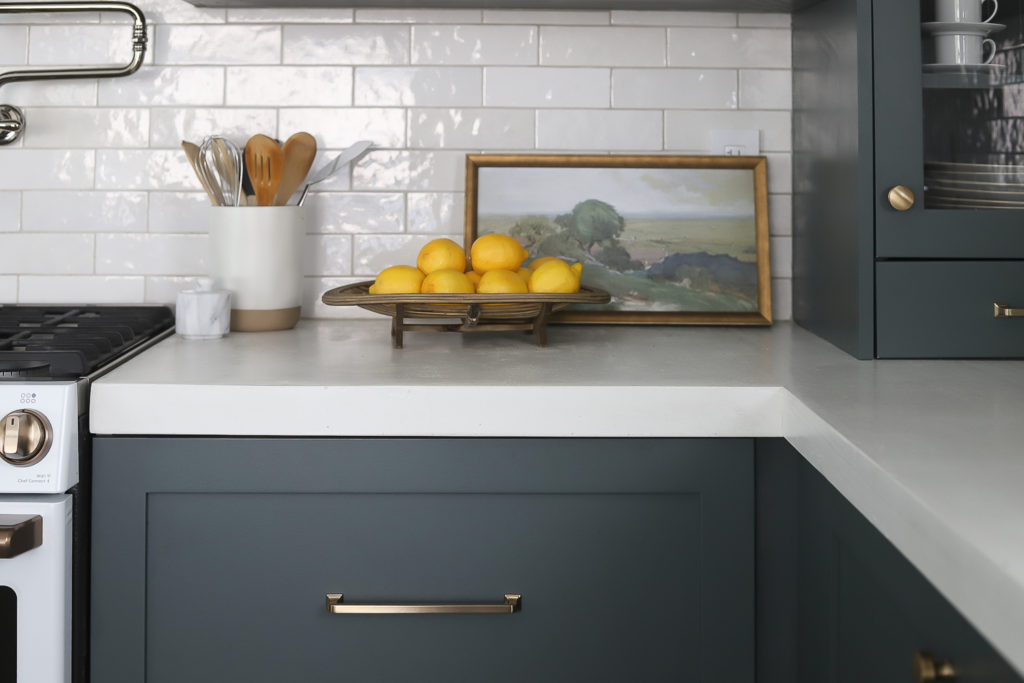
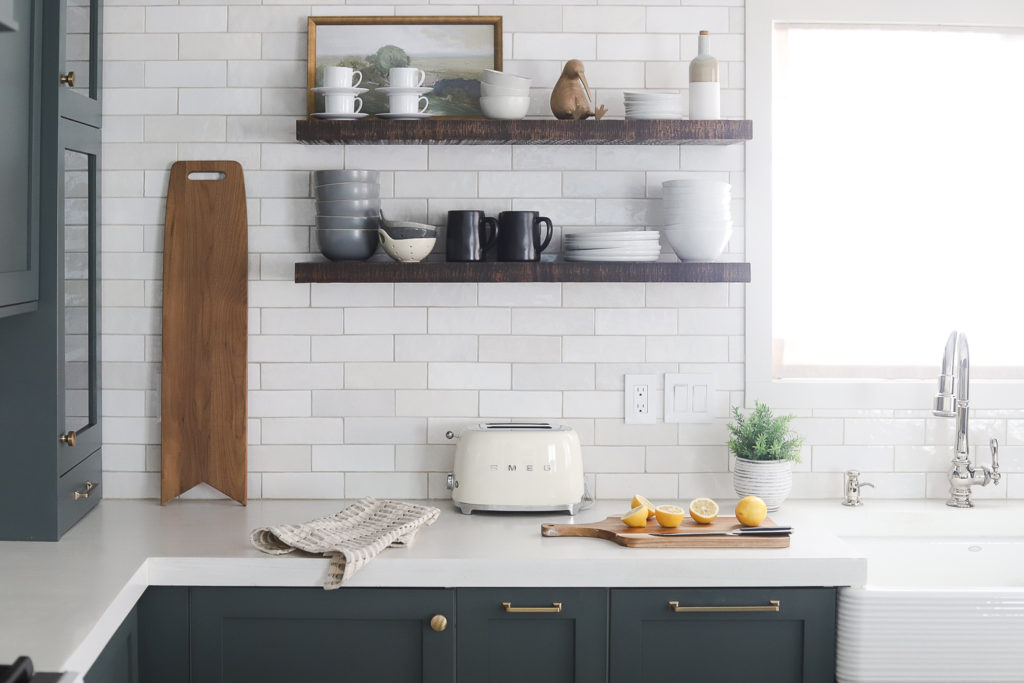
You can’t design a kitchen in 2019 without thinking about open shelving. I went back and forth with this decision… form vs. function. I obviously did a split down the middle with uppers on one side and open shelving on the other. I’m pleasantly surprised that I LOVE open shelving for both form and function.
I used the Espresso Rough from Shelfology and was able to order them down the exact inch I needed… something I really needed in this asymmetrical kitchen. Installation was a breeze and I love the character that the rough edge brings to the overall feel of the kitchen.
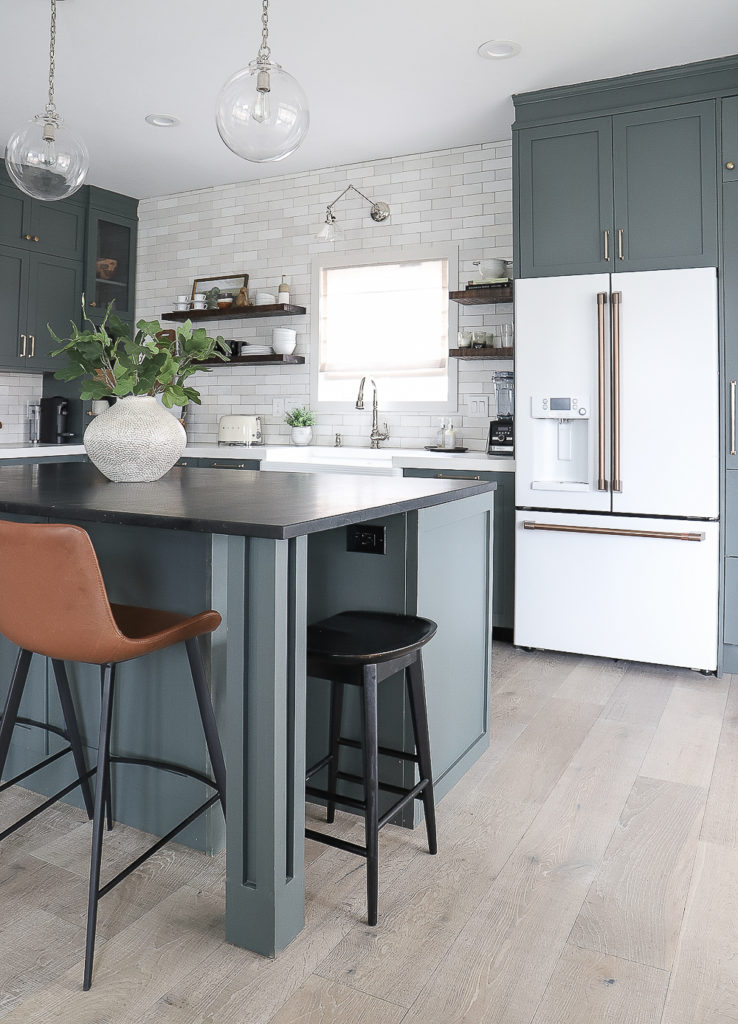
I agonized for months over the island design. I didn’t want to crowd the kitchen, but I also wanted to seat at least 4 people…. 4 kids to be exact. If I went longer, I ate up into the walkway which was something I wanted to avoid. I came up with this design that allowed for extra seating on the sides. I envisioned bar stools there that could tuck away for a clean look.
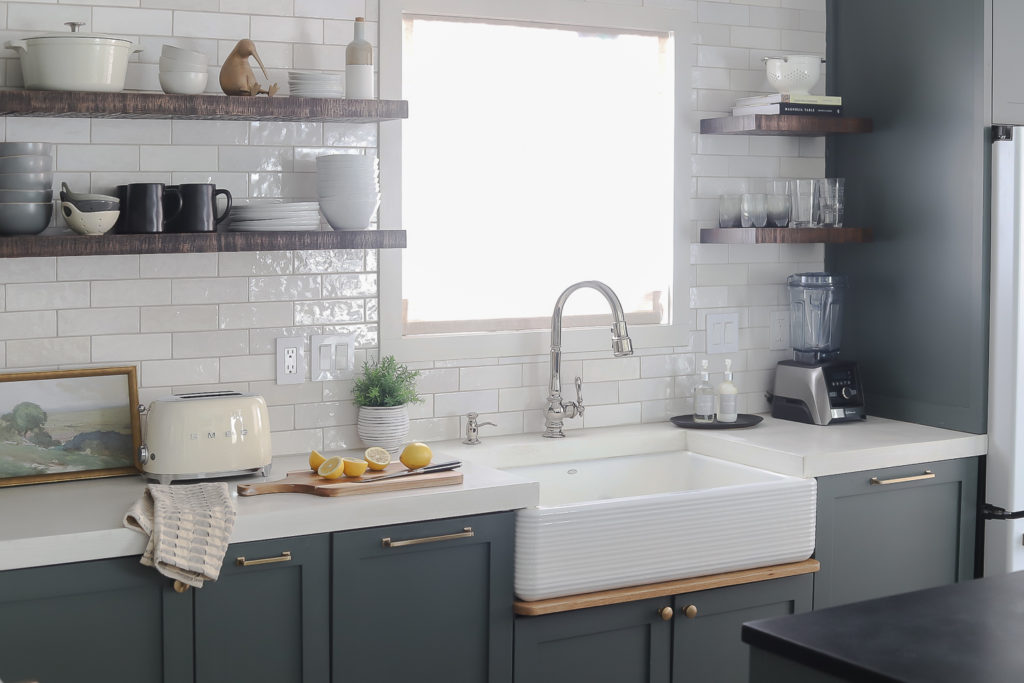
The star of this kitchen is obviously this ribbed Kohler Whitehaven Farmhouse Sink. It’s a sink that I’ve pined over for years and it makes me happy every single day. The smart divide feature is perfect to allow for both having compartments and a basin big enough for bit pots and handles.
I DIY’ed a simple drip ledge underneath the apron sink with leftover white oak. It’s a feature that I get asked about daily… and to think I almost didn’t add this in!
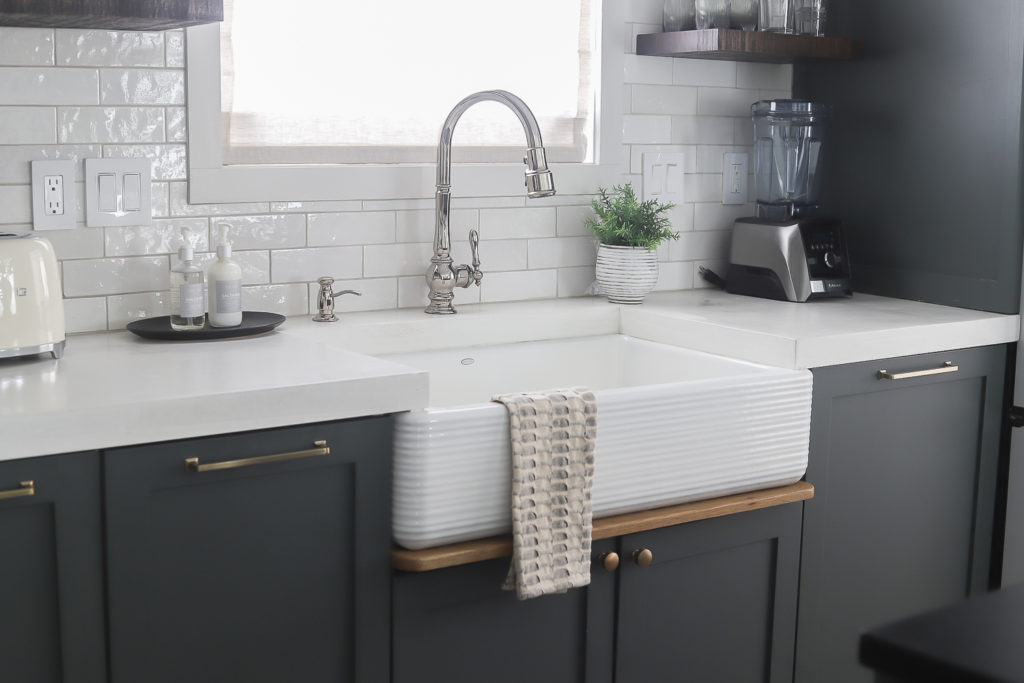
I went with the Artifacts line from Kohler in polished nickel for both the faucet and the pot filler. Is a pot filler a luxury… yes. Do I use it every single day… YES. Highly recommend. The Artifacts line is the perfect blend of classic, modern and sophistication. I used it in my recent bathroom renovation as well and can’t love it enough.

I was able to design this kitchen with an open floor plan and tons of room for prep and little feet to pass through. I allowed 48″ from the island to the sink wall and 45″ from the island to the oven wall. 36″-40″ is usually the standard but we really love having that additional walk room.
Did I miss any details? Now that the hard part is over, I do plan on catching up with a few tutorials and follow-up posts so be sure to stay tuned for those.
One last before and after shall we….


I want to thank every single one of you reading this and everyone who has cheered me on along the way. This has been a labor of love and I have learned so much… hopefully I have passed a lot of that education along to you!
SOURCES
Cabinets: Ikea Sektion cabinets and DIY Shaker doors from Semihandmade. I used PPG Breakthrough tinted in Benjamin Moore’s “Quarry Rock” to spray the cabinets. The finish has held up better than I had hoped!
Flooring: Woodland reserve Montpellier oak ll distressed
CABINETRY & COUNTERTOPS
Cabinets
Hardware pulls
Hardware knobs
Perimeter – DIY White Concrete Countertops
Island Countertop: Soapstone
PAINT COLORS
Wall Paint Color:Benjamin Moore Hardwood Putty
Cabinet Paint Color:Benjamin Moore Quarry Rock
BACKSPLASH
Grout
Tile
APPLIANCES
Fridge
Double Oven
Dishwasher
Hood Vent
Apron Sink
Faucet
Pot Filler
Kitchen Aid
Toaster
DECOR
Floating Shelves
Roman Shades
Runner
Vase
Faux Greenery
Salt and Pepper Shakers
Salt container
Cutting board
Paper Towel Holder
Wooden Bowl
Oval Tray
Bamboo Tray
Wooden Tray
LIGHTING
Wall Plate
Light Switch
Island Pendants
Articulating Scones
BARSTOOLS
Jaxon Barstool
Gage Counter Stool
DISHES
Berry Bowls
Mercer Bowls
Mercer Appetizer Plates
Salad Plates
Lunea Melamine Plates
Dinner Plates
Espresso Cups
Old Fashioned Cups
RELATED BLOG POSTS
Our DIY Kitchen Renovation Plans
Choosing a Dishwasher
DIY White Concrete Countertops– The Prep and Pour
Bar Stool Roundup
Floor & Decor: A Store Tour and My Favorite Finds
WIFE, MAMA, DESIGNER, RENOVATOR, & PASSIONATE DIY EDUCATOR
I'm Jennifer Gizzi.
Let's create our dream homes together.
Navigate
home
about
blog
courses
shop
Social
Youtube
Legal
Terms & Conditions
Privacy Policy
© 2021 Making Pretty Spaces
Thx SO much for sharing.
We have just started tearing out my old boxes as we are doing a total redesign of my kitchen as well (IKEA + custom doors as well). You’ve answered so many things in you post That were so helpful. But I am VERY curious about your thoughts now that you have been using them awhile… the Cafe appliances. Specifically the double oven and the fridge. I’m days away from pulling the trigger on both, but have some less expensive options in my que as well. Just curious if your happy w/their function as well as bang for you buck.
I love both! I love the size of the oven but the function of having 2! The hot water feature on the fridge is one of my favorites… so glad I bought them both!
Really *so* beautiful! Great job! Can you please share the name of the sealer you used on your white concrete countertops and how it’s working for you so far? Thank you so much! 🙂