
How To Build Basic Cabinet Boxes With Kreg!
Does building a cabinet sound scary? It definitely did to me but I planned and researched and decided to tackle my first cabinet build when I needed a custom depth for my laundry room.
There are several ways to build the bases and this is just one way to get the height for the toe kick area. I decided to build a platform out of 2×4 material as a flat base to use all around the room. This way I could build my cabinet boxes square. You can also skip this step and cut out the toe kick area with a jigsaw. Either way will work!
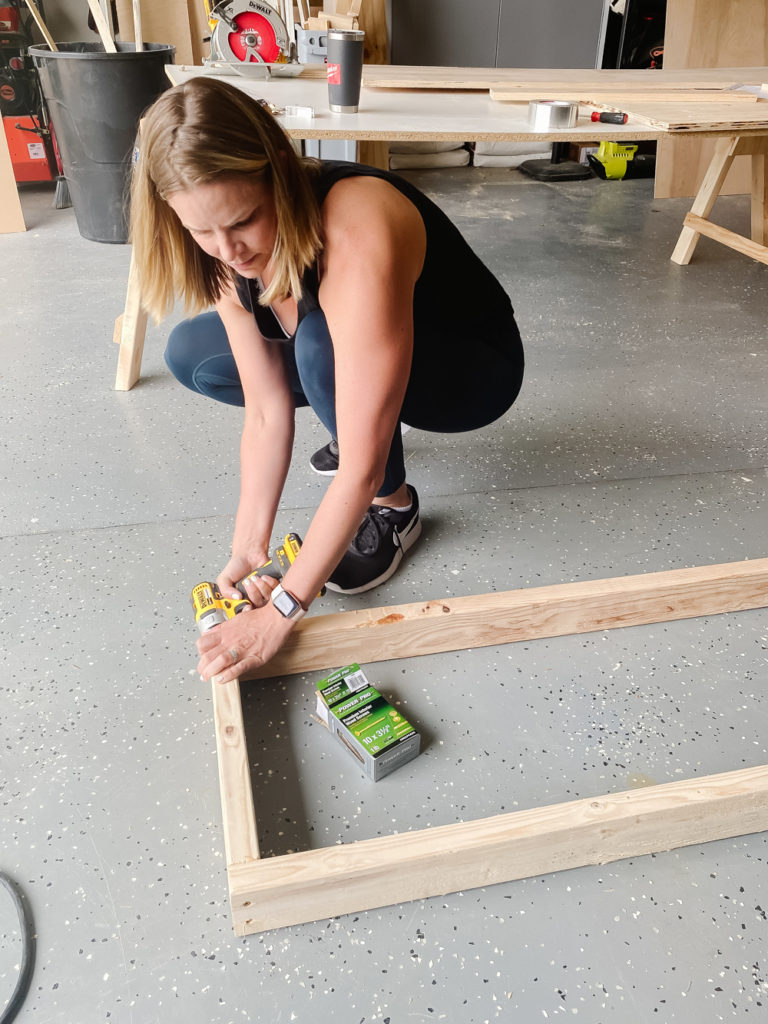
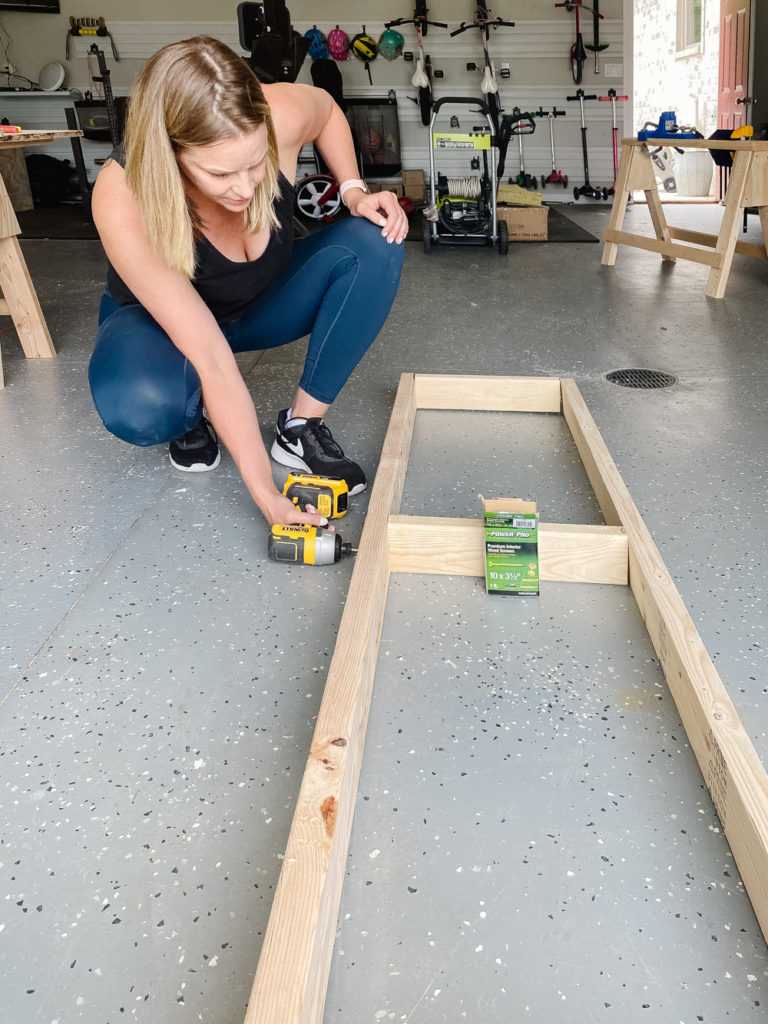
I used 3/4″ plywood to top the base using 1 1/2″ screws. This gives an overall height of 4.25″ for your cabinet base to sit on.
To determine your platform depth, subtract the toe kick area from your total cabinet depth making sure to account for the width of the toe kick that you will put back on.
As an example:
Cabinet Depth = 22″
Toe Kick Depth = 3 1/2″
Toe Kick Baseboard: 3/4″
Platform Depth: 22″ – (3 1/2″ + 3/4″) = 17 3/4″
Toe Kick Definition: The area below the base cabinet that is designed to allow someone to stand at a cabinet and have countertops and cabinets at arm’s length. It is a design + ergonomic feature and it can range from zero to 4″ based on preference, but is typically 3.5 – 4″.
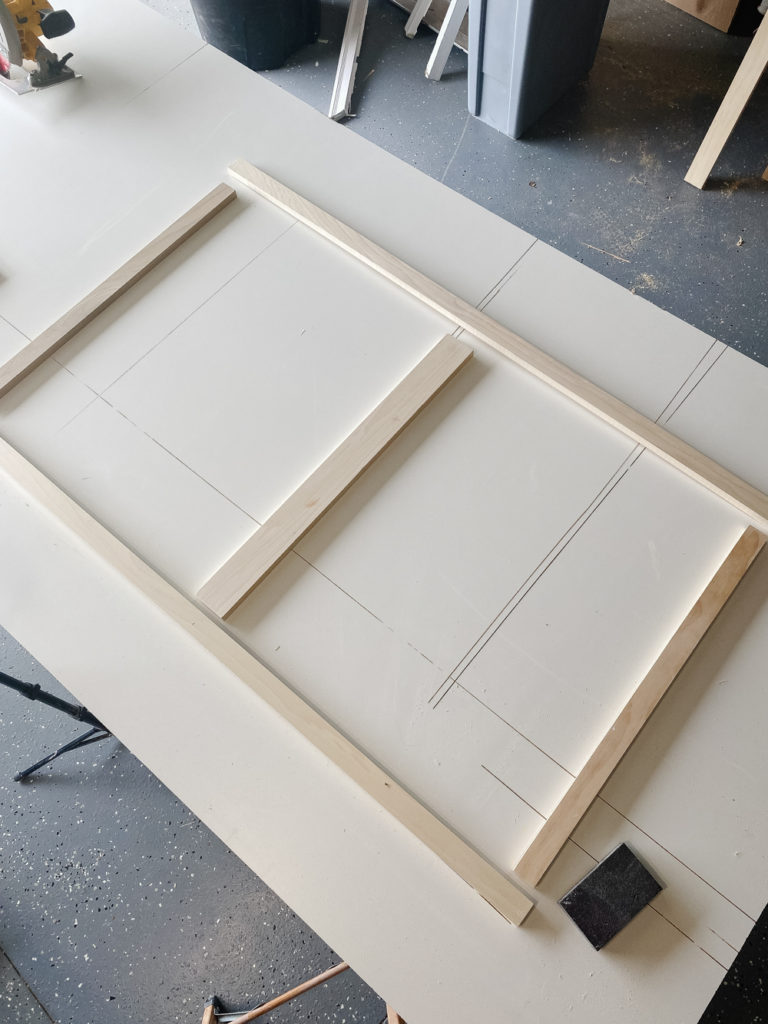
Now for the fun part! I got a few tips from a local cabinet maker and he suggested building the face frame first. This ensures the cabinet is built to the correct size with no mistakes.
I am building my face frame out of 1×2 and 1×3 poplar. Poplar is harder than pine and still accessible at most big box stores.
The face frame is made up of rails and stiles. Rails are the horizontal pieces of the face frame and stiles are the vertical pieces.
Typically, the stiles run the length of the face frame and you connect the rails into those vertical pieces. I chose to cut my rails the entire length so I could cut all my stiles the same size – this made more sense to me and it worked out great!
Also note that I built one larger face frame that will attach to 2 separate cabinet boxes.
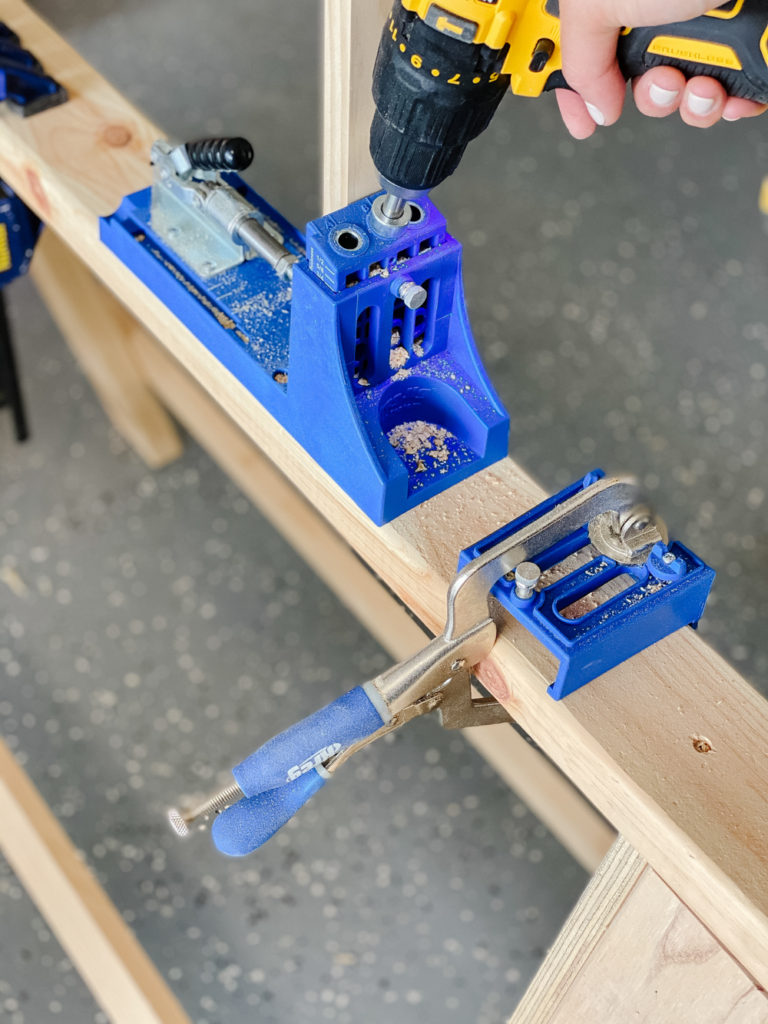
I am using pocket holes to join 90% of these cabinets. Kreg makes a very user friendly system that makes this type of joinery a breeze!
The first step is determining how thick your material is. You set both the jig and the drill bit to this setting. For this face frame, I am using 3/4″ material so I set the jig and bit to 3/4″ and drilled 2 holes on each stile (vertical piece).


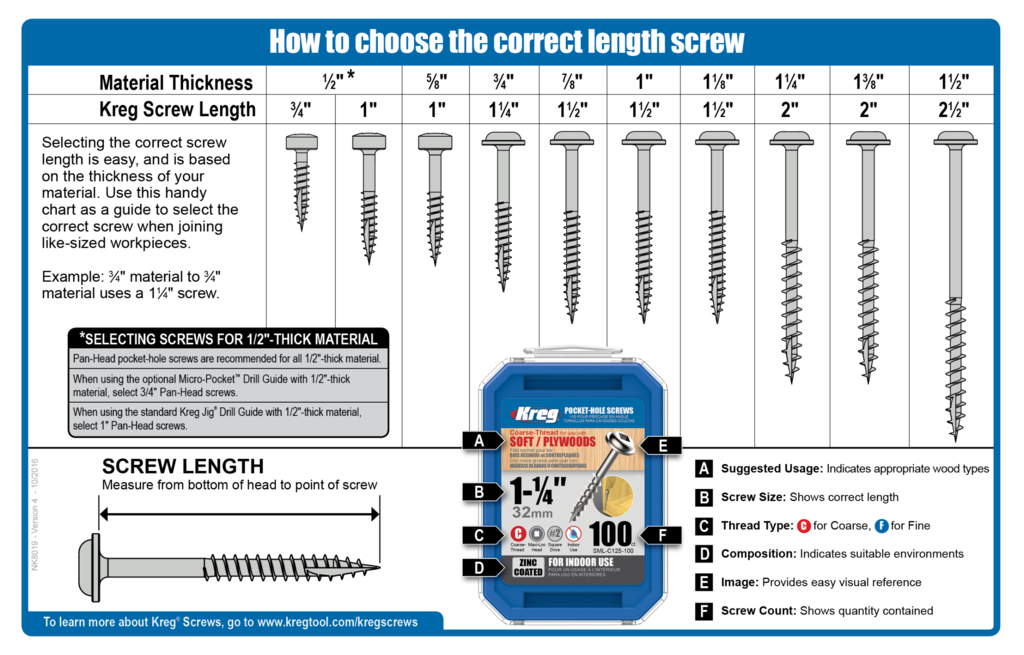
Once you have your pocket holes drilled, it’s time to join them together! Kreg also makes this very easy by supplying a guide to determine what size screw to use. I am using 1 1/4″ screws designed for hardwood.
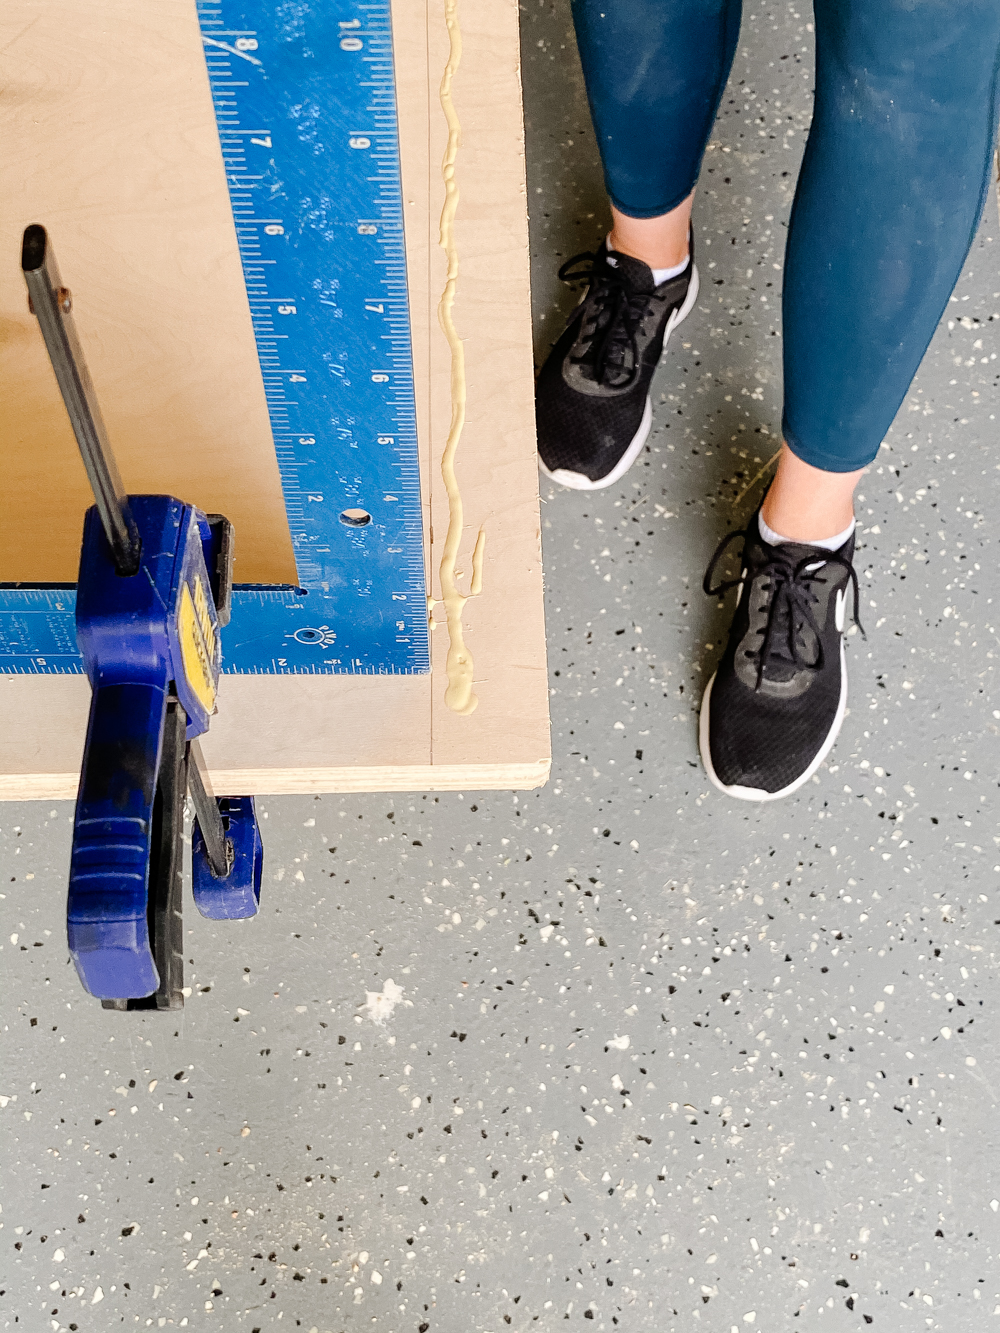
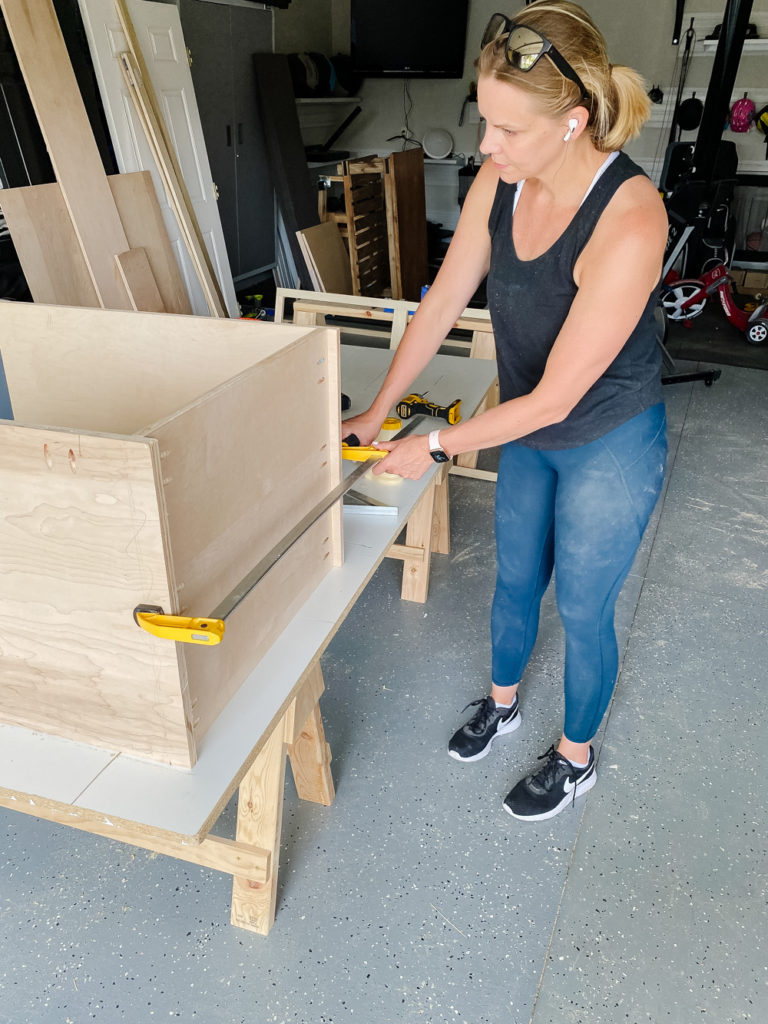
These right angle clamps make building with pocket holes very easy. The material can have a tendency to shift so it’s always a good idea to use a clamp to keep things secure. Note: I also use wood glue on all of my joints before I join them together!
One more tip for building is to always make things square! I keep a variety of squares in my shop for various projects – it’s one of those tools you can always find a use for!

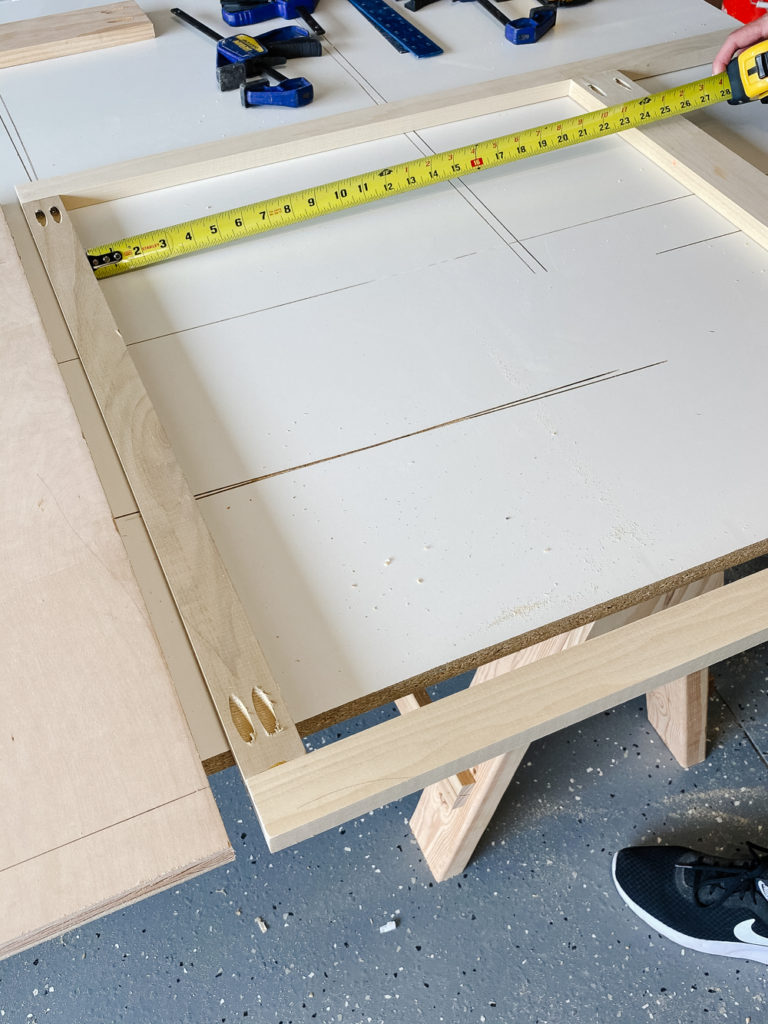
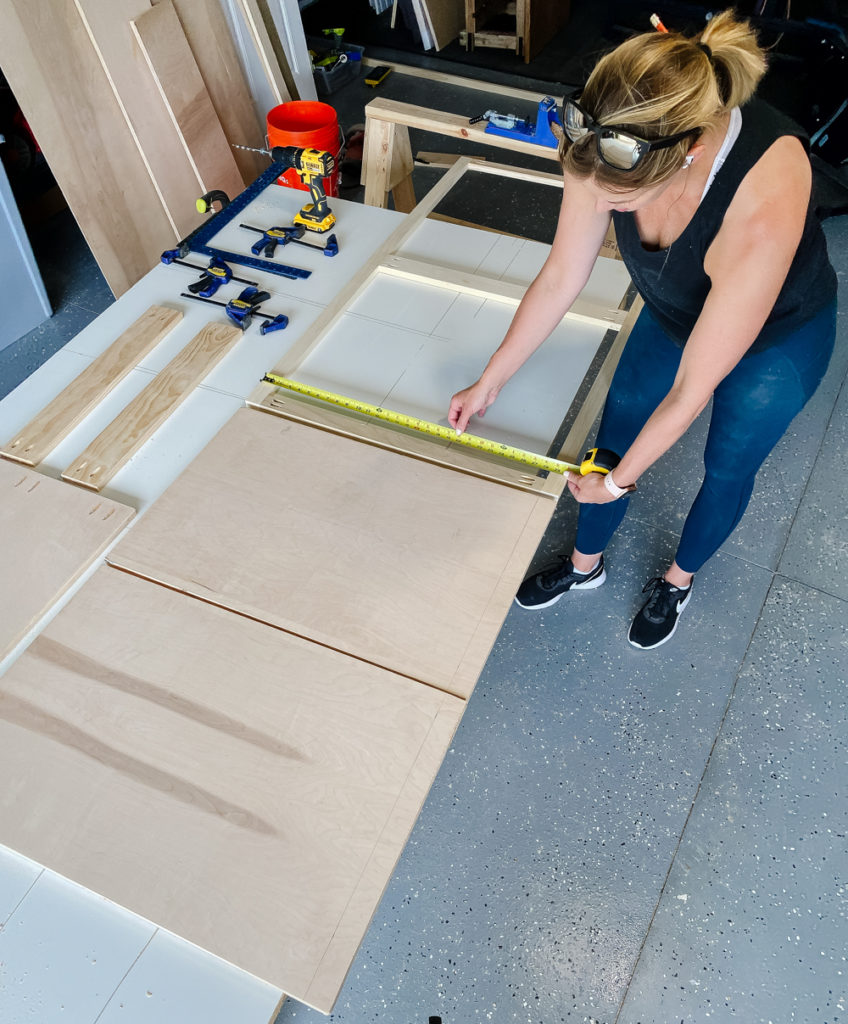
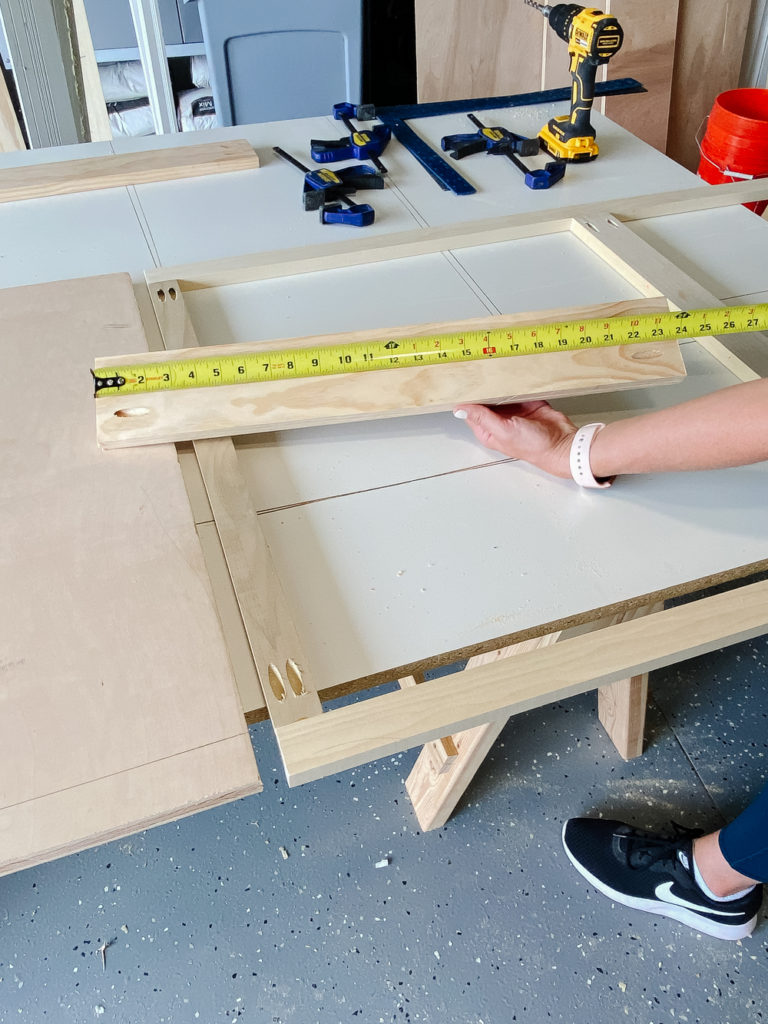
Once your face frame is built, it’s time to build your cabinet bases! For this cabinet base, I’m using 3/4″ plywood material and I cut them to the entire length of the face frame. For the depth, it will be total depth of the cabinet minus the width of the face frame since that will sit on top.
Example: My cabinet is 22″ – 3/4″ (face frame) = 21 1/4″
I cut my cabinet sides: 21 1/4″ depth x 30 1/2″ tall.
Cabinet bottom: 21 1/4″ depth x 23 1/2″
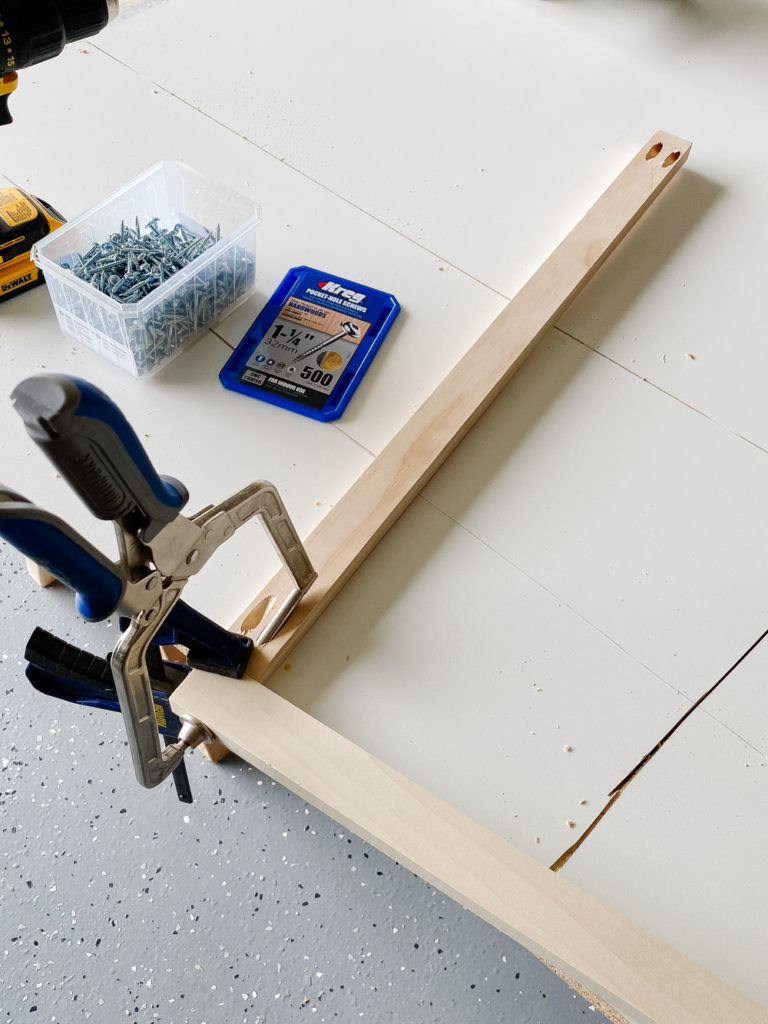
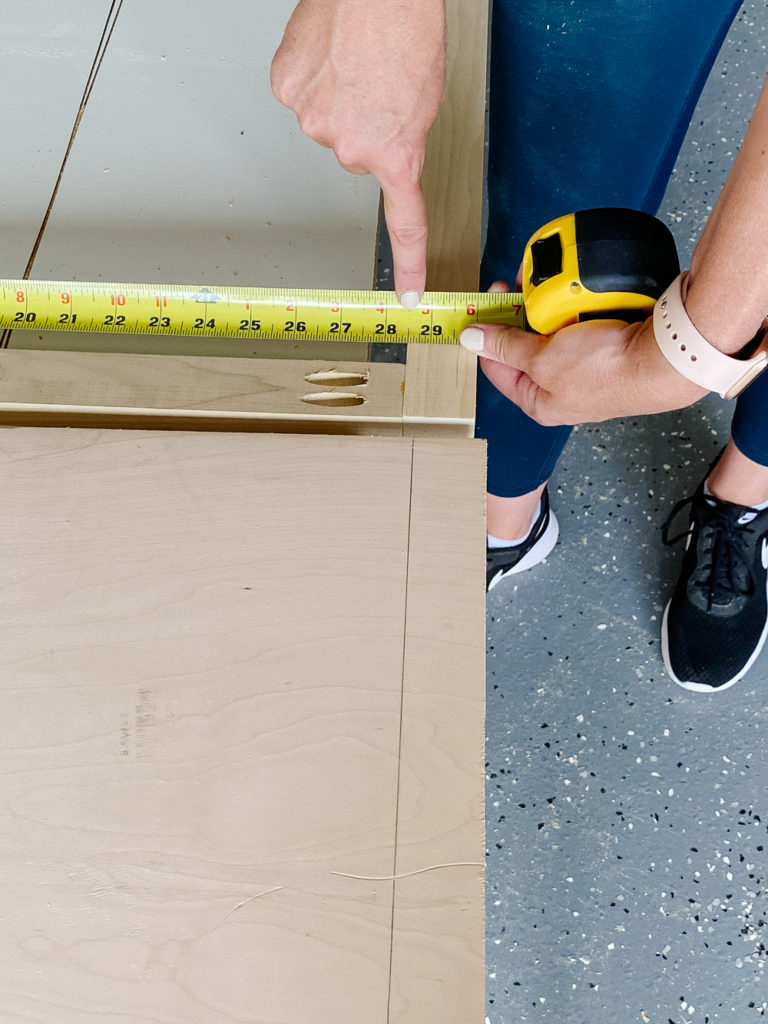
Next, I added pocket holes to attach the front edge of the cabinet sides to the face frame. You can strategically decide which side to put these on depending on which side of your cabinets will show less. You also want to make sure you stay around 2″ away from the edges to avoid any other screws and possible splitting.
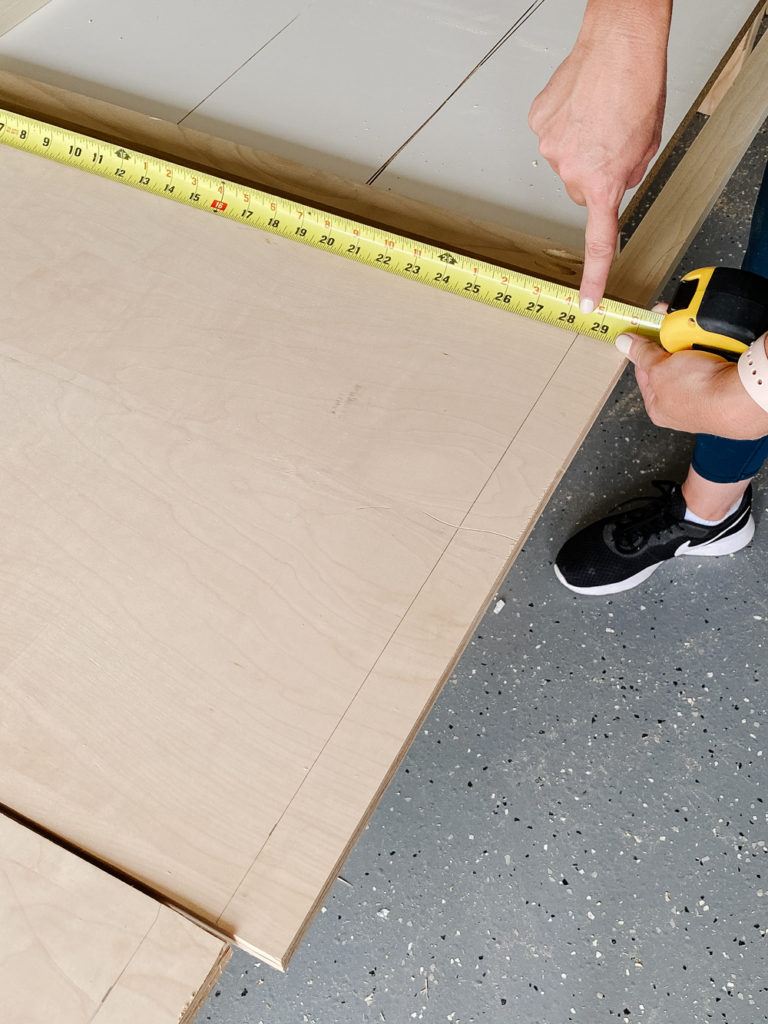
Measure the inside width of face frame to determine width of bottom piece for cabinet.
See above: You’ll see I only added pocket holes to the sides of the bottom piece… but later realized I needed them on the front side as well to attach to the face frame!
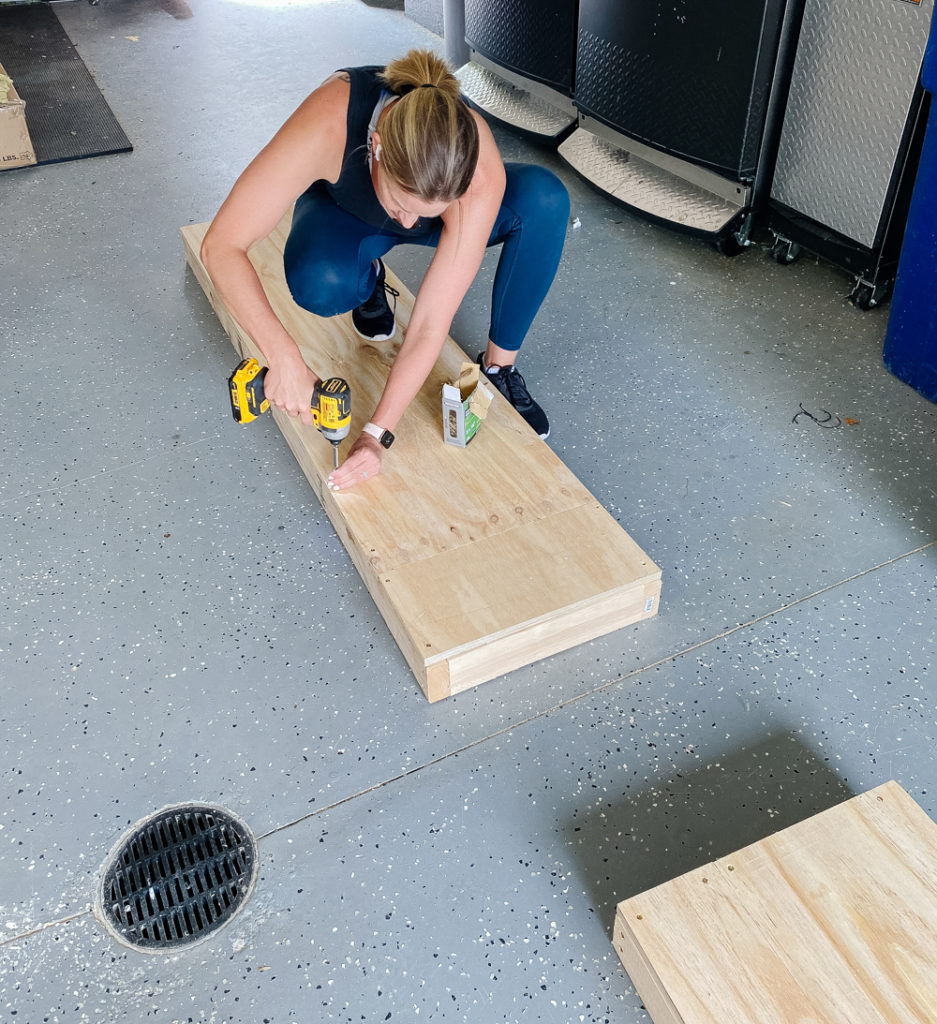
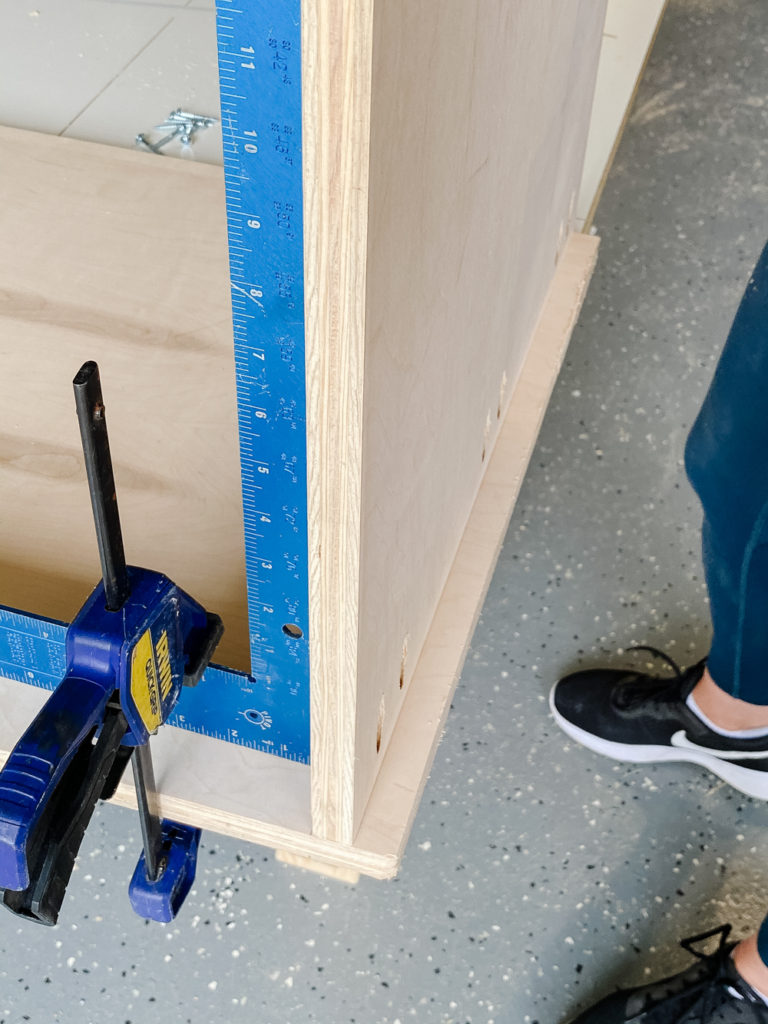
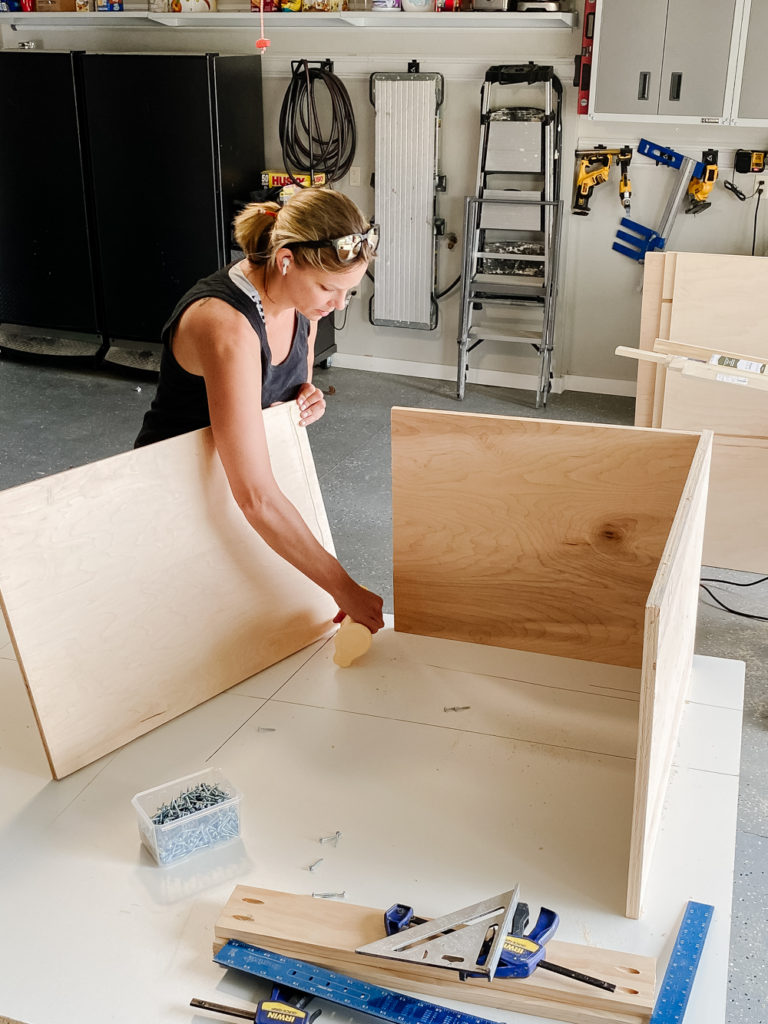
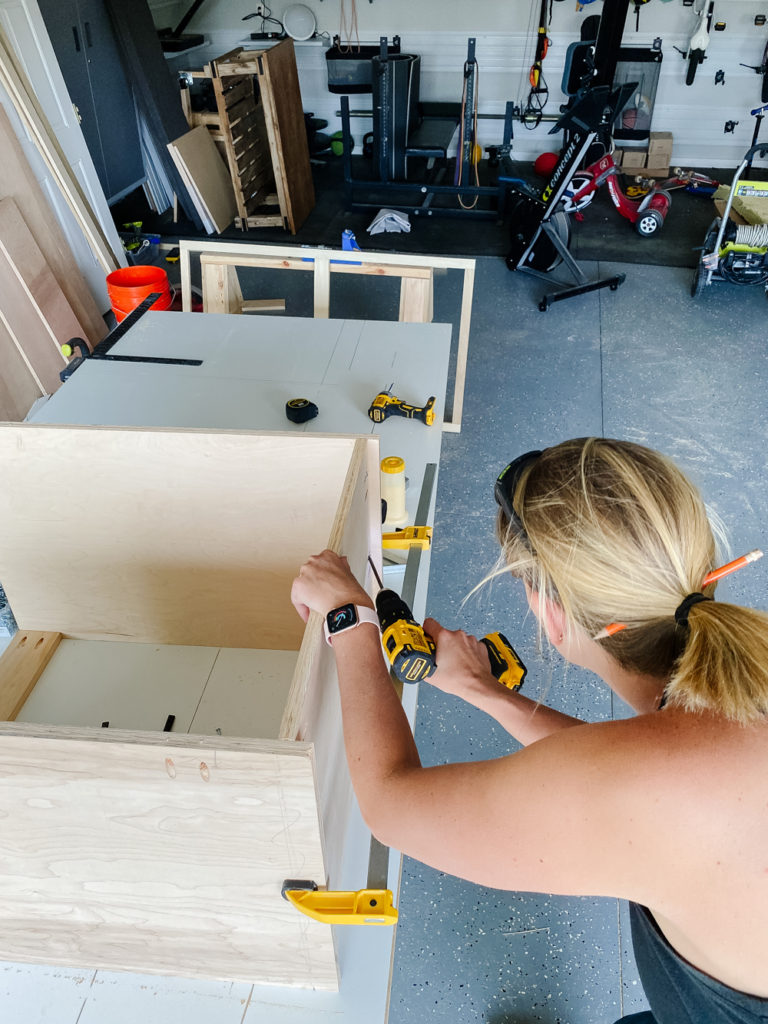
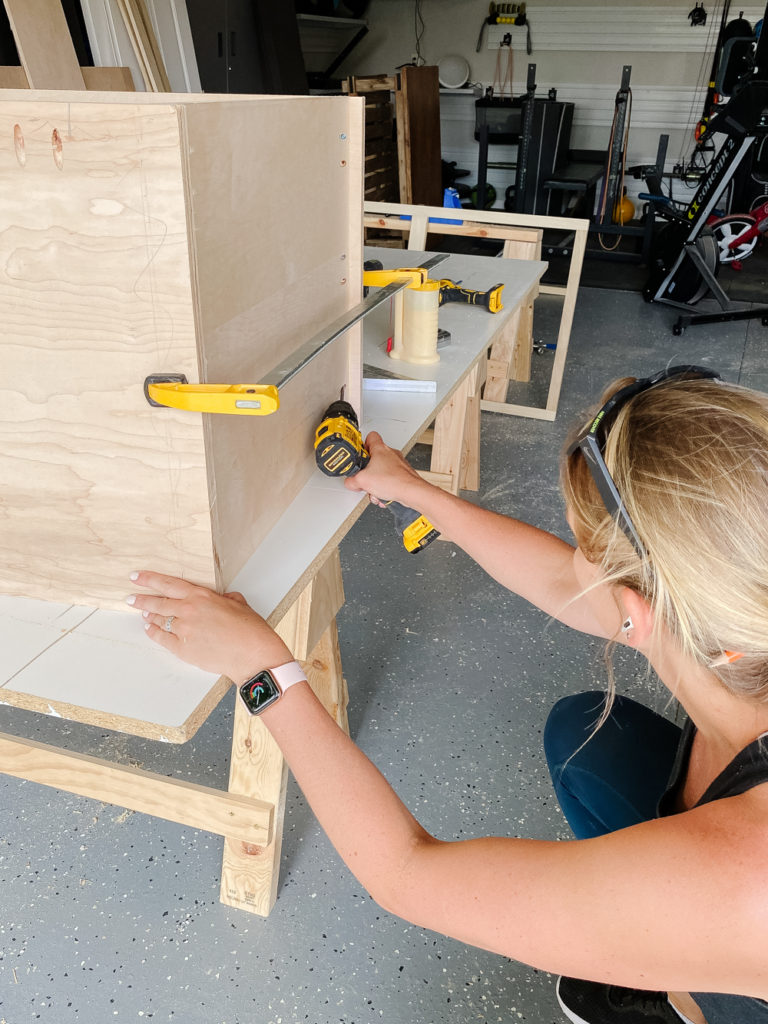
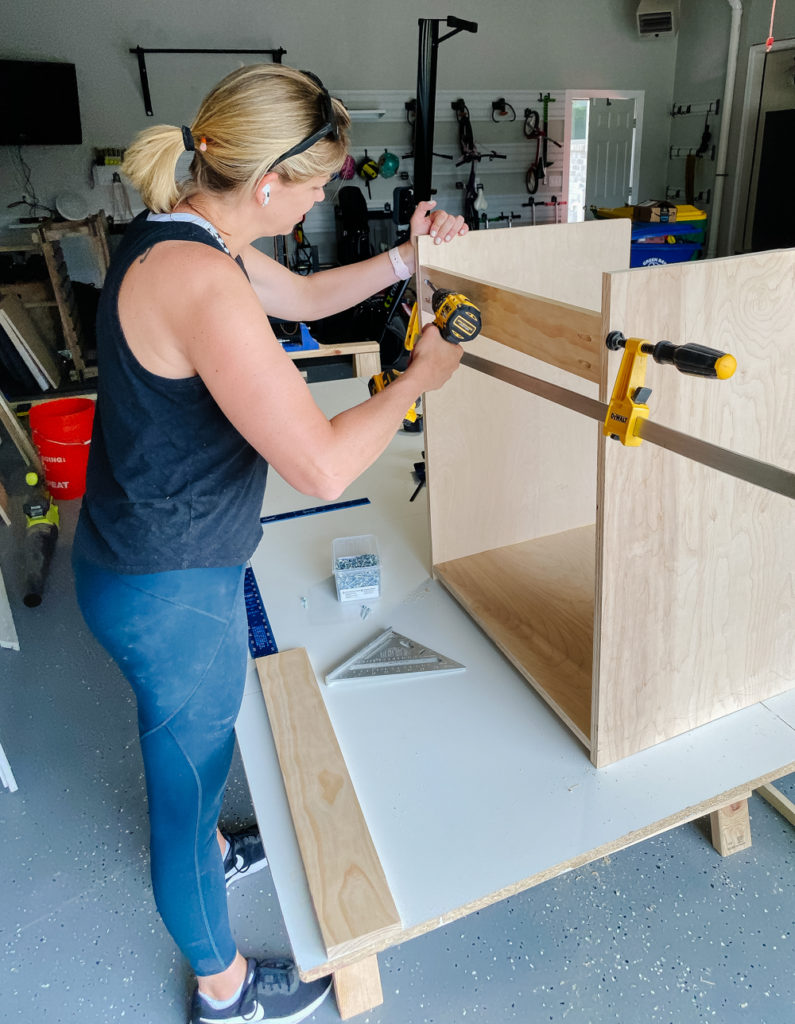
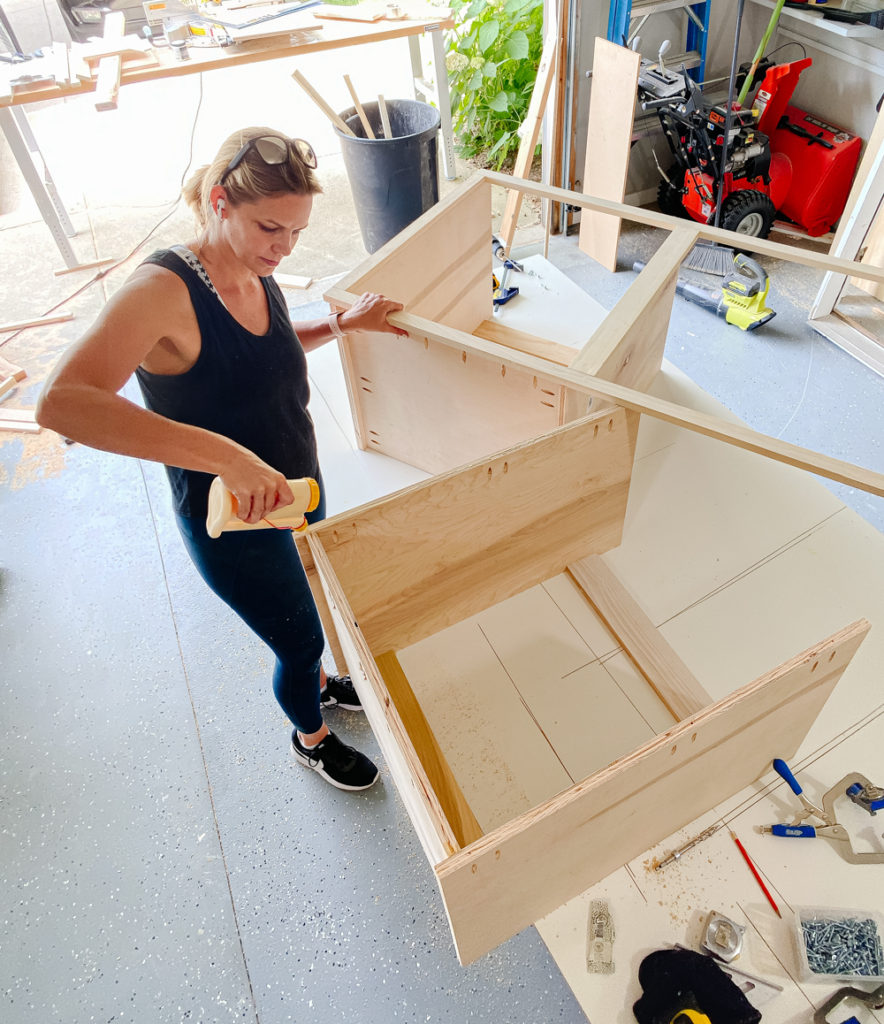
Now it’s time to build the cabinet! I wanted the bottom to sit flush with the edge of the face frame so I took that measurement and drew a straight line on the sides of the cabinet pieces. This line was my guide for attaching the bottom piece.
Aligned bottom piece of cabinet to sides using the line I just drew and ensuring everything stayed square!
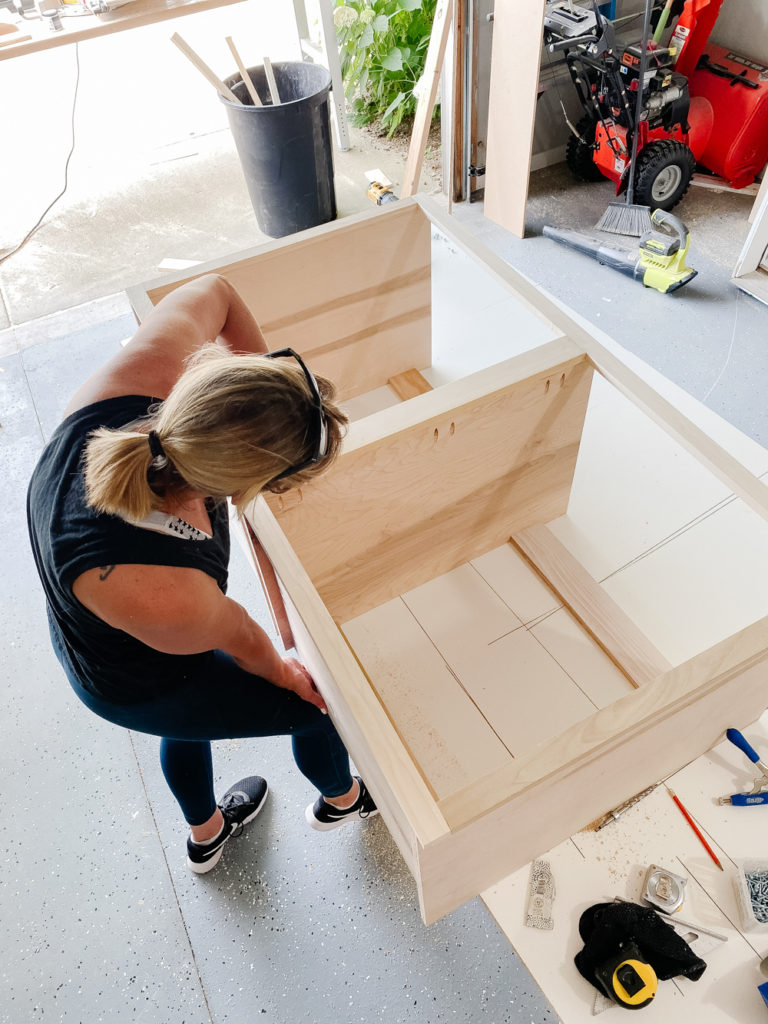
Repeated that process to attach other side of cabinet.
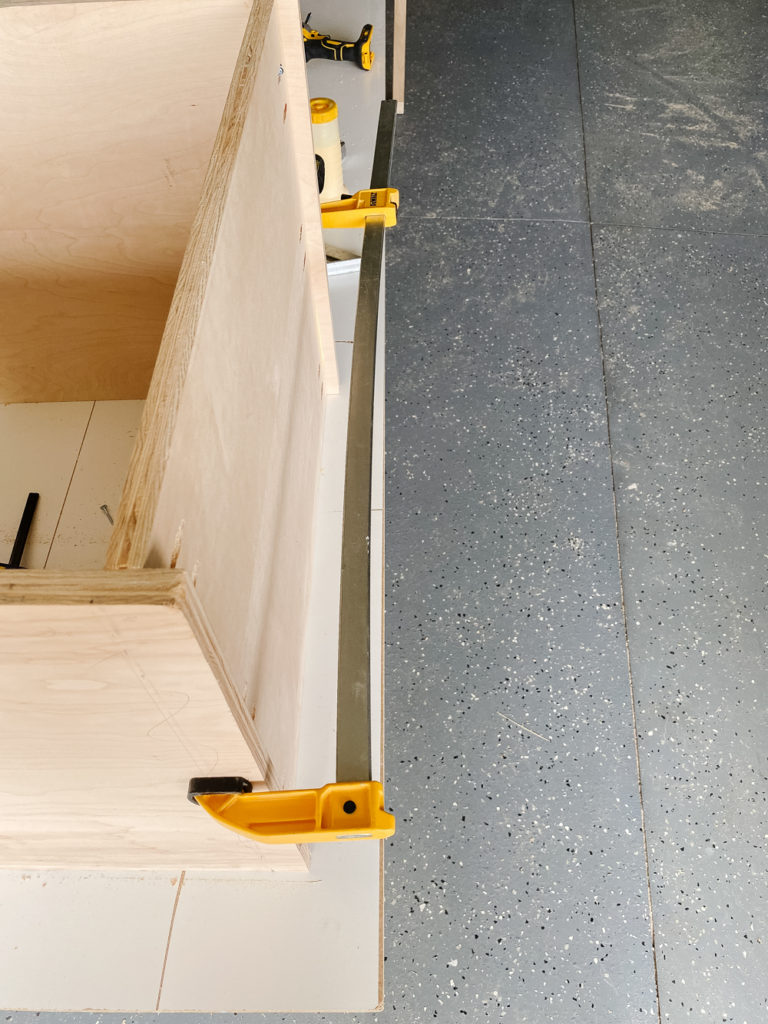
I used a larger clamp here to keep everything from shifting while I attached the bottom piece to the other side.
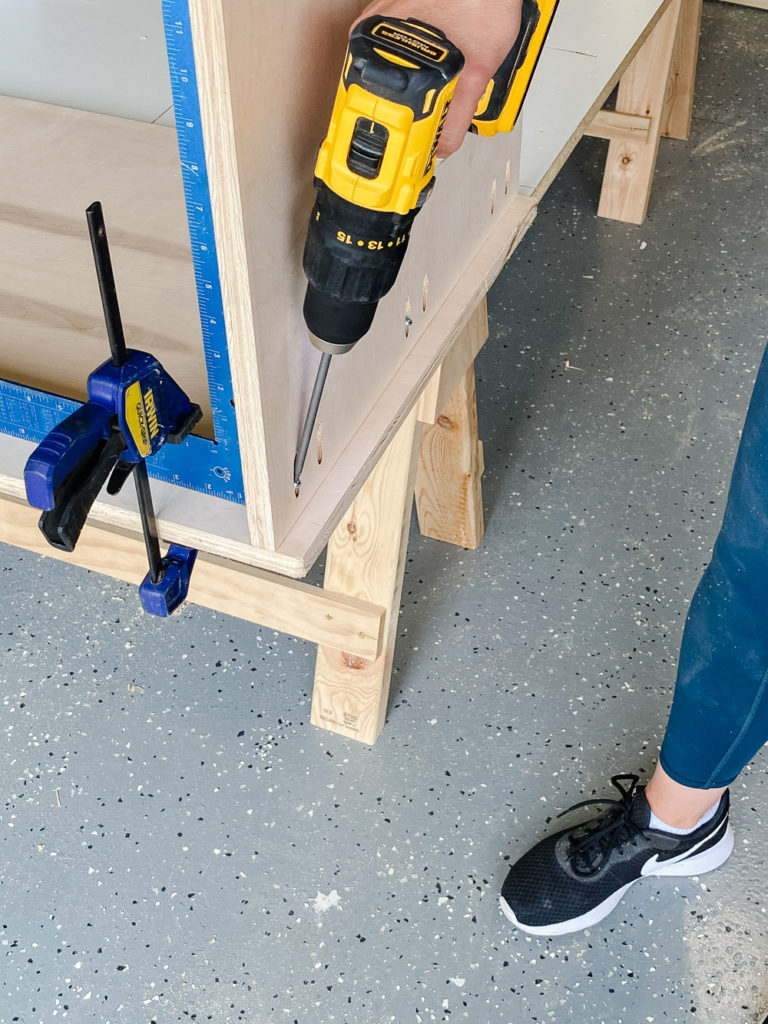
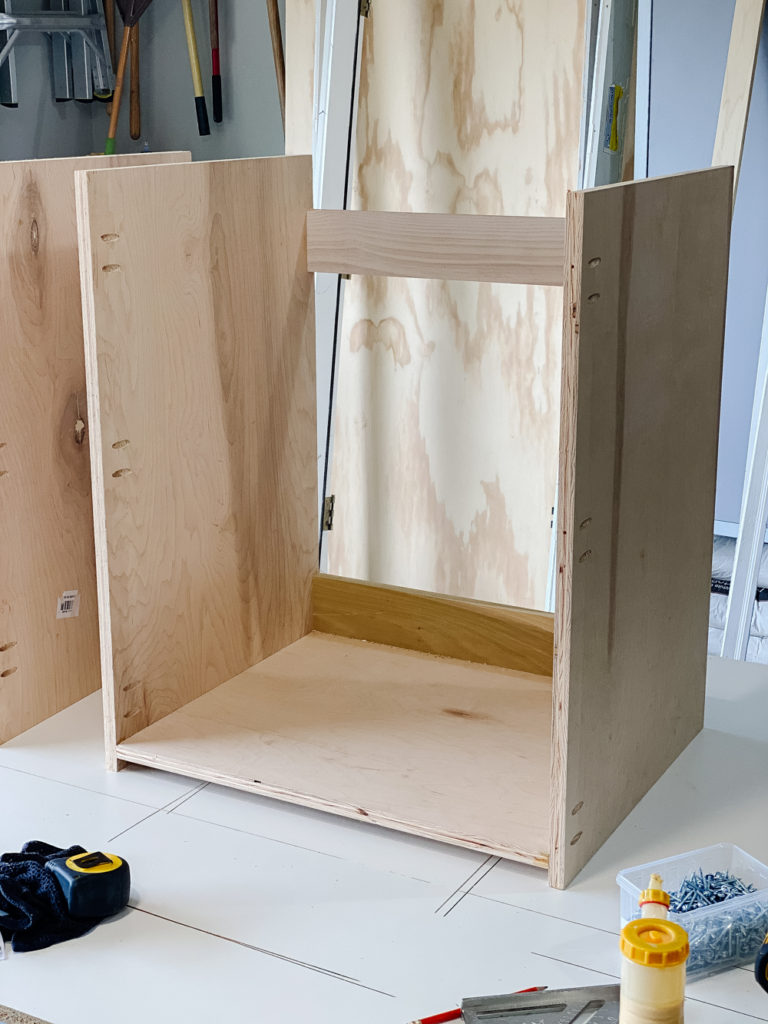
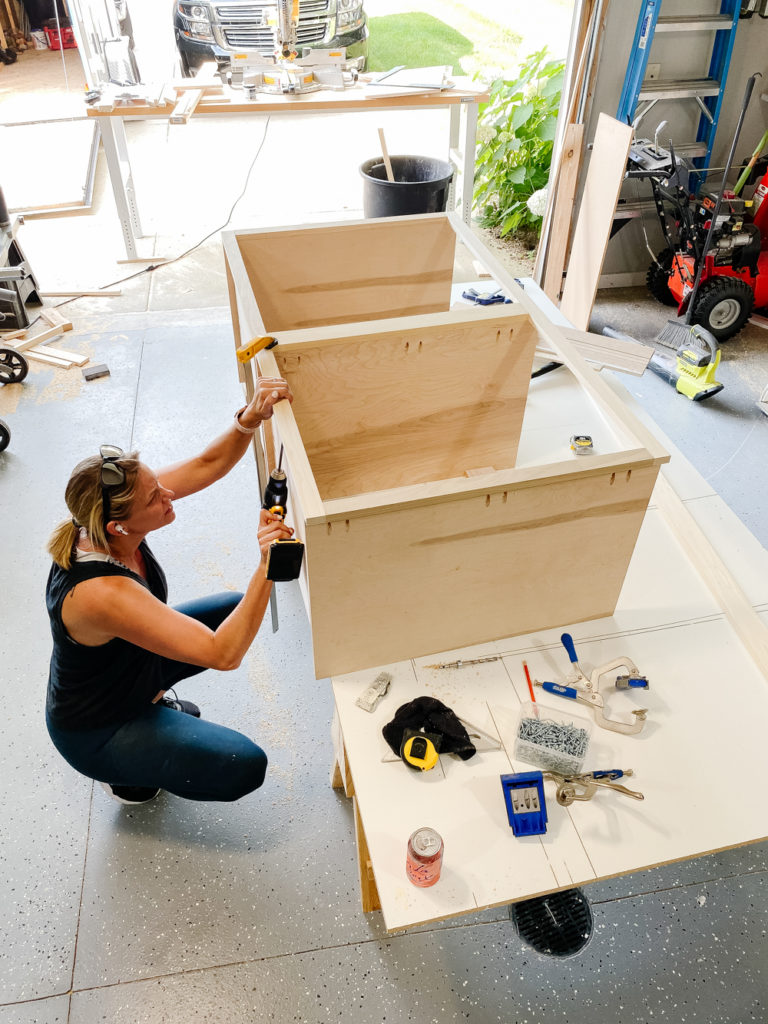
The last step for a basic cabinet box is the back support – this will be the inside measurement between the stiles. I used 1×4 material and added pocket holes to the back. This piece will also be used to secure it to the wall!
Note: you can also add a back to the cabinet, but I think in most cases, that is an extra step that isn’t necessary.
Clamps again for the win! I’m using 1 1/4″ screws for softwood since I’m drilling into plywood.
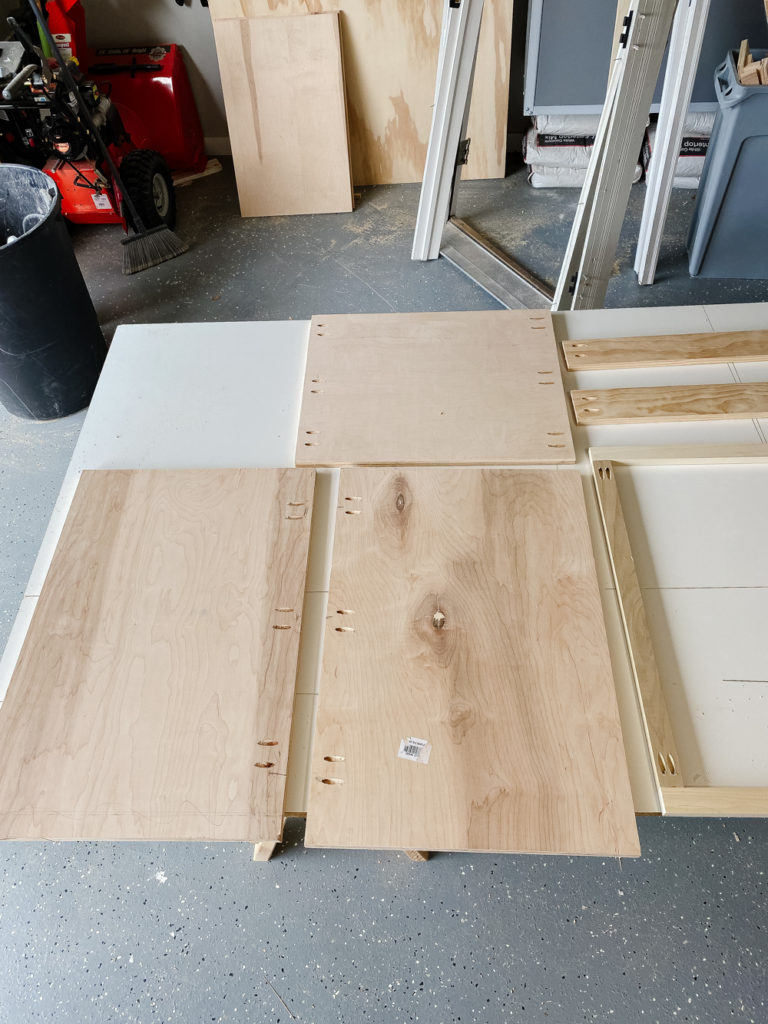
And here are your cabinet boxes! Pretty simple right?
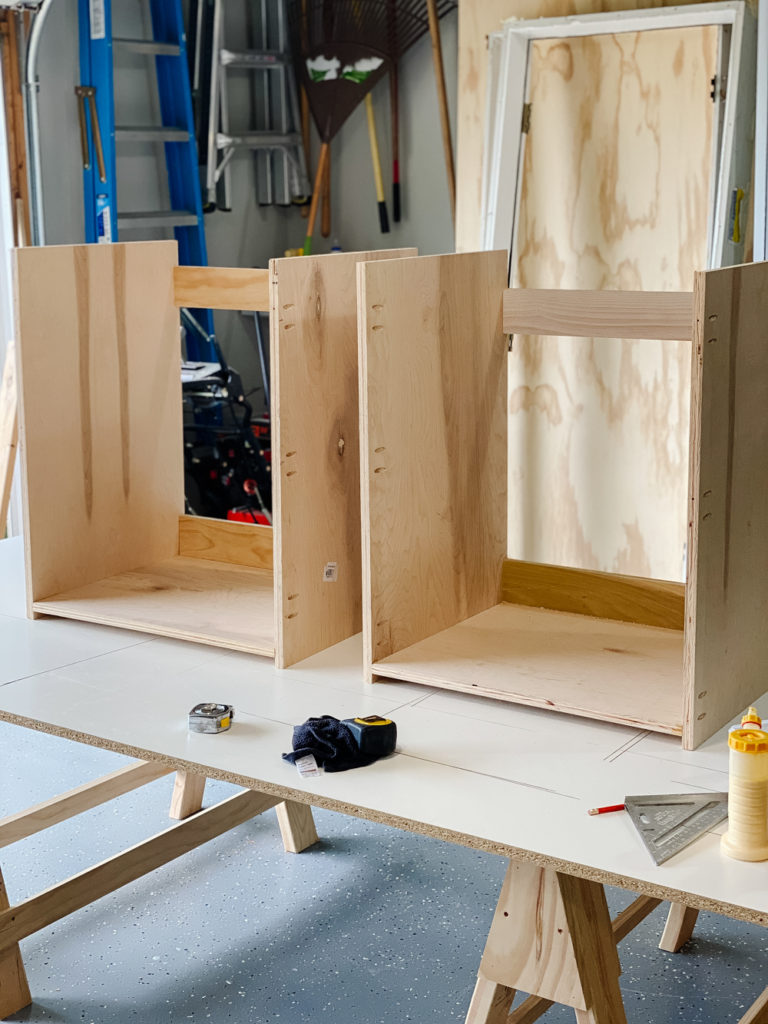
The final step is to attach the face frame to both sets of cabinet boxes to create a seamless look! Notice the pocket holes on the front side of the bottom piece.
I also decided to build 2 boxes instead of one so I could line them up seamlessly with the face frame. You could easily have just build one big cabinet box for this project.
Again I used wood glue before joining everything together and used clamps to keep it secure!

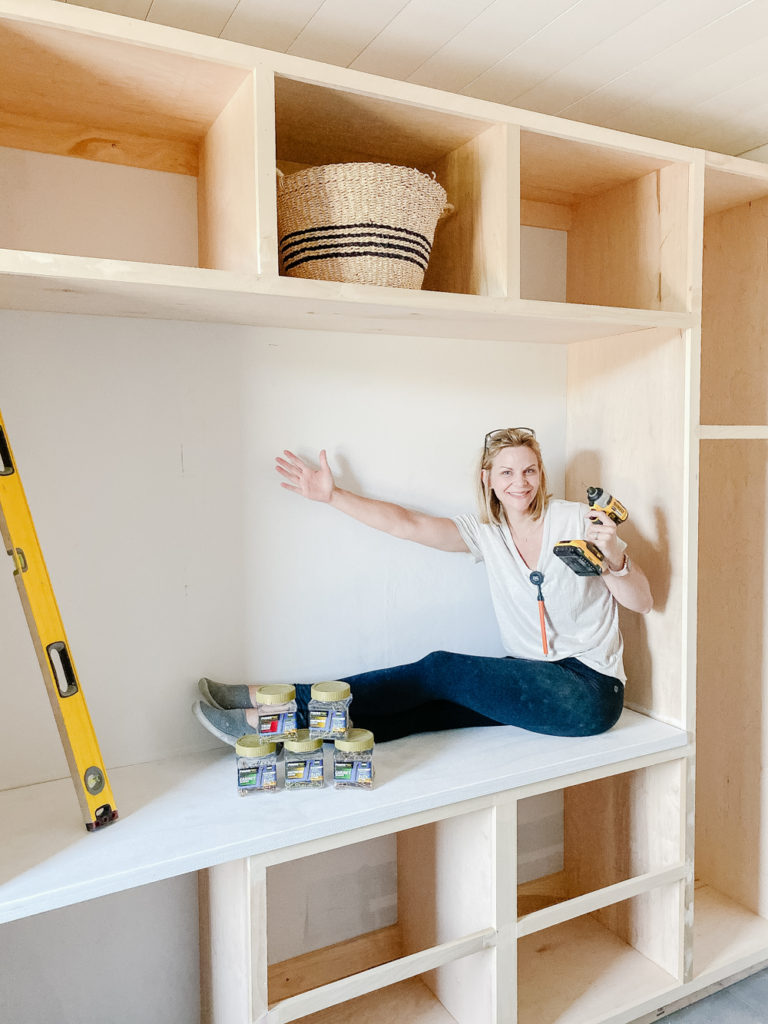
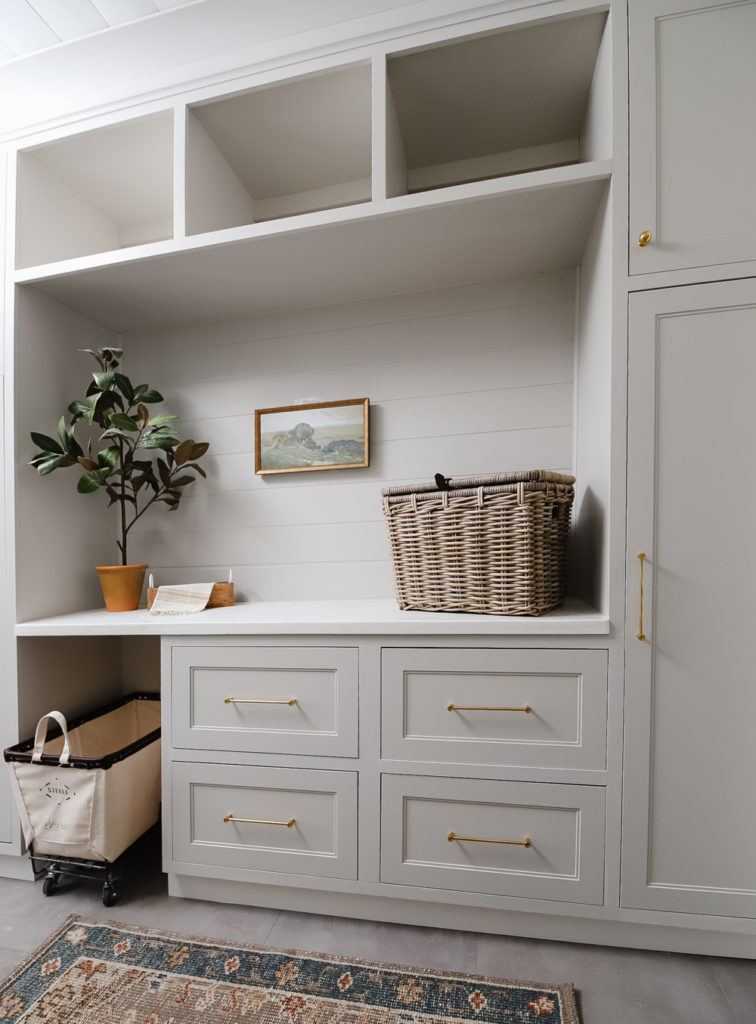
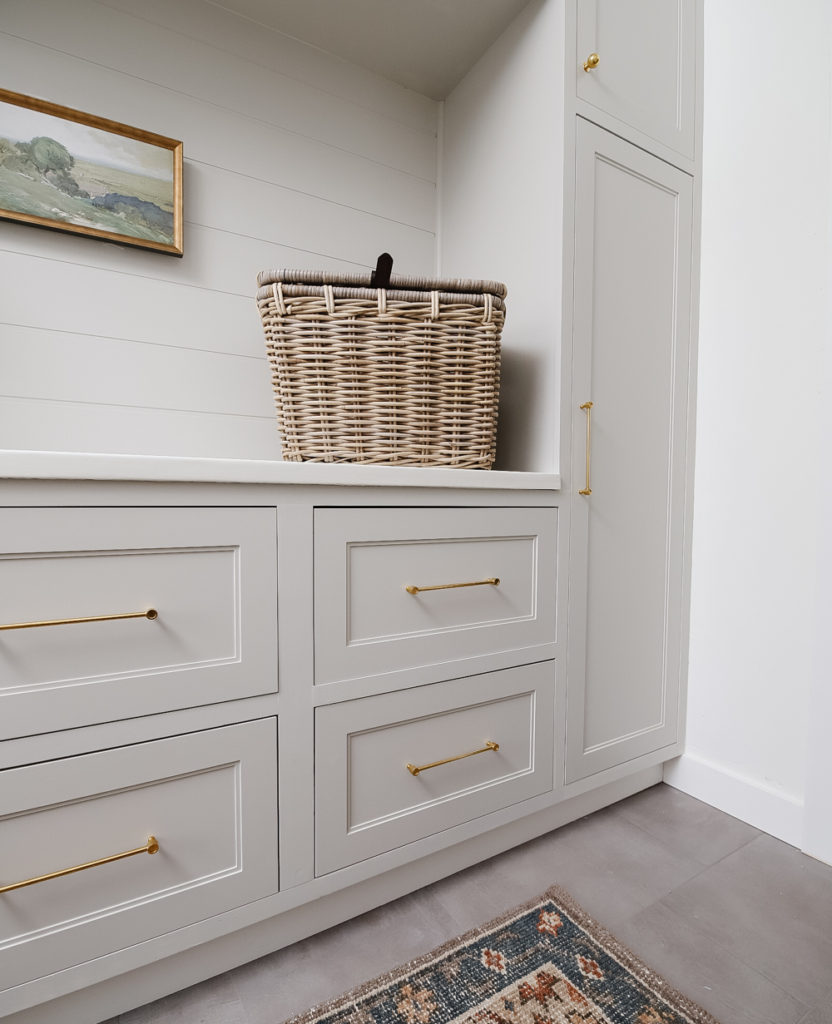
And here is the finished cabinet box sitting on the platform. I repeated this for all of my other cabinet boxes!

Don’t you love seeing all the pieces come together!
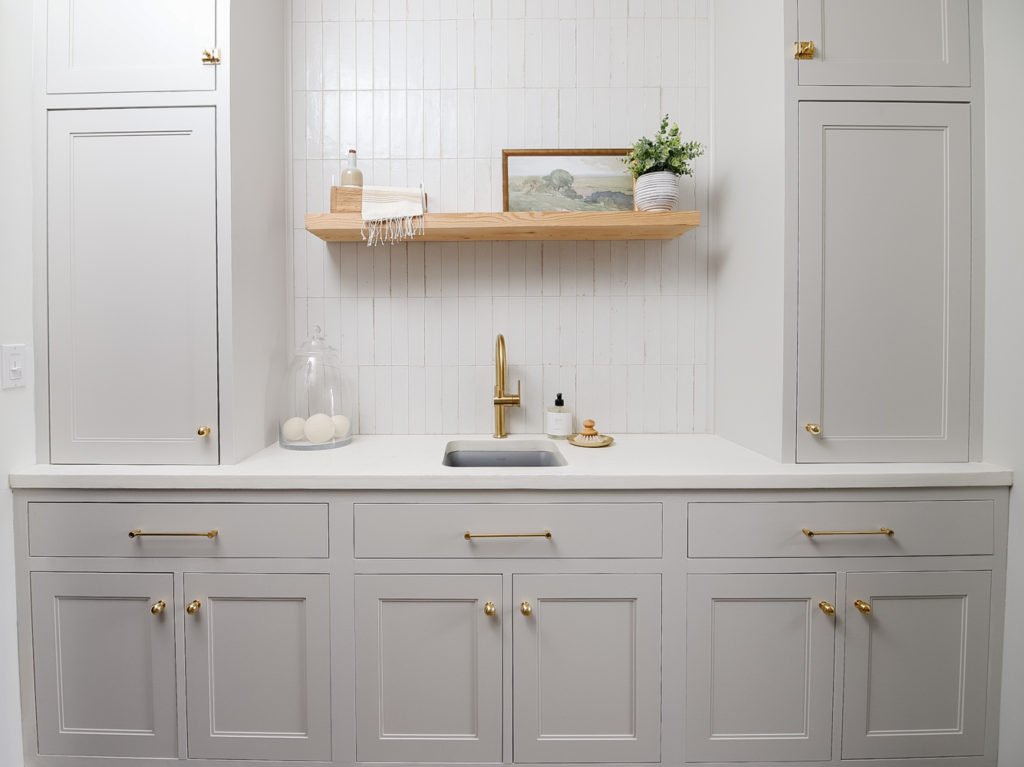
I ordered all of my doors and drawer fronts from Nieu Cabinet Doors – which really made this look extra custom! I hope this tutorial gave you some confidence to build your own cabinet boxes! After tackling this first build, I can’t wait to build more!


I would like to make some shelves to put in a little cutout space in my bedroom.
I love following you and you are very inspiring. DIY is fun and boy that saw would help me out.
Perfect!
These look like high end cabinets! Great job! When you ordered the cabinet doors, what measurements did you send to Niem cabinet doors? Did you just measure the opening? Or did you account for the 1/8” or so gap between the door and face frame?
I had to give them the exact measurement I wanted the doors!
Just amazing work! I plan to build a shelf on my current kitchen island and put the microwave inside it. I’ve never built a shelf and all your tutorials will be a big help.
that’s amazing, good luck!
Yes!!
This post is so awesome! I have been wanting to do my large laundry room and since Covid my husband won’t let anyone in the house. I feel ready to tackle this! Thank you!
Awesome, I’m glad it helped!
Hi Jen – thank you!! These are such great instructional pieces – and totally inspiring me to attempt more! I remember when you were building these you also had info on how to best approach adding the doors and drawers. Would it be possible to either link to those posts/videos or mention how to find them? It makes this set of instructions a complete ‘how to’ package! Thanks again, your feed is a highlight of my day!
Sorry just seeing this! Right now, I only have that as a highlight!
How did you go about planning for and building the drawers and cabinet doors? That part is tricky for me.
I have a highlight on building drawers and I ordered my doors from Nieu Cabinet Doors!
I share some drawer info in my highlight! And left 3/32” for an inset reveal for doors.
Hello! This post could not be written any better! Reading this post reminds me of my old room mate! He always kept talking about this. I will forward this page to him. Pretty sure he will have a good read. Thank you for sharing!