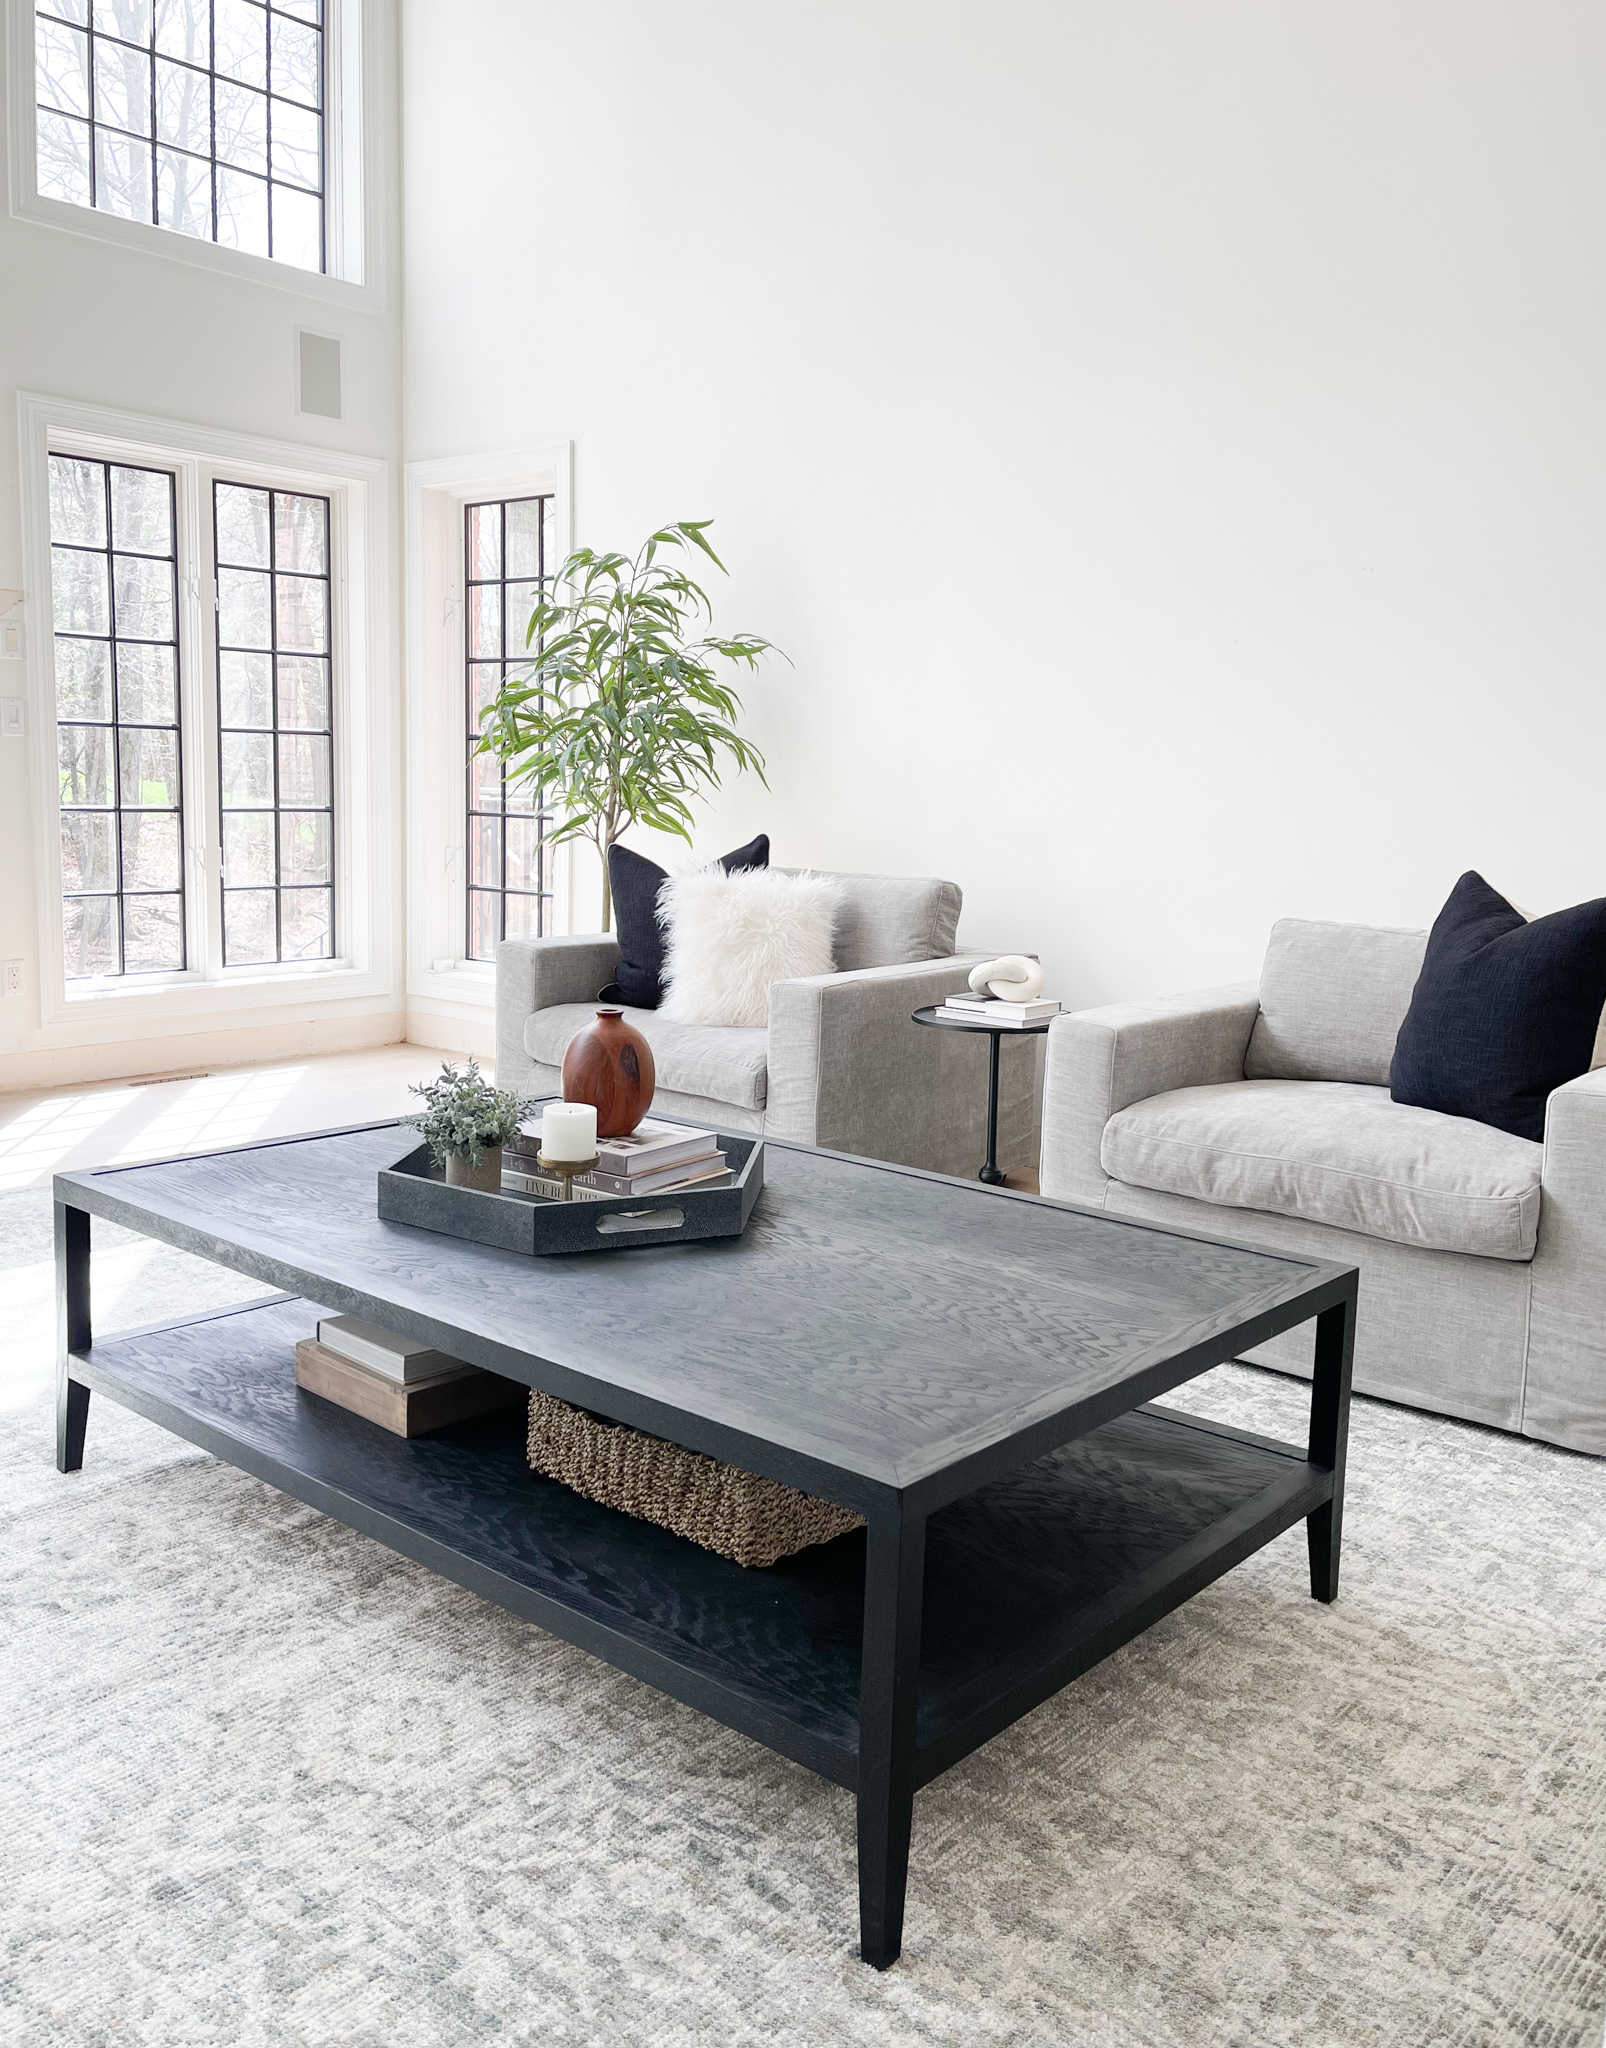
The Full Tutorial for Building My Restoration Hardware Coffee Table Dupe
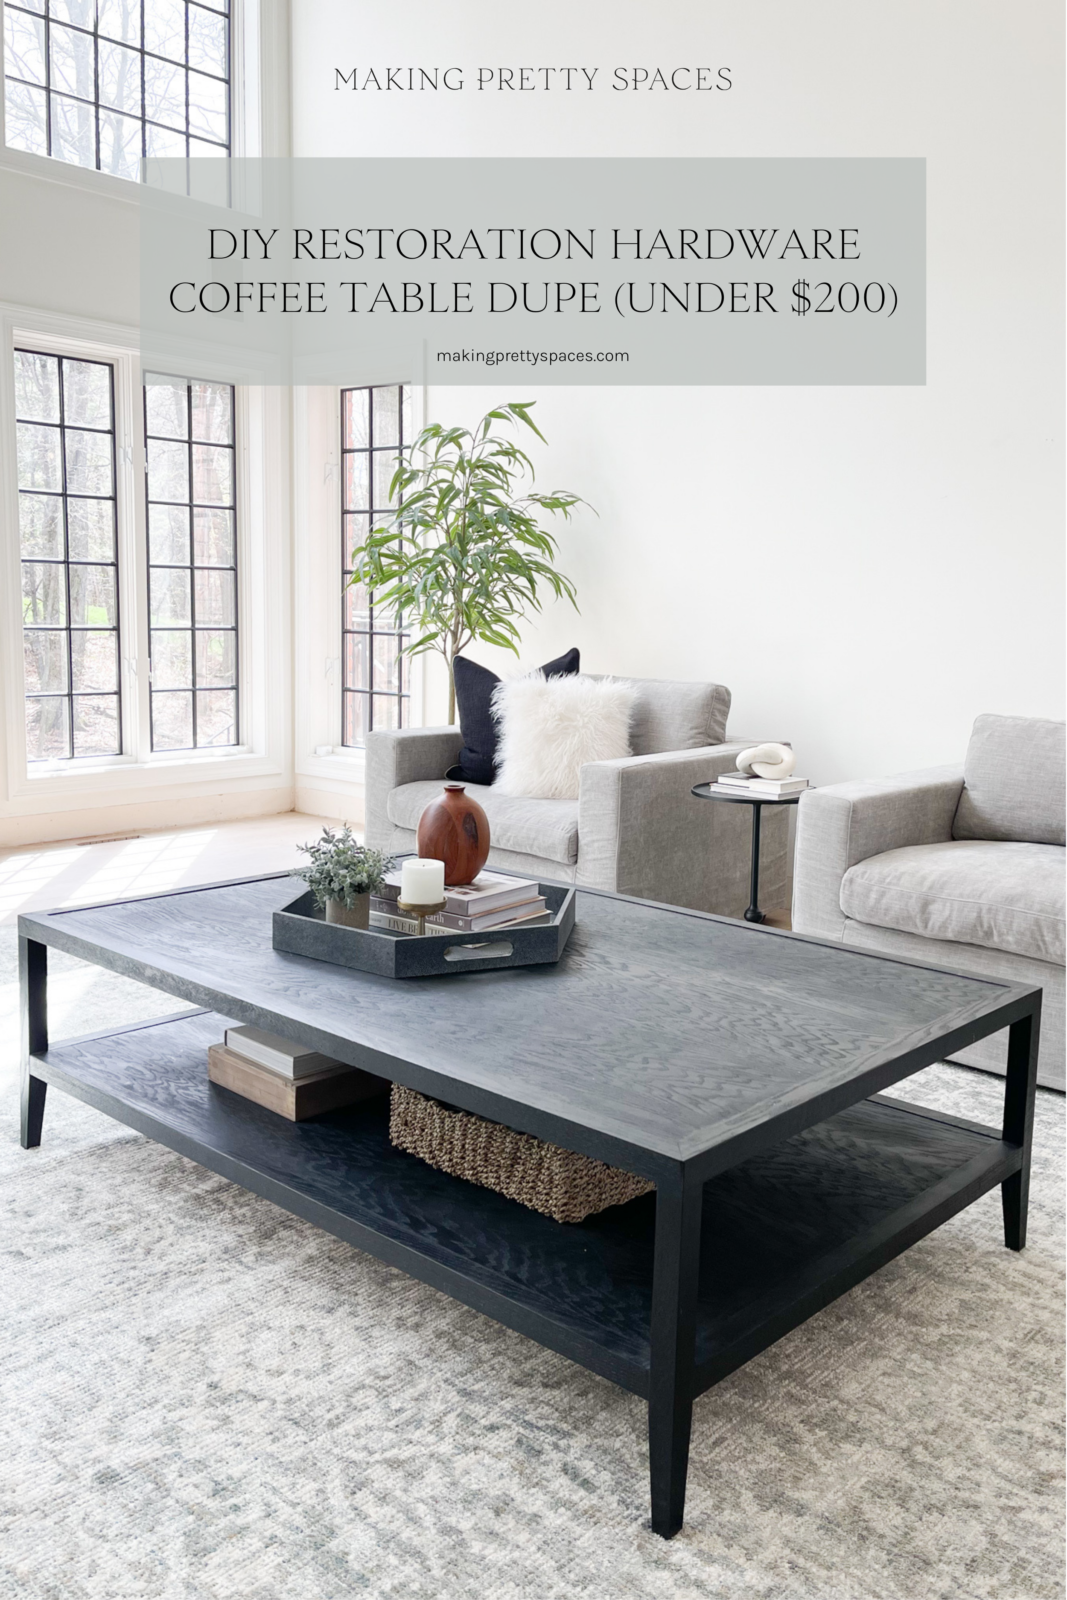
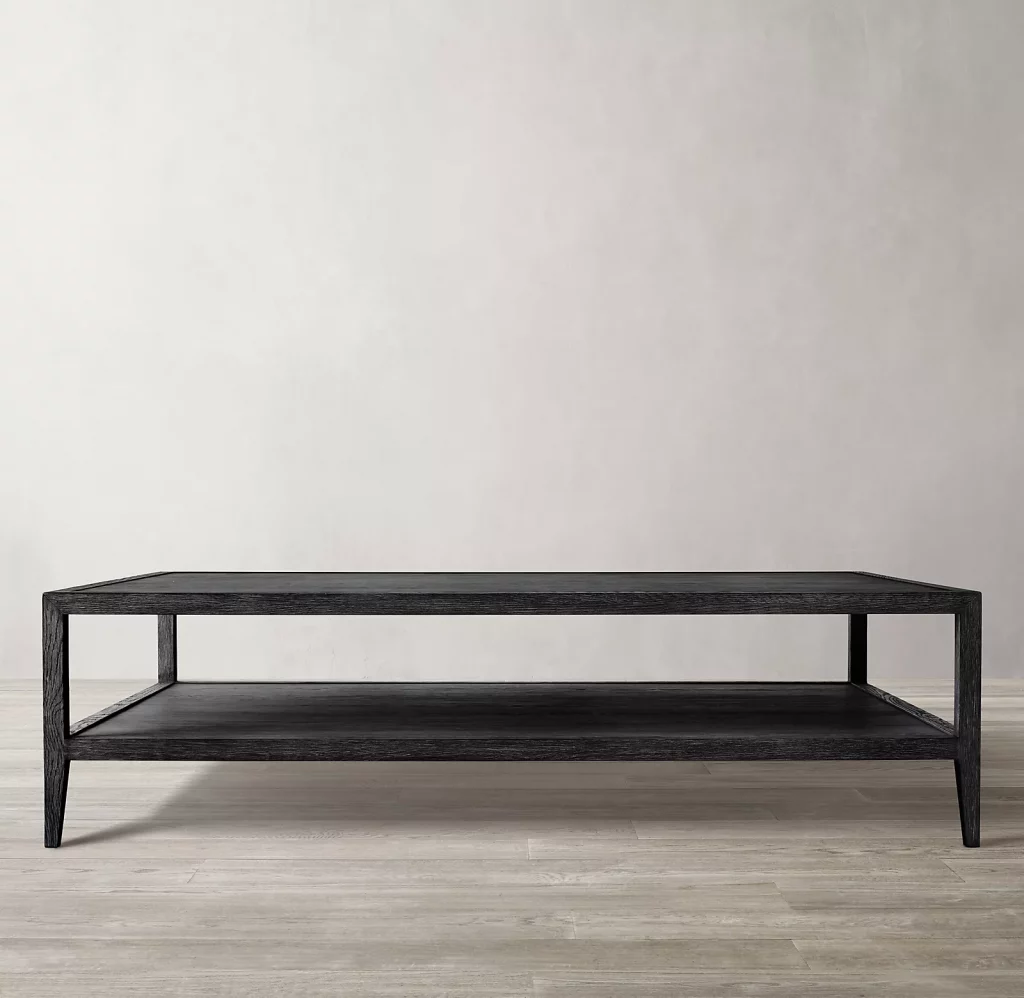
You know when you fall in love with a piece of furniture and you just can’t bring yourself to spend THAT much money on it. This is how I felt about this table I found at Restoration Hardware. It was the perfect size, style, stain… everything about it was exactly what I wanted for my great room.
I analyzed every detail of the table and came up with the crazy idea that I could build it… for way less! Some furniture would absolutely not be an “easy” build… but I had a good feeling about this one.
MATERIALS
- Plywood: 3/4″ B-grade in Red Oak (you want a species with a lot of natural grain)
- 2×2 select lumber in Red Oak.
- Wood Glue
- Kreg Jig Pocket Screws
- Minwax Pre-conditioner
- General Finishes Stain in Black
- Minwax Polycrylic in Ultra Clear Flat
- Stainable Wood Filler
TOOLS
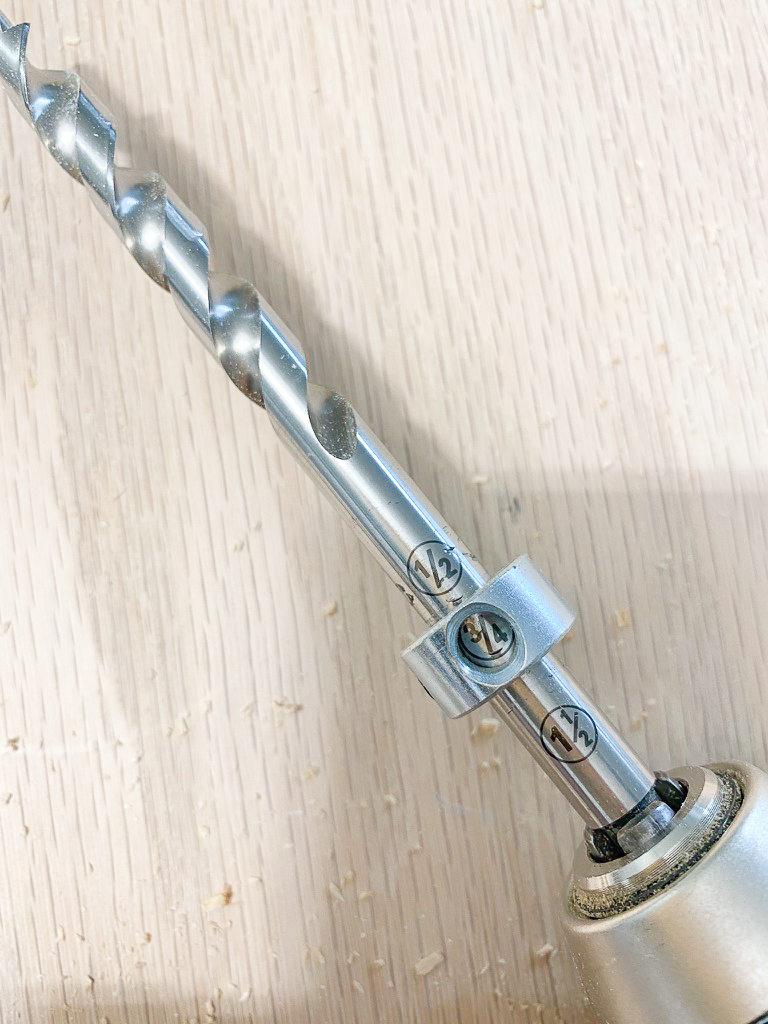
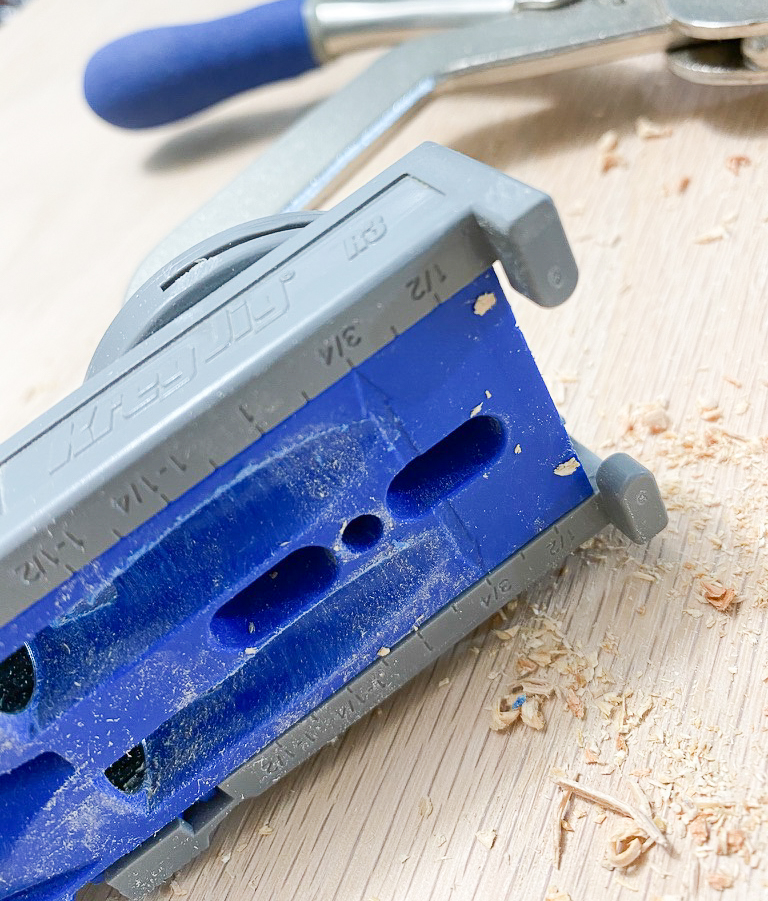
- Kreg Pocket Hole Joinery system
- Kreg Jig Screws
- Miter Saw
- Drill
- Kreg Angle Clamps
- Furniture Clamps
- Dewalt Orbital Sander
- Kreg Mini Jig
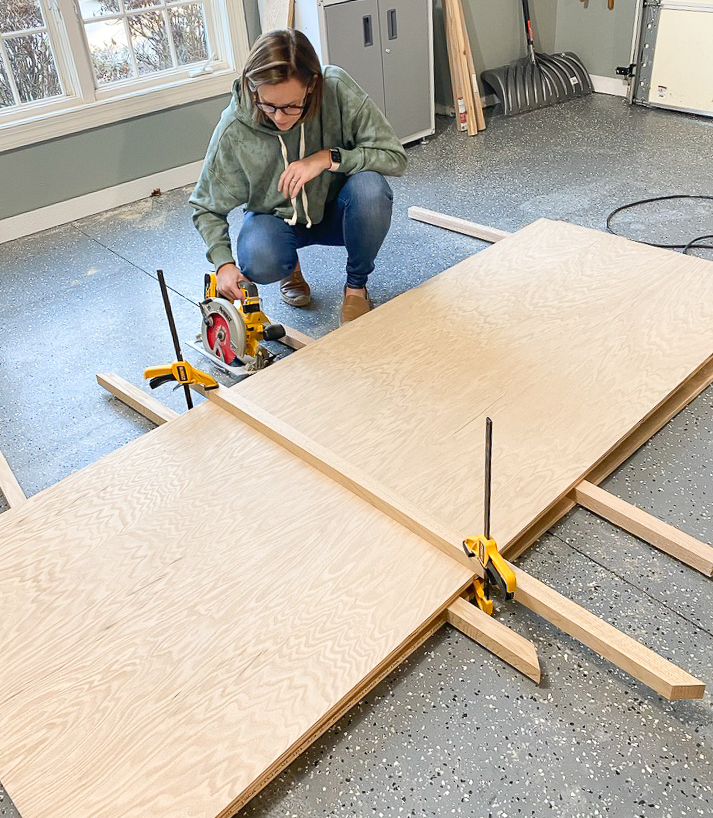
For the table, I used 3/4″ B-grade plywood in red oak from Menards. I wanted something with a nice grain to show through the stain, and this wood was perfect.
I ripped the sheet of plywood to 36″, which is the length of my table. I then cut the table lengthwise, to be 60″. An easy way to get a really straight edge is to use a circular saw and measure from your blade to your guide (a clamped board in this case). For example, mine is 1.5″, so I would put a board at 61.5″ to get my 60″ cut. Make sure to measure at each point of straight edge to ensure a straight line!
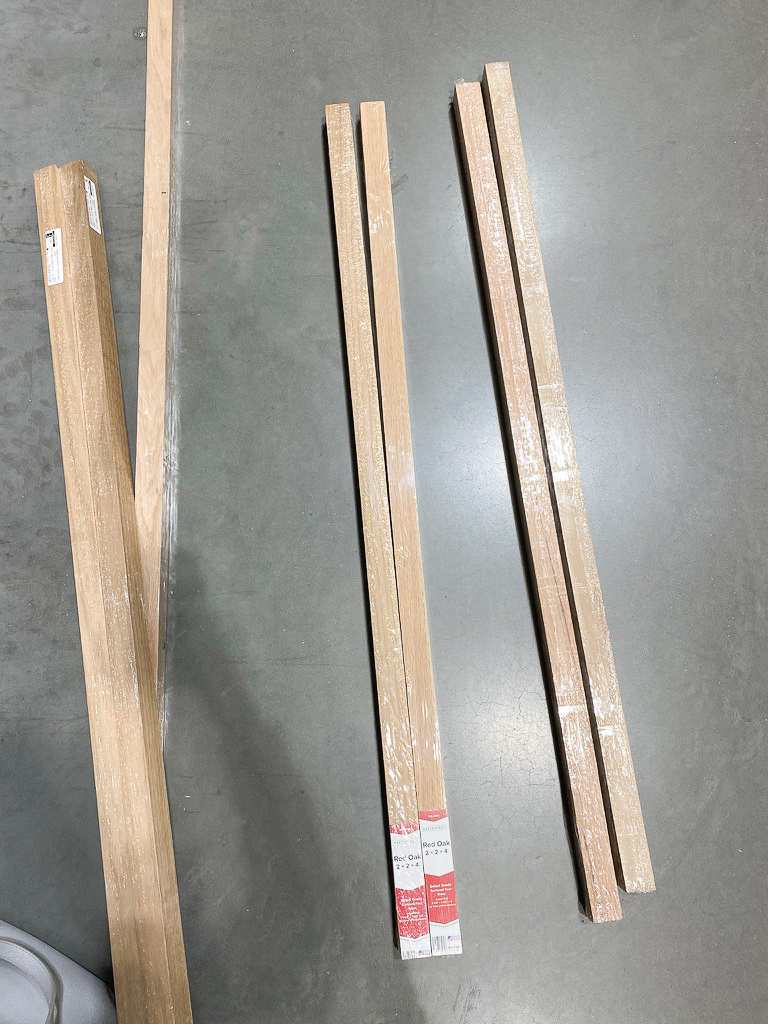
I picked up this 2×2 wood, which is really 1.5″, for the edges of the table.

I tested a few different ways to join everything together because I needed the table to be sturdy and durable for my four kids who love to climb! Ultimately, I decided to use pocket joinery. I explained how to use Pocket Hole Joinery with my Kreg Jig in this DIY Cabinet Build blog post. I went really in-depth with this tutorial, so it would be very helpful to reference that post for this project!
For this table, I started by turning the top piece upside down and marking every 6-7″ to make pocket holes around each side. You don’t need double holes for a project like this, so single holes every 6″ is fine. Try to stay at least 2″ from the edges. I used this little pocket jig to do this and it made it so easy!
Once I had my holes made, I lightly sanded all the way around to get rid of any loose wood around the holes and get ready for staining.
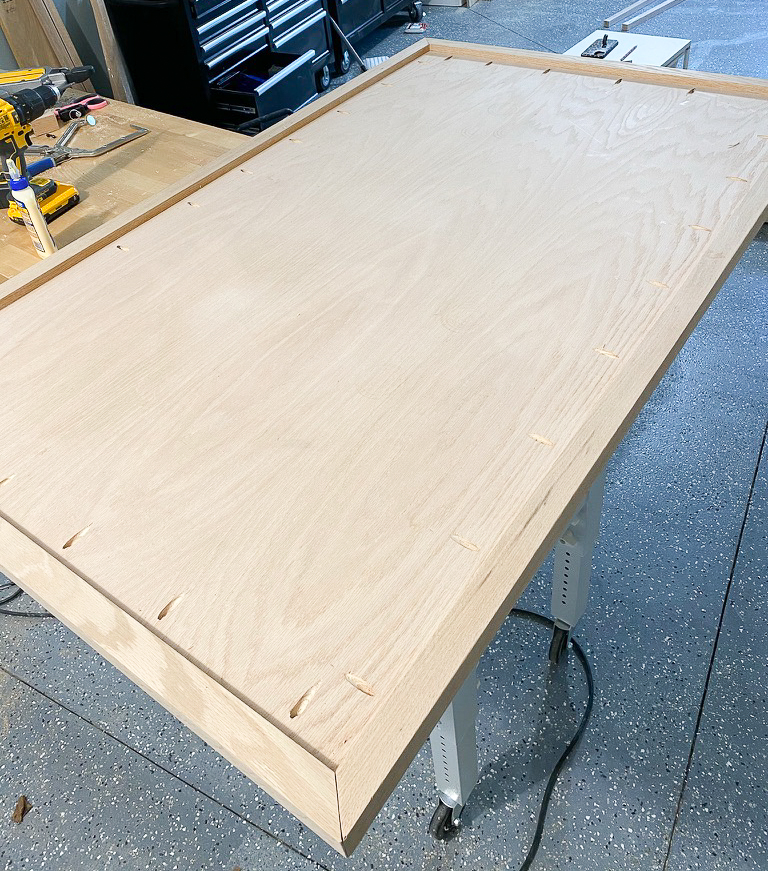
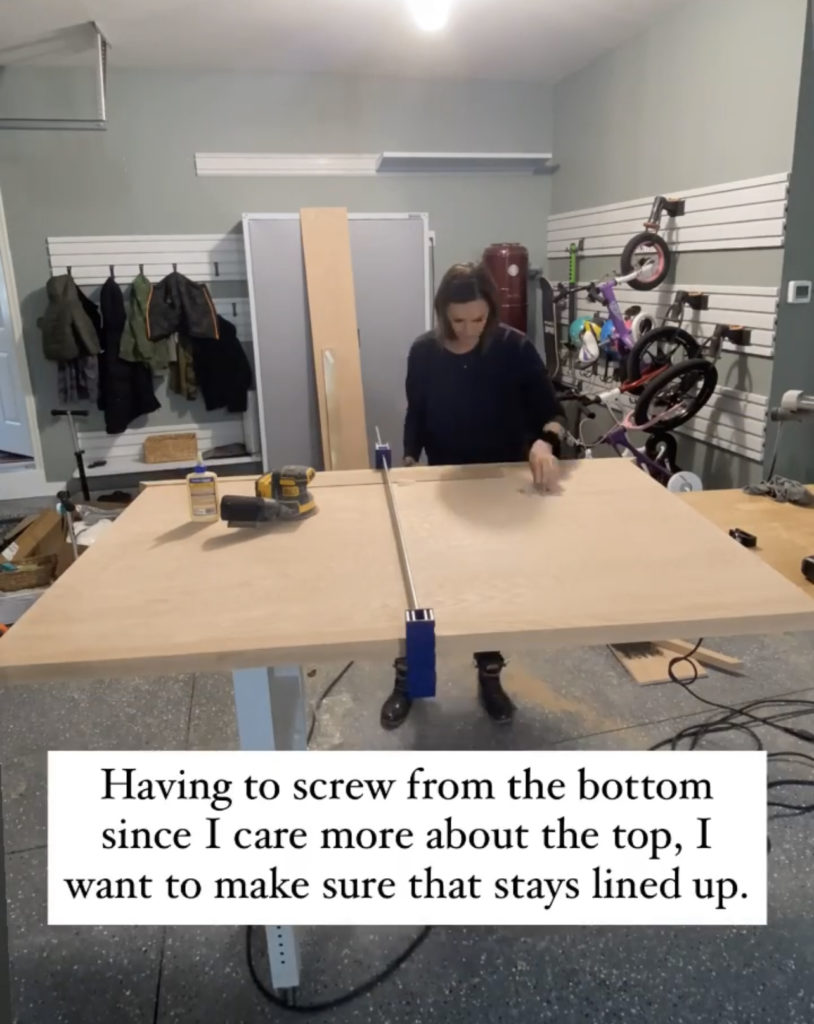
I then placed my 2×2 pieces around the edges of the table, holding them in place with wood glue and large clamps until I was ready to screw them in. I screwed them in from the bottom since I cared more about how the top looked – large furniture clamps were key for this!
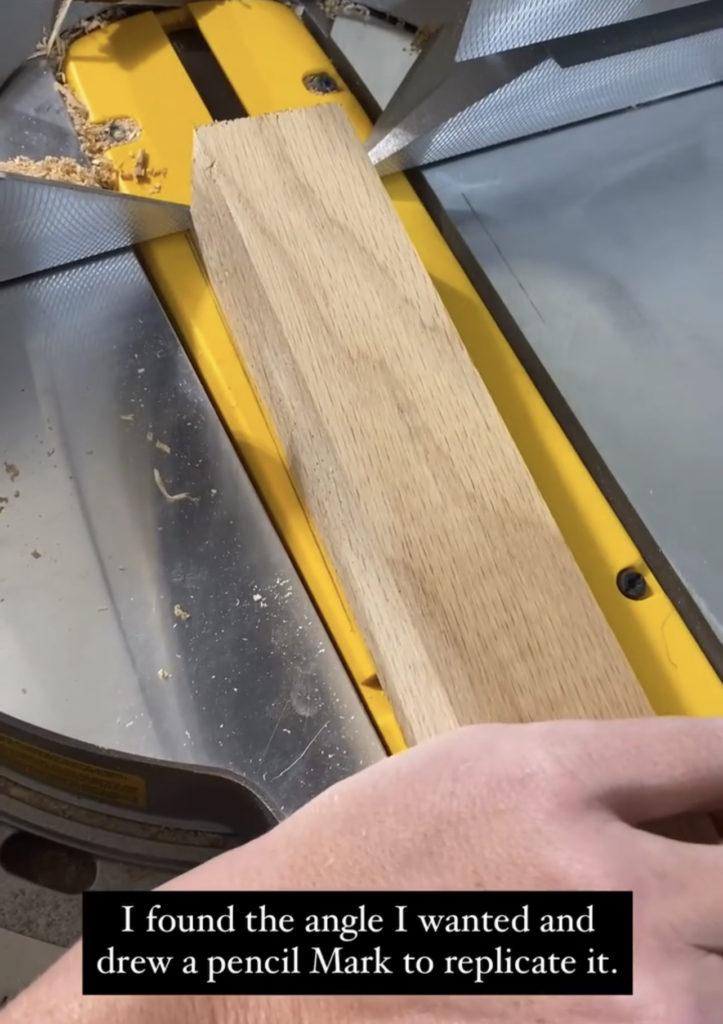
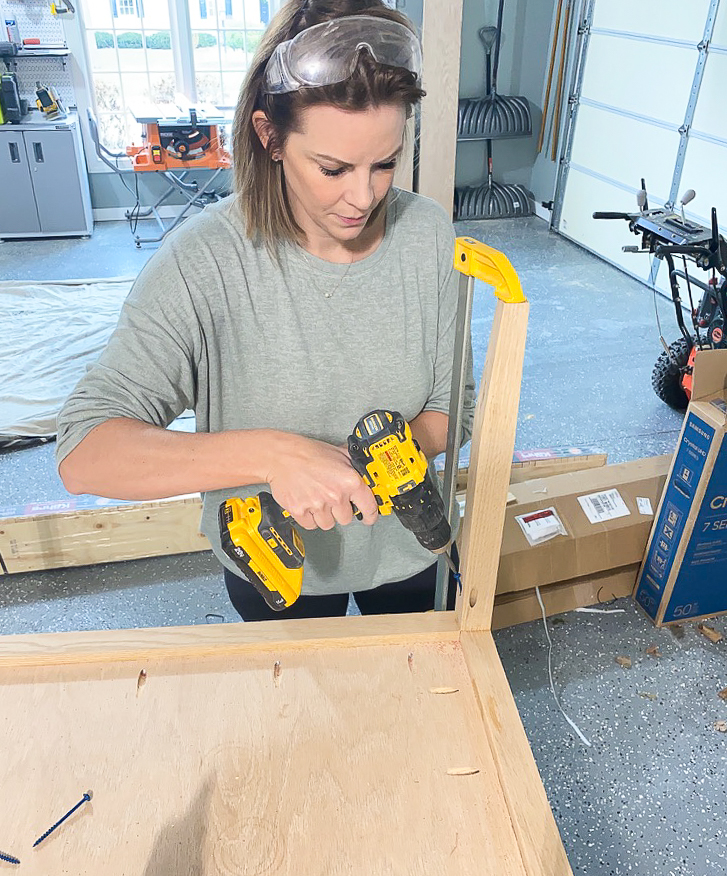
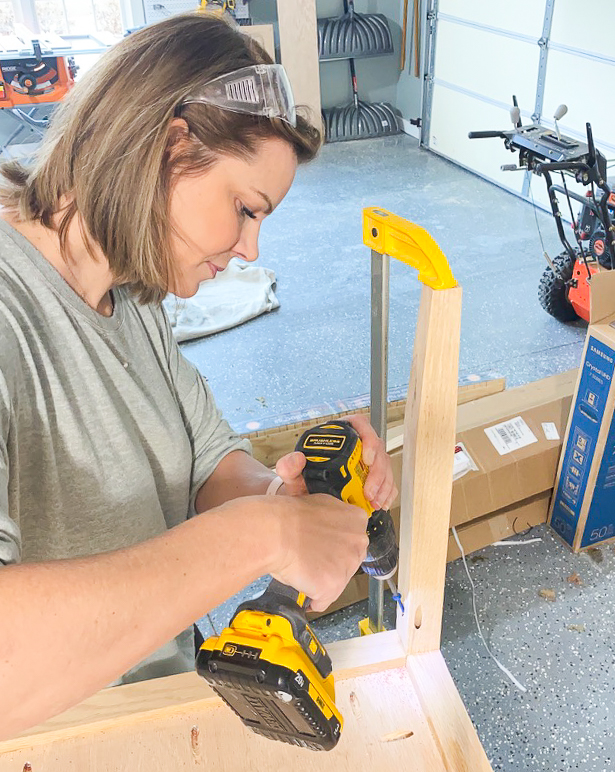
I decided to make the legs custom, giving them a taper, instead of just straight. I wanted my table to be 18.5″, so I cut four equal-length legs at 17″ (they would mount under the 1.5″ top border). I used a miter saw and cut the leg at the angle that I wanted. This angle can vary but make sure you cut on 2 sides… not just one! Once I found the angle, I marked the legs with a pencil where I wanted to cut. Since I decided to go with two levels for this table, I made sure that the cut was the right height to account for both the first and second levels. The angled cut needs to end before the bottom shelf.
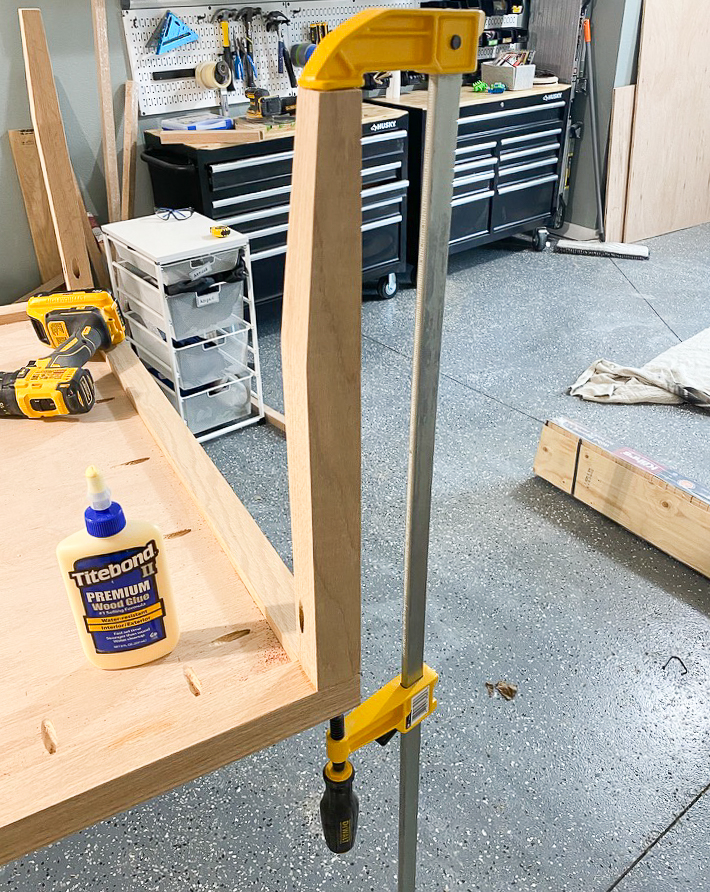
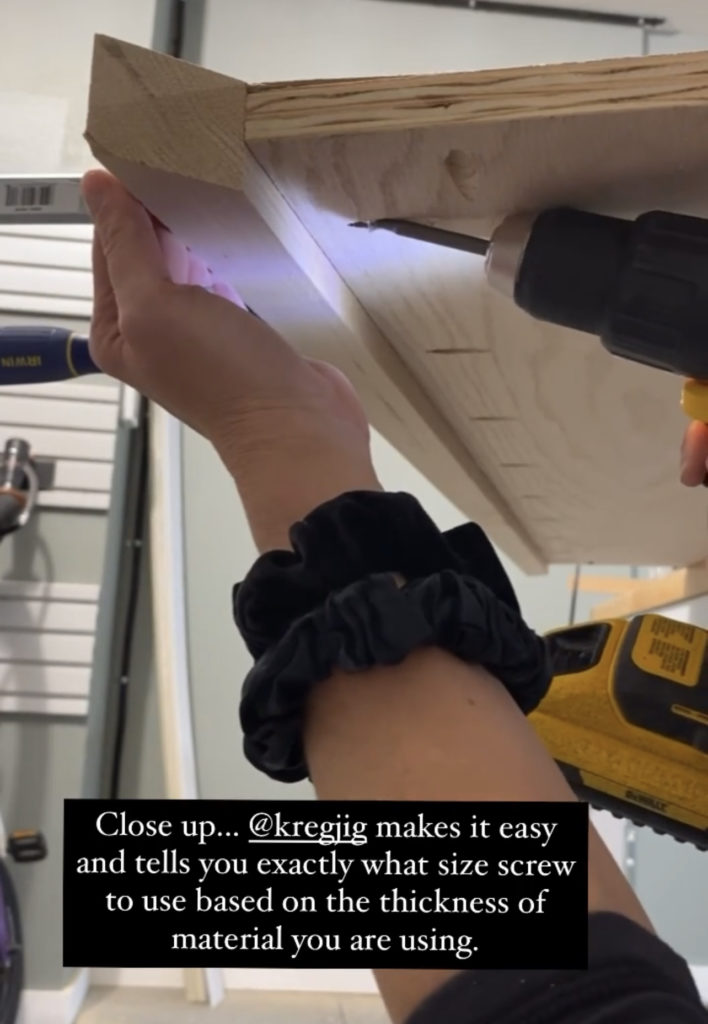
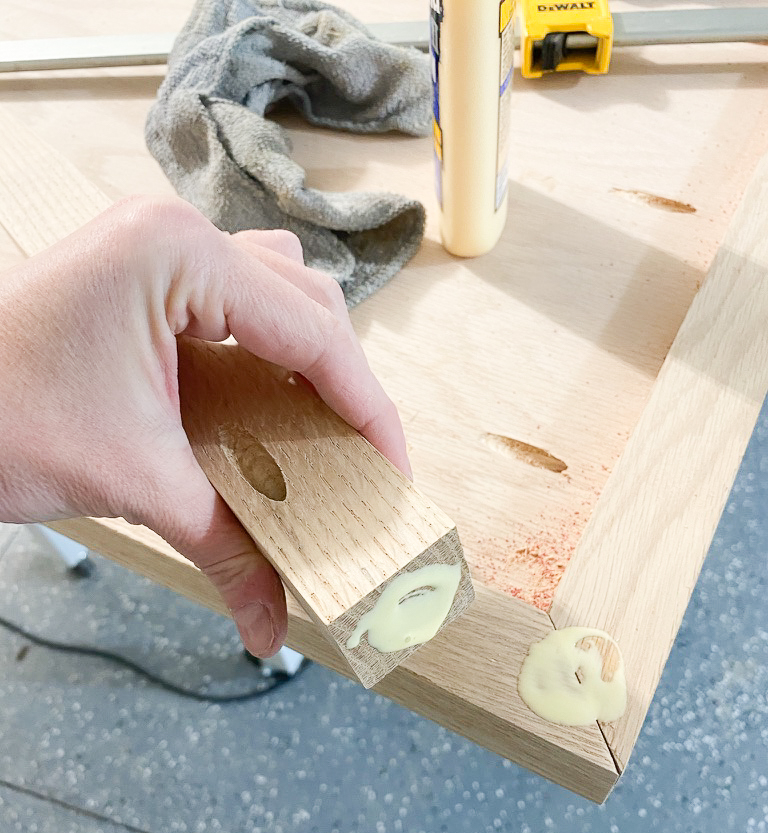
I then used my Kreg jig to drill holes in order to screw the leg into the table. I attached the legs to the table with pocket hole screws and wood glue for extra measure. I used a furniture clamp to secure the table leg while I was attaching it to avoid any shifting of the joint.
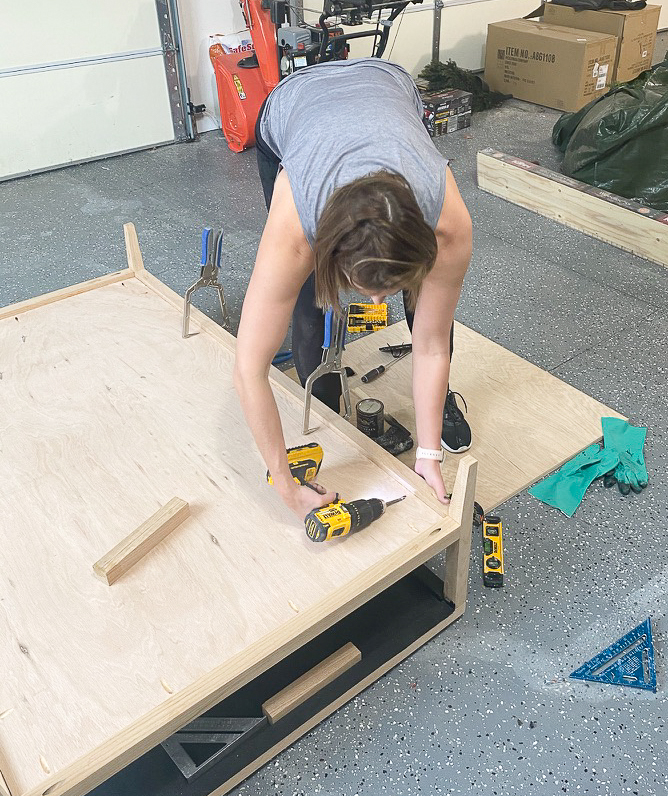
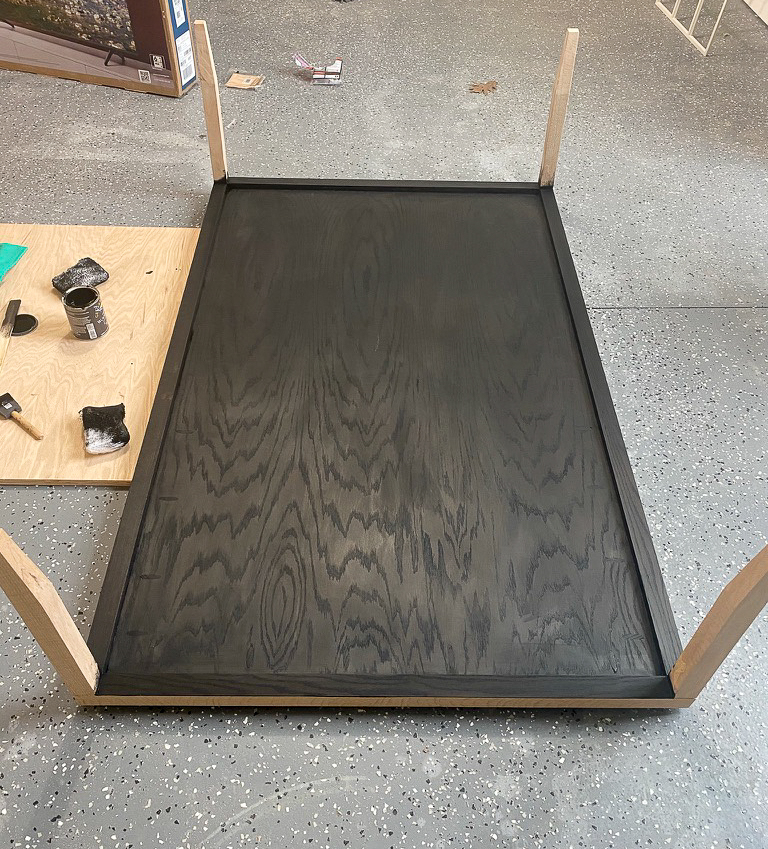
The final step of the build was to attach the final piece of plywood for the bottom shelf. Angle clamps were key for this. I’ve been collecting angle clamps with every project I do and they really do a great job of being an extra set of hands and keeping things in place!
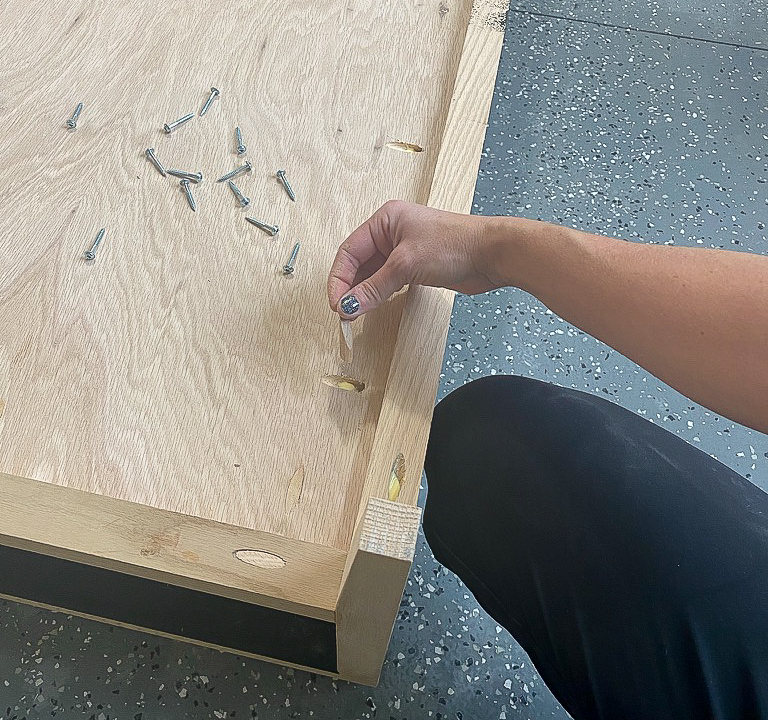
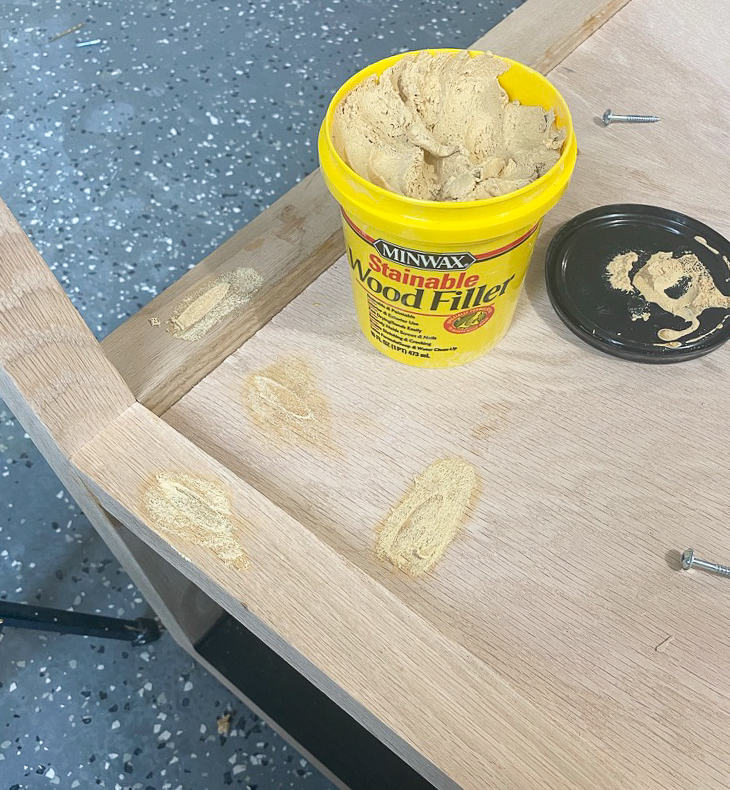
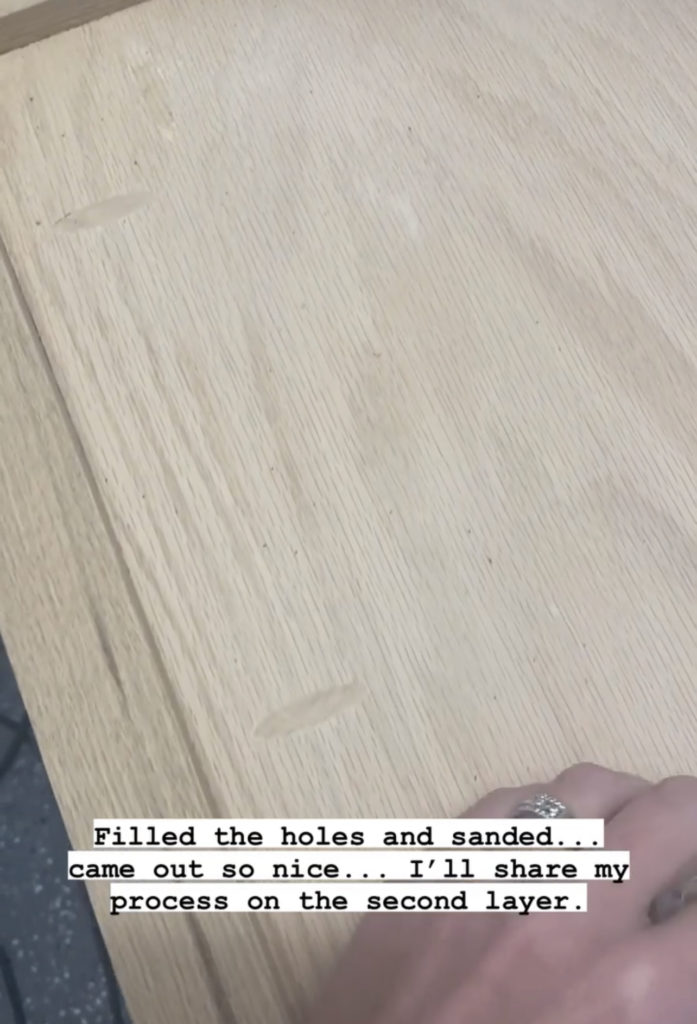
You are left with quite a few holes for this project but I’ve found wood plugs do a great job of providing a finished look. I added plugs to all the holes, used stainable wood filler, and then sanded smooth. The bonus with this design is that all the holes are on the bottom of the shelves and less visible.
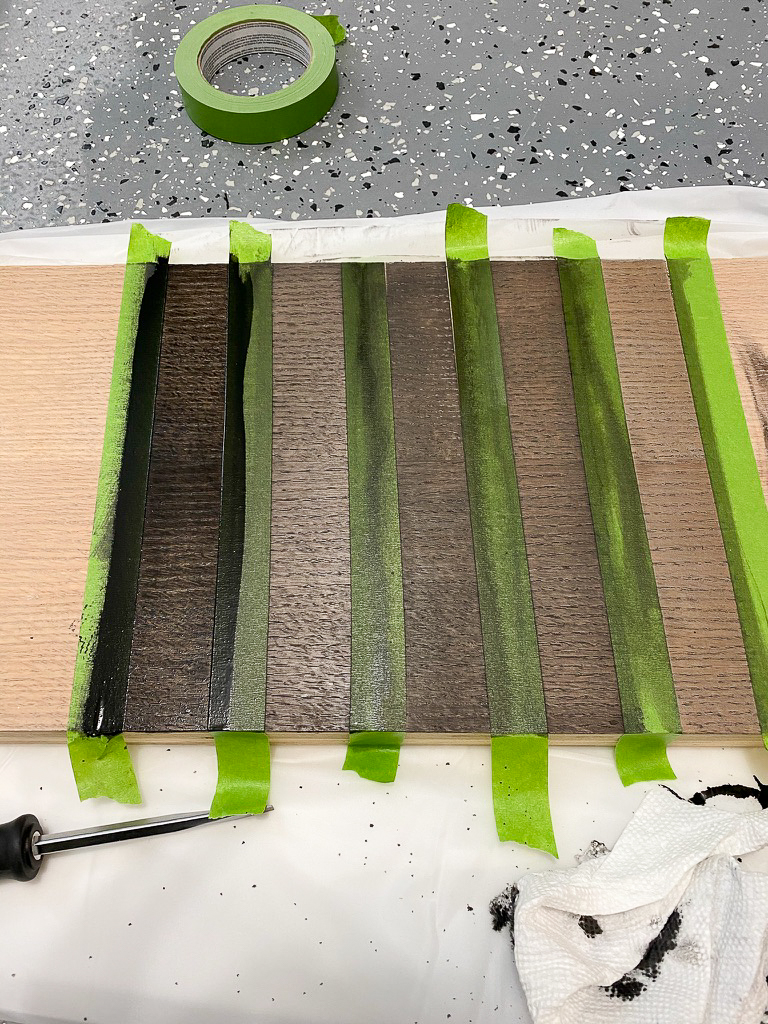
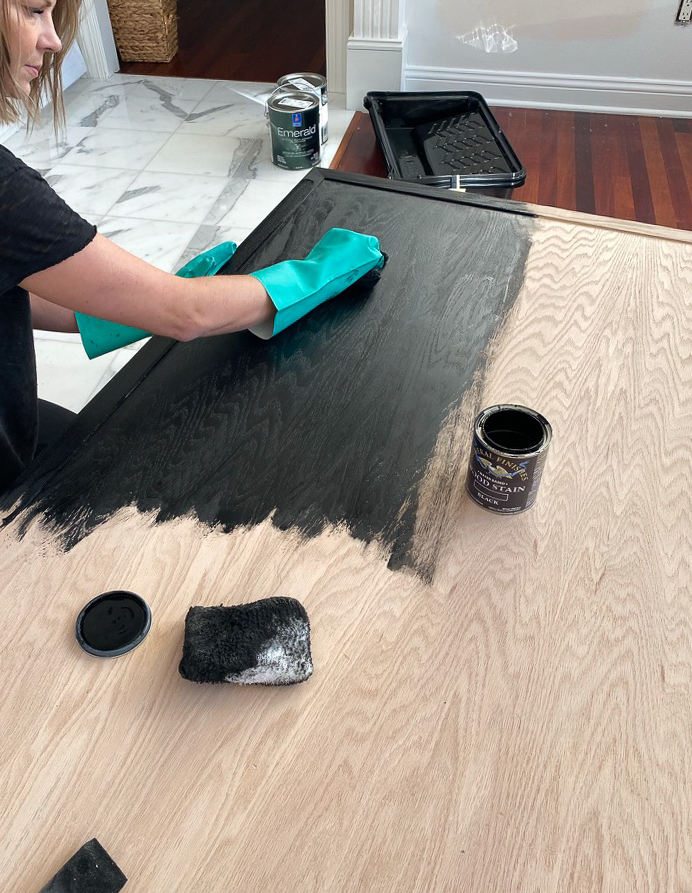
I tested out a bunch of different black stains but ultimately ended up using General Finishes Wood Stain in black. This stain was the least transparent, and I wanted the table to appear black without any of the wood color showing through. Make sure you stir your stain well! Most of the stain solvents are at the bottom of the can and shaking can cause bubbles.
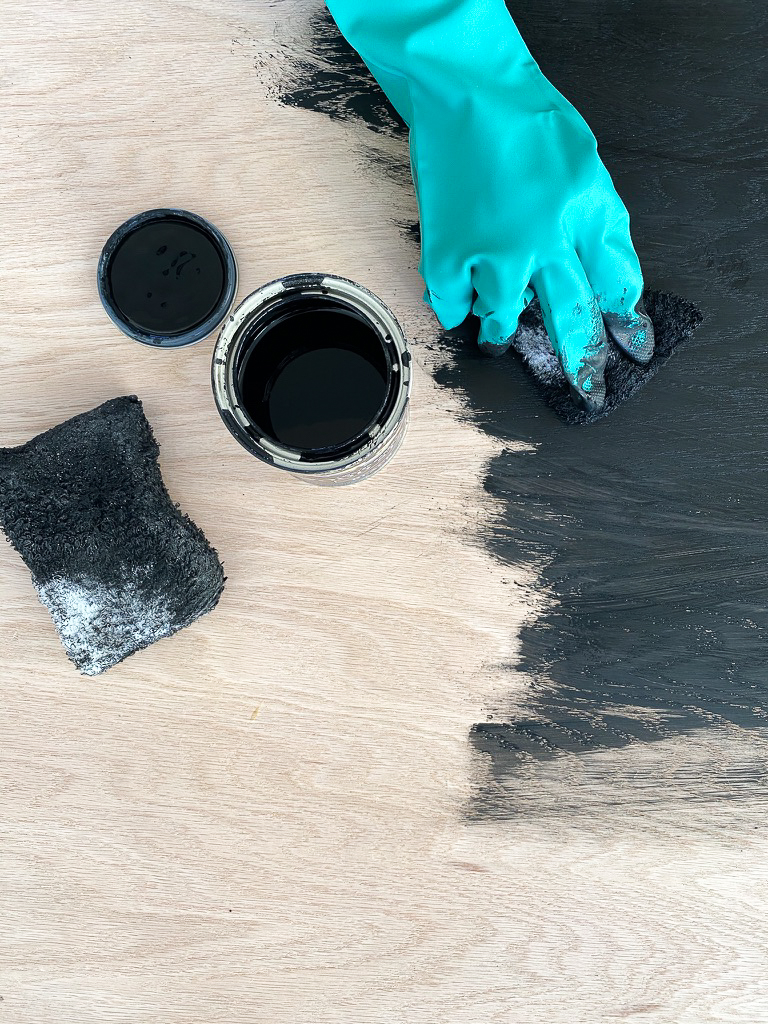
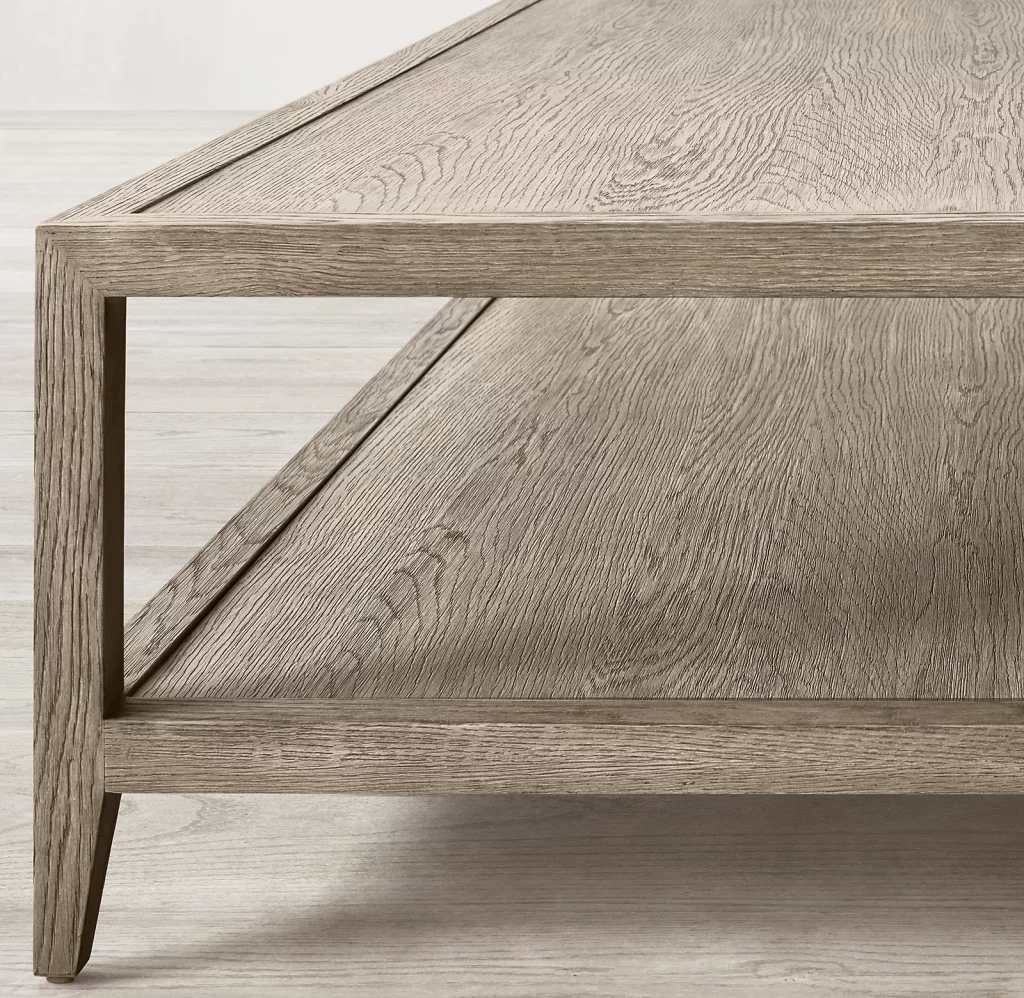
Look at how beautiful the grain is showing through the black!
Here’s a closeup of the table unstained. You could easily stain this a lighter color and it would be just as beautiful!