Hey There!
Thanks for stopping by the MPS Blog. Here you'll find all the nitty gritty, behind-the-scenes details of the projects you see on my Instagram. Grab a cup of coffee and take a look around. Happy DIYing!
I'm Jennifer Gizzi.
Browse by Category
design
sourcing
diy TutorialS
moodboards
SHOP OUR HOUSE
gift guides
Search the Blog
How To Build A Custom Interior Pocket Door
April 21, 2022
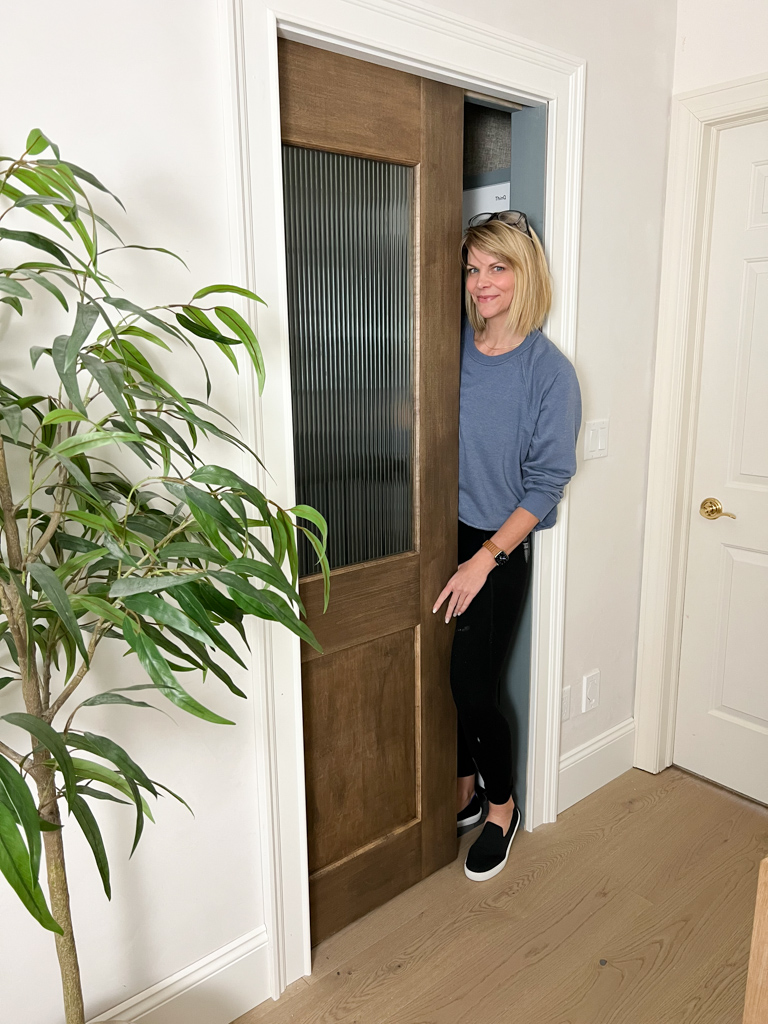
It’s never easy to pick favorites, but these beautiful pocket doors are definitely up there. This build is relatively straightforward and you can customize it easily based on the size and style you are looking for. Lumber is still pricey so I wouldn’t call this the most budget DIY door – but definitely less than the $900 I found a similar door for. You can also build it a weekend (needs overnight for glue to set). Door lead times are 10-12 weeks at the time of writing this post so if timing is a motivation, this is a great project!
I started with maple lumber. 1×6 pine for the vertical pieces (stiles) and 1×8 for the horizontal pieces (rails). I prefer maple when staining but it is more expensive. In my experience, pine doesn’t stain evenly and poplar can turn very green with anything but a really dark stain.
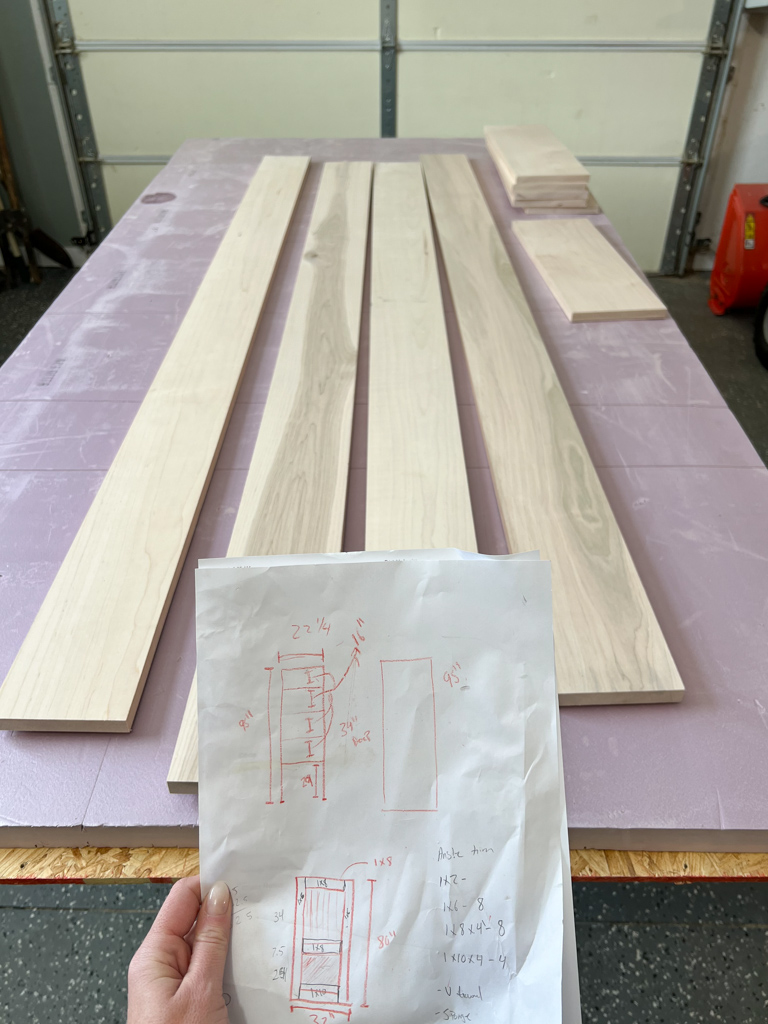
I cut everything to length for 2 frames, being careful to use straight boards and get cuts as exact as possible. The vertical boards would be the entire height of your door and the horizontal pieces would be your total width – 11″. In my case for a 32″ door, I cut my horizontal pieces 21″ long.
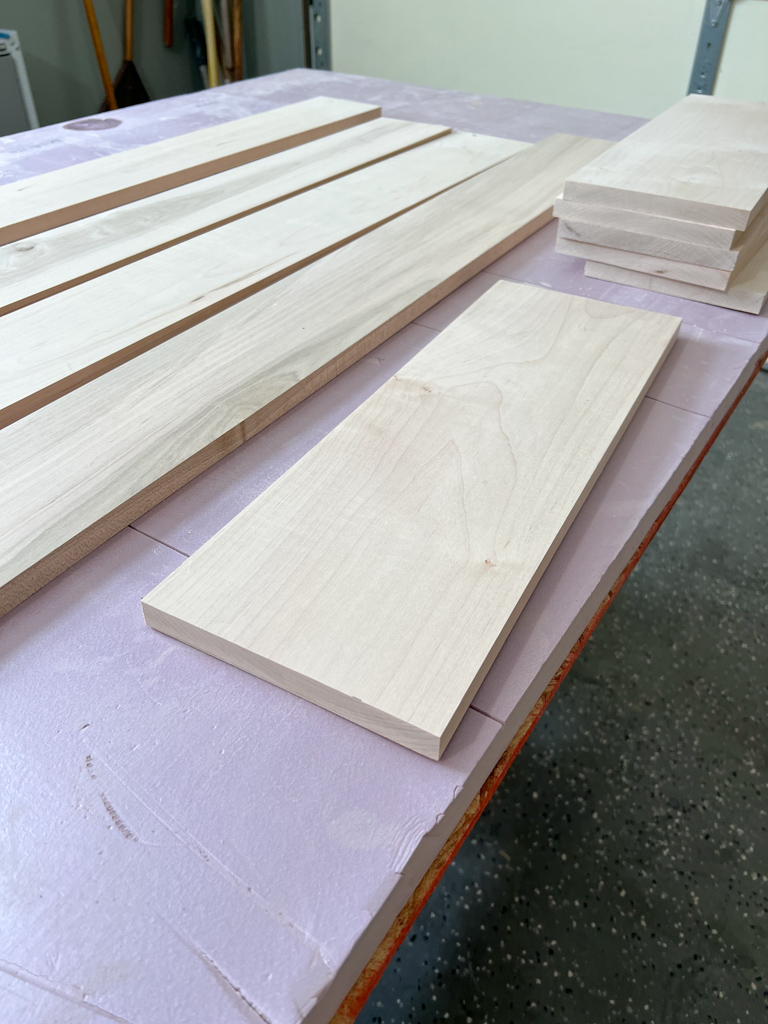
I started by drilling pocket holes in each horizontal piece – 4 per board.
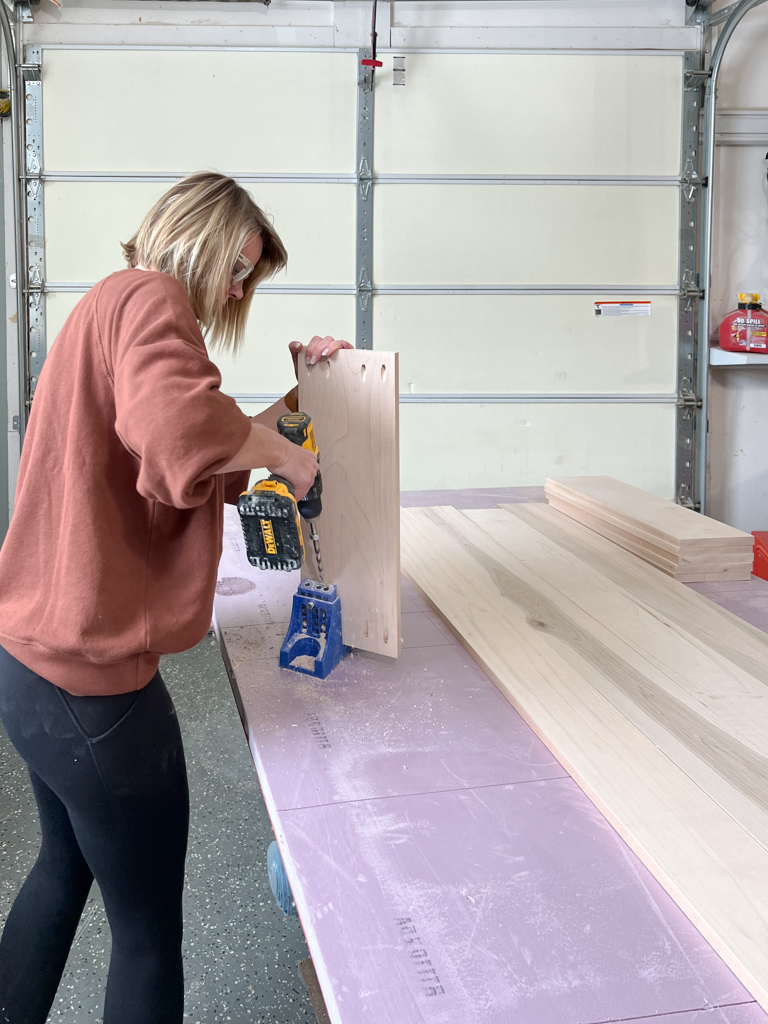
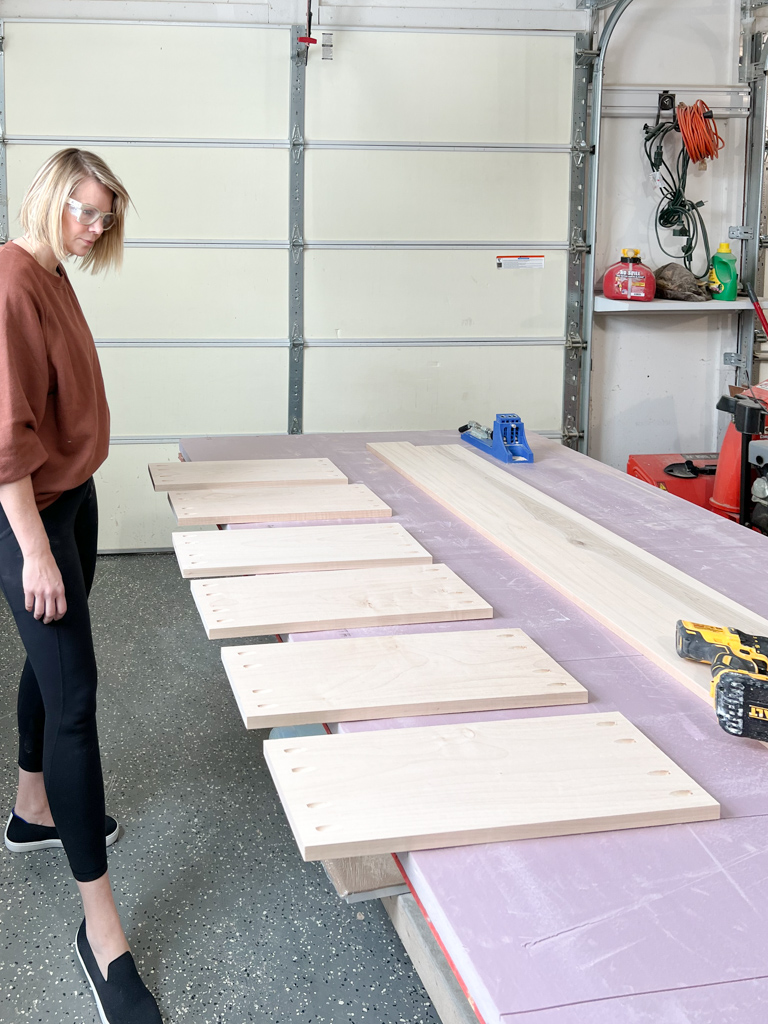
I used clamps when joining the horizontal boards to the vertical to assemble the frames. Pocket holes can get squirrelly sometimes so a good clamp can assist with any slight shifts.
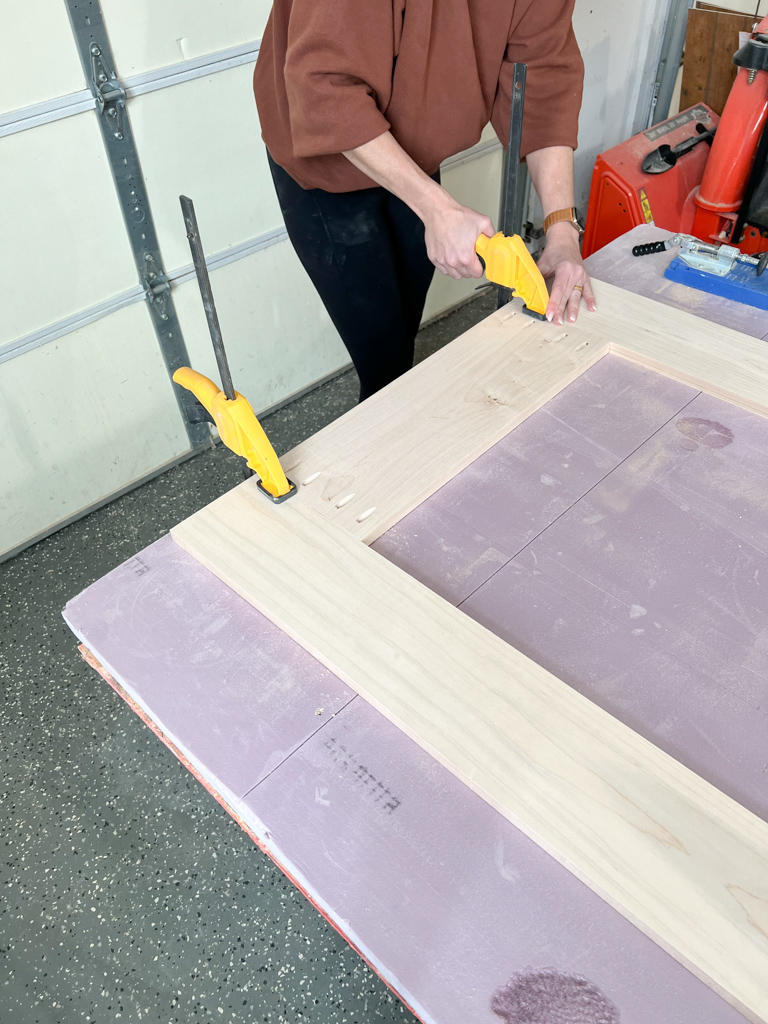
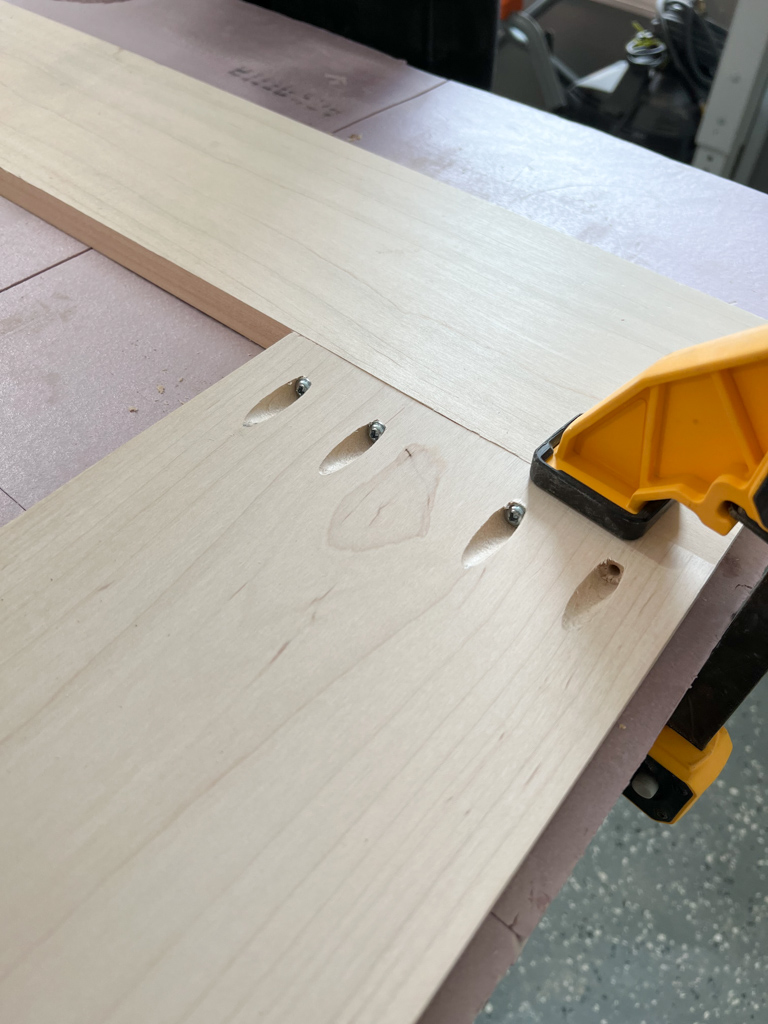
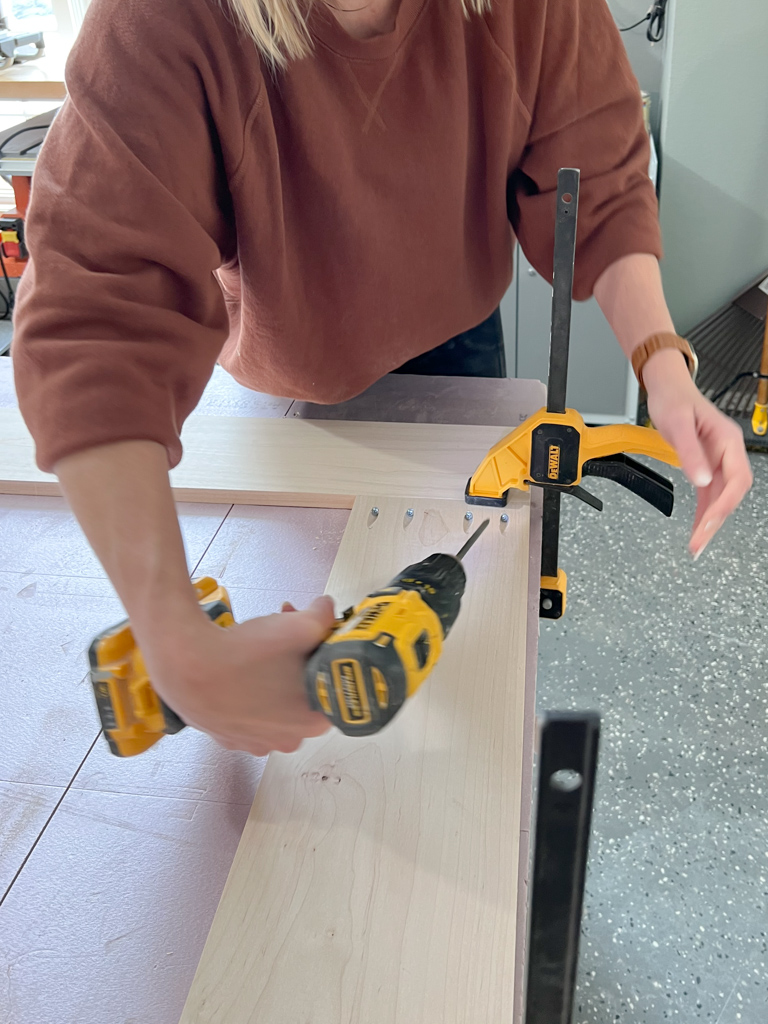
After assembling the 2 separate frames – I used a heavy layer of wood glue to clamp them together. The beauty of this design is that once you glue these together, there are no visible holes from the screws! I used a foam roller to spread it out and make sure there was good even coverage everywhere.
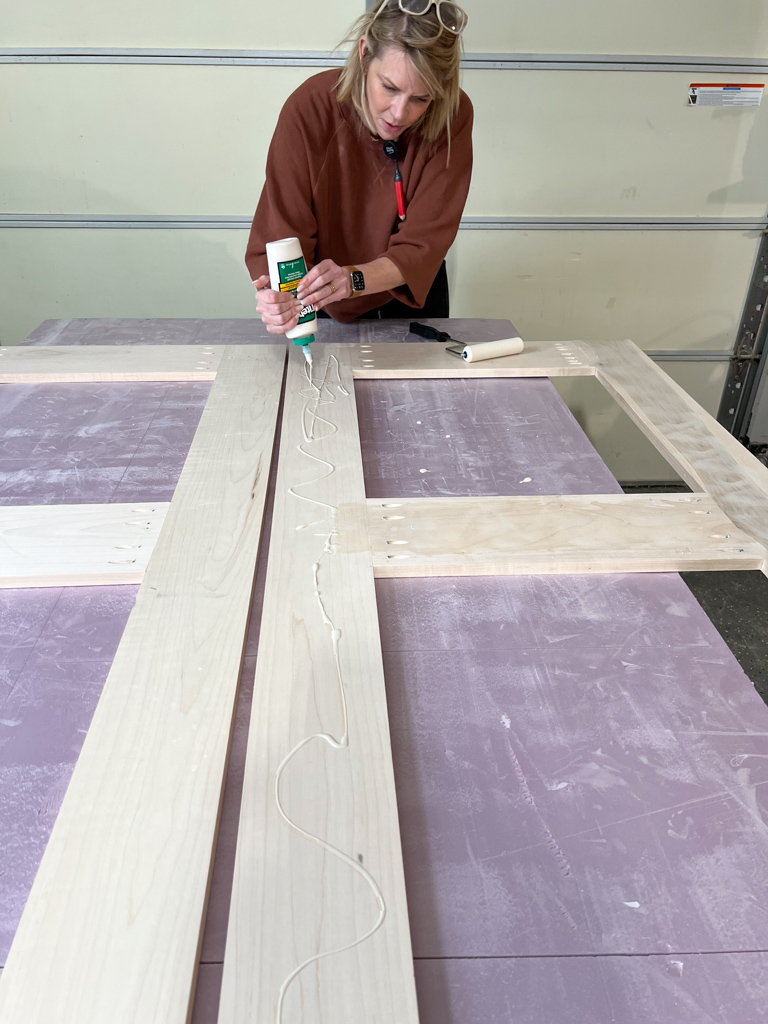
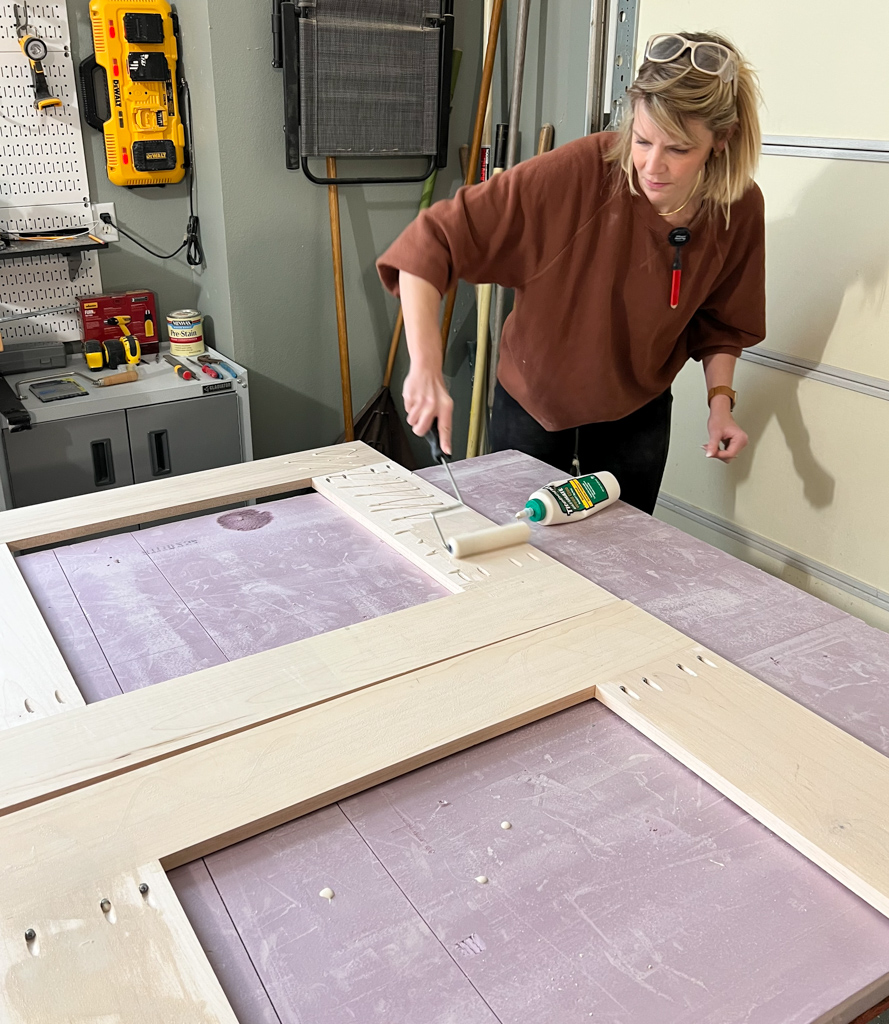
Next up, clamp them together! Don’t underestimate how many clamps you will need. I wish I had more! It’s important to have these line up as well as possible even though you will be able to sand any unevenness down later.
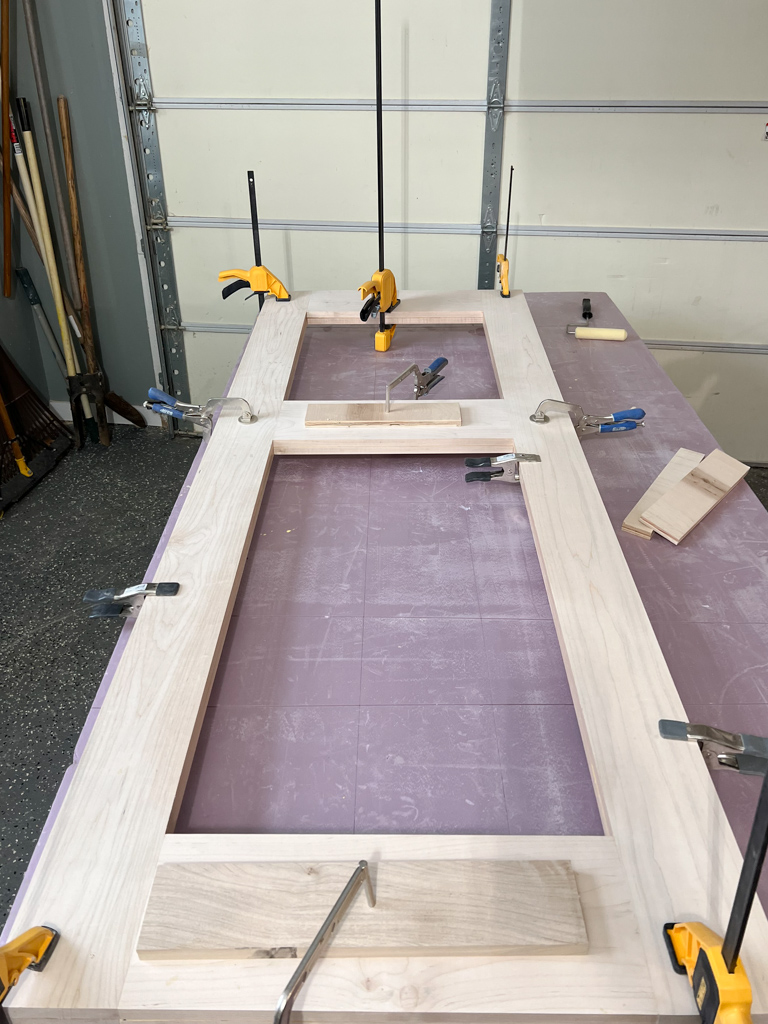
You can design this any way you’d like – I chose to have a solid piece of plywood in the bottom section and wanted a ribbed glass in the top. You can also use different types of material to sandwich/hold them in and finish it off. I used door stop and ripped it down to 1/2″ so everything would be flush.
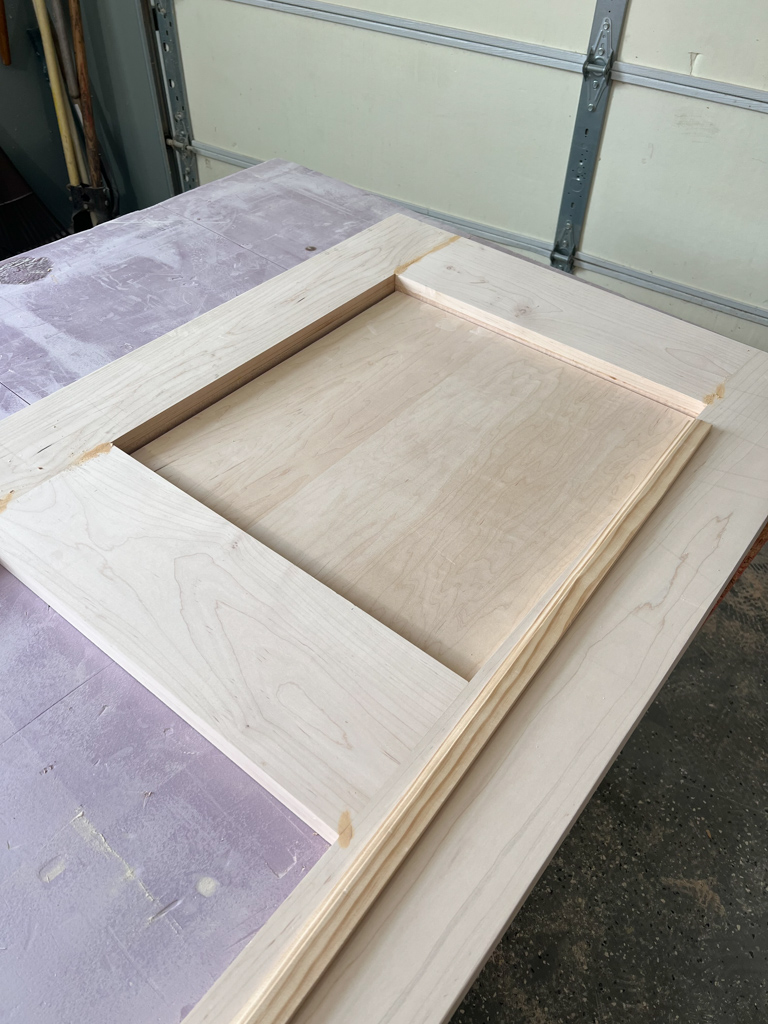
I made sure to do a dryfit before staining anything. You can easily stain/paint once things are in place but I found this easier and less fussy.
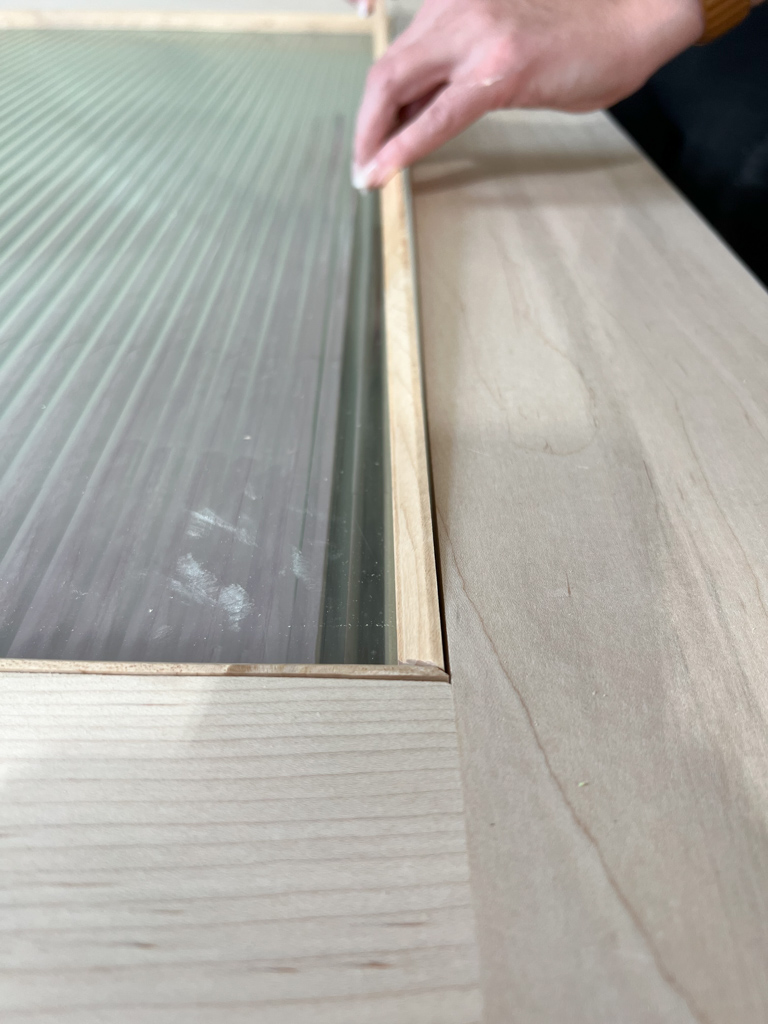
I gave everything a really thorough sanding after everything was put together. You will probably have a little unevenness where the 2 frames meet – but sanding made things really smooth and you can barely tell there are 2 pieces from the edge.
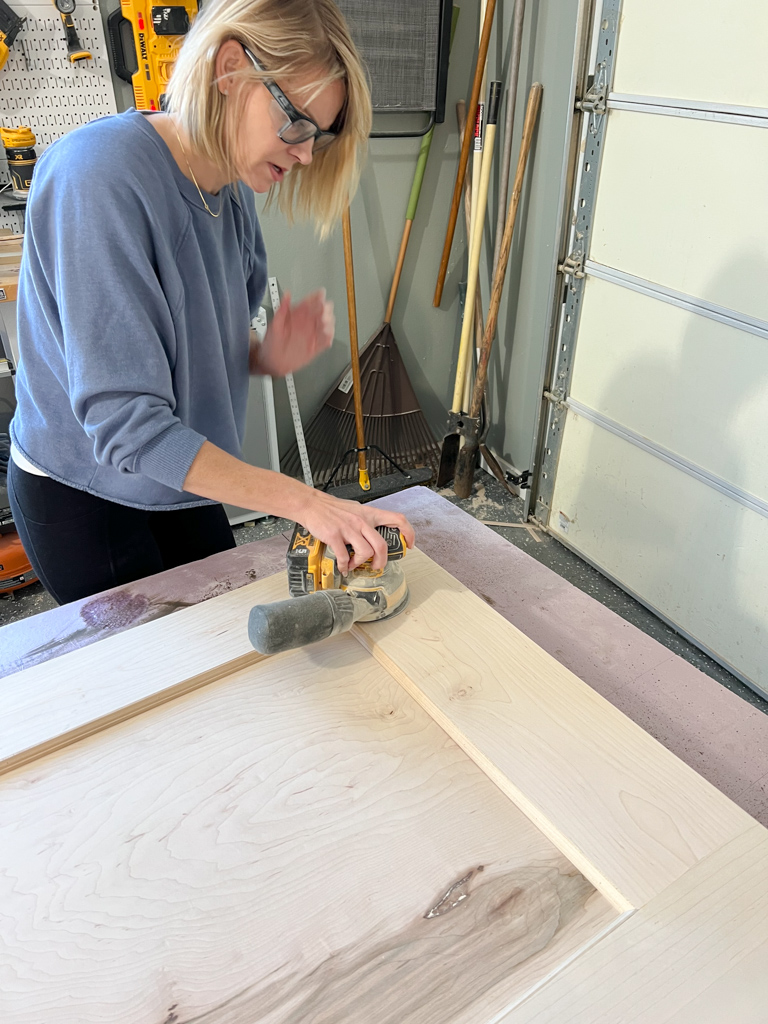
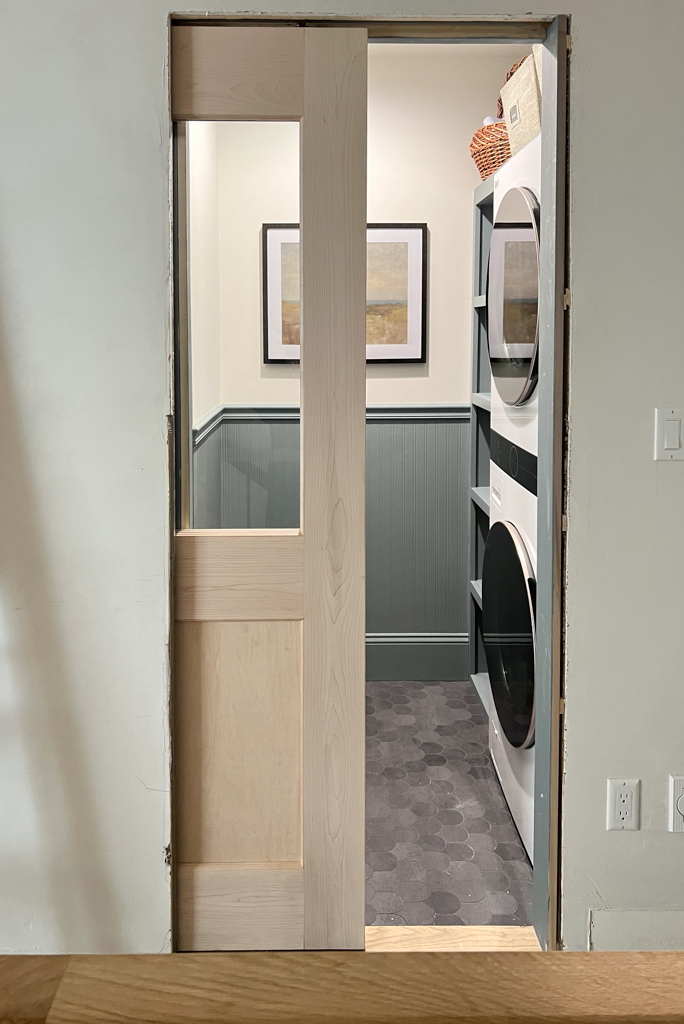
I also chose to make sure the door worked in my opening before I stained it… just in case!
If you missed it, you can read more about how we converted this closet into a laundry room here.
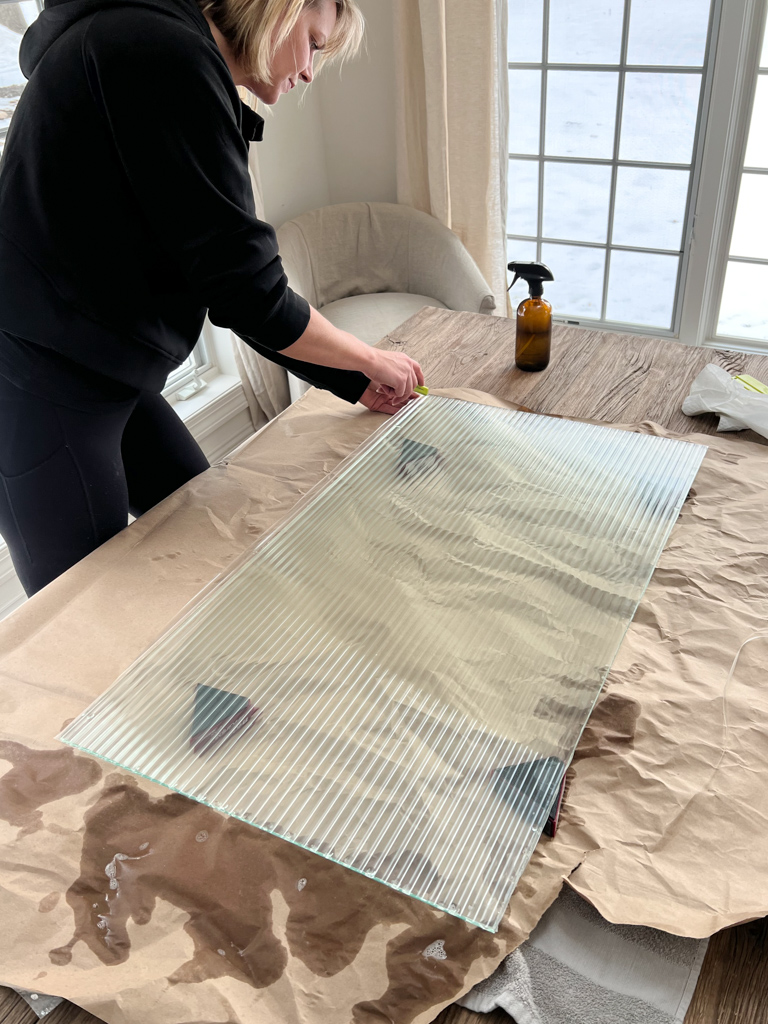
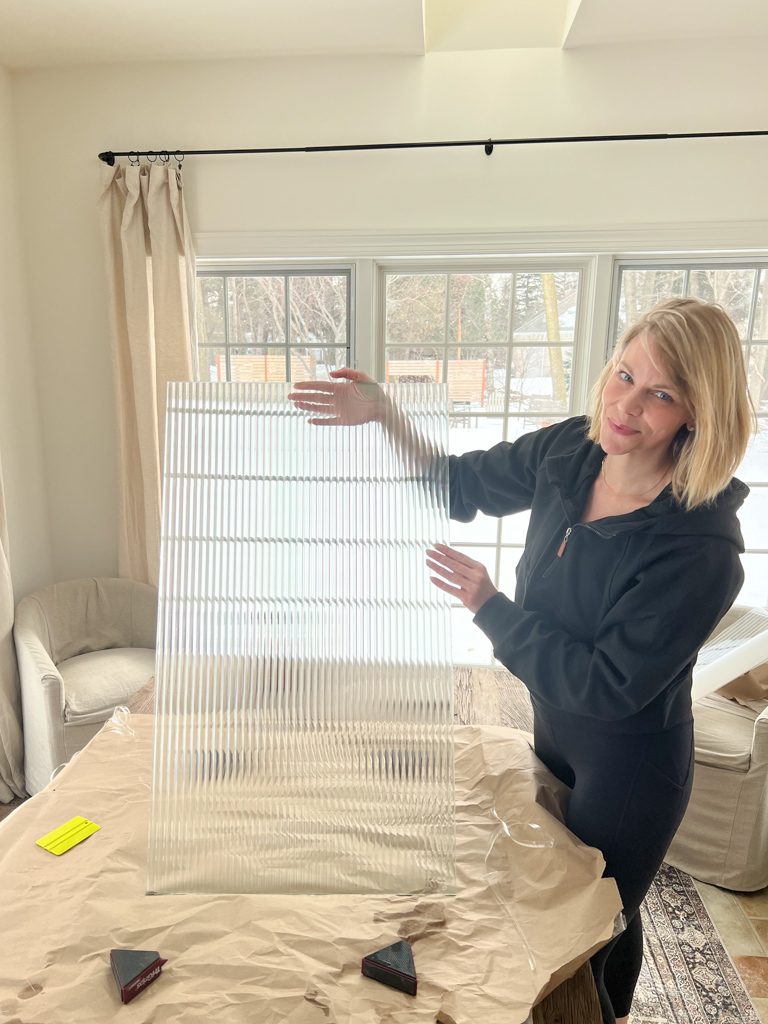
I bought a piece of glass from a local glass company. It took about 3 days and cost around $40. Make sure and get tempered or laminated glass. I bought some reeded film from Decorative Films and applied it to the plain glass. The process was pretty simple and even in person, you can’t tell that it’s faux!
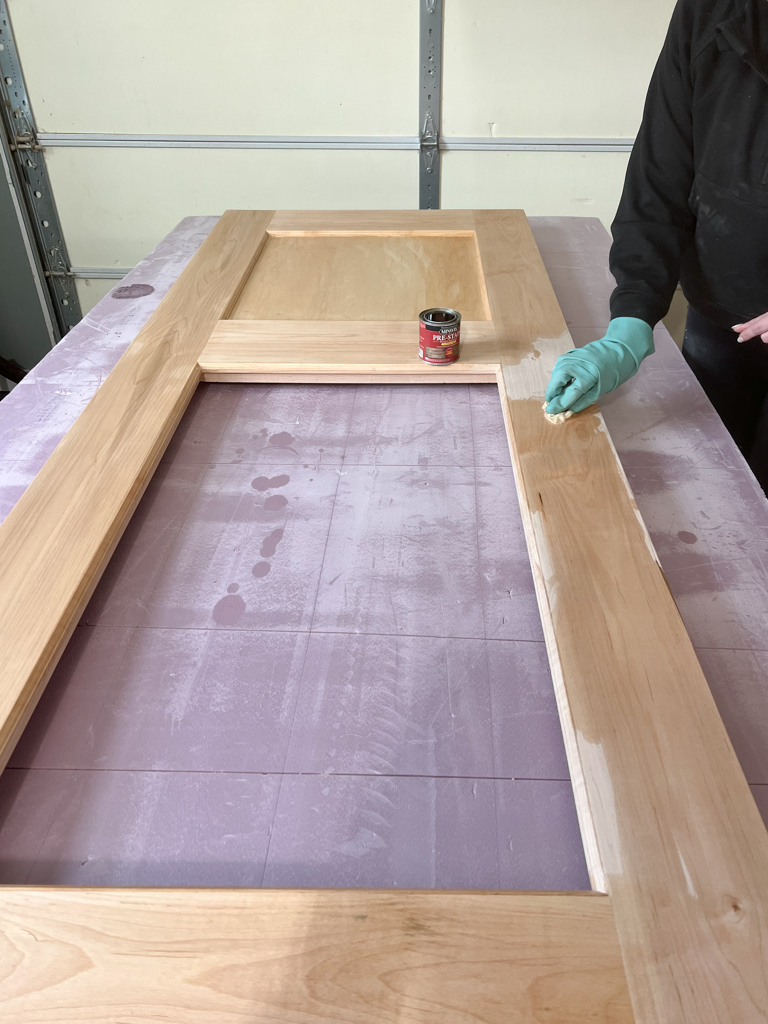
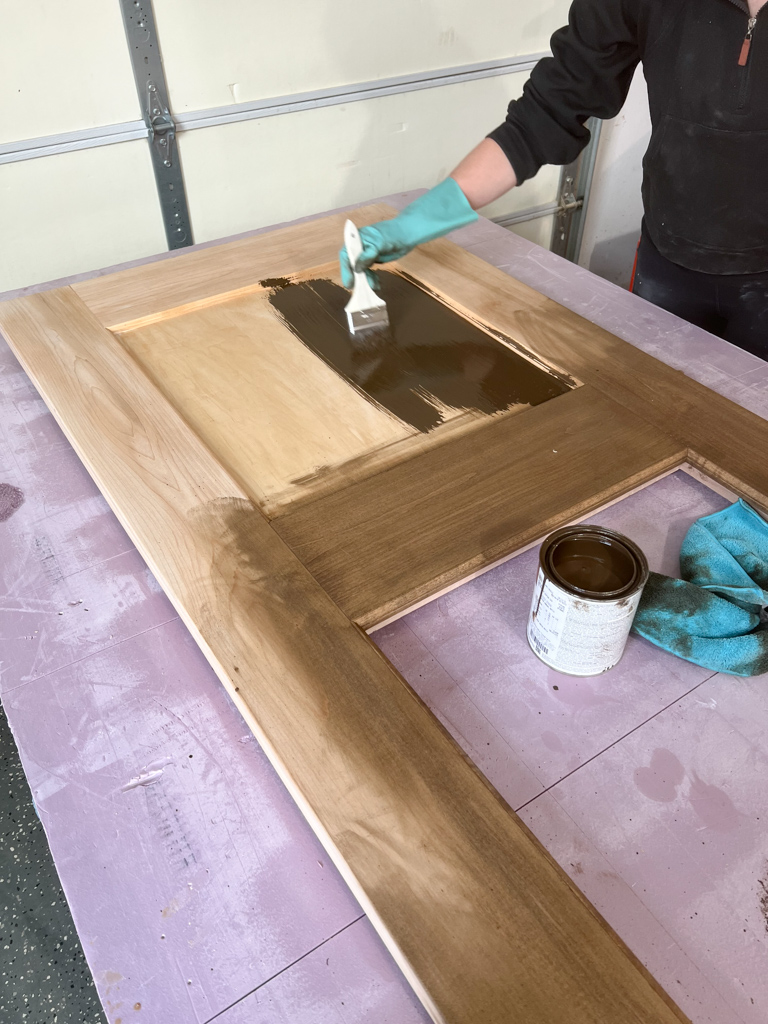
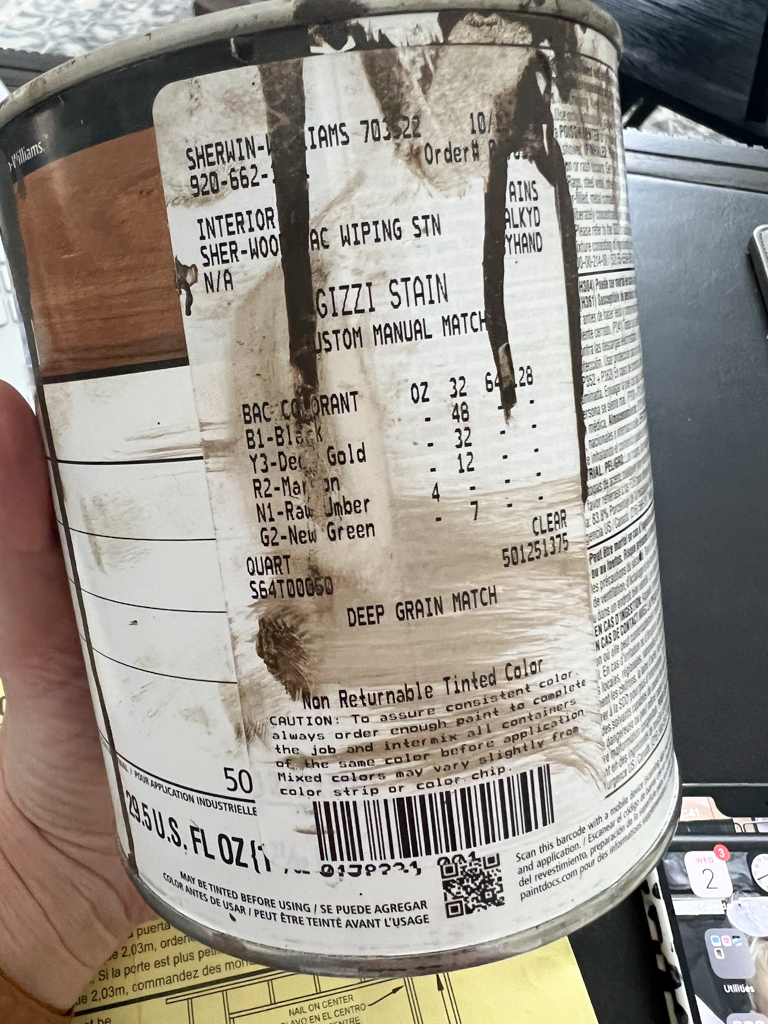
I used my favorite pre-stain conditioner, waited an hour – then stained with a custom stain color I’ve been loving.
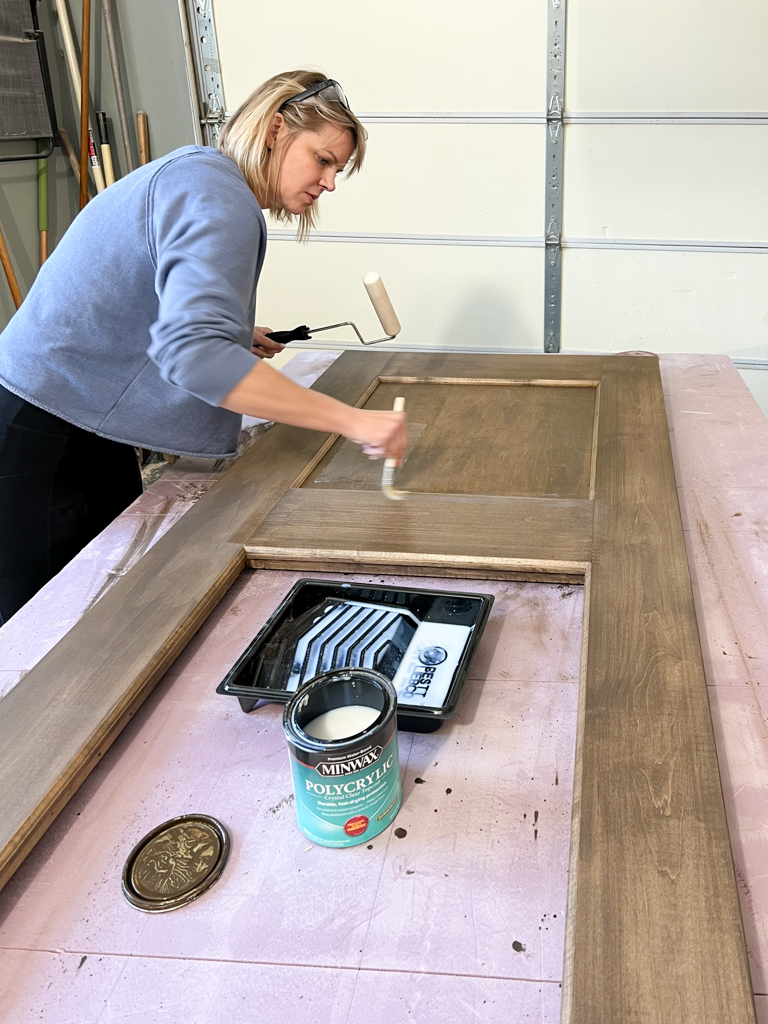
I prefer a matte topcoat so I used this polycrylic.
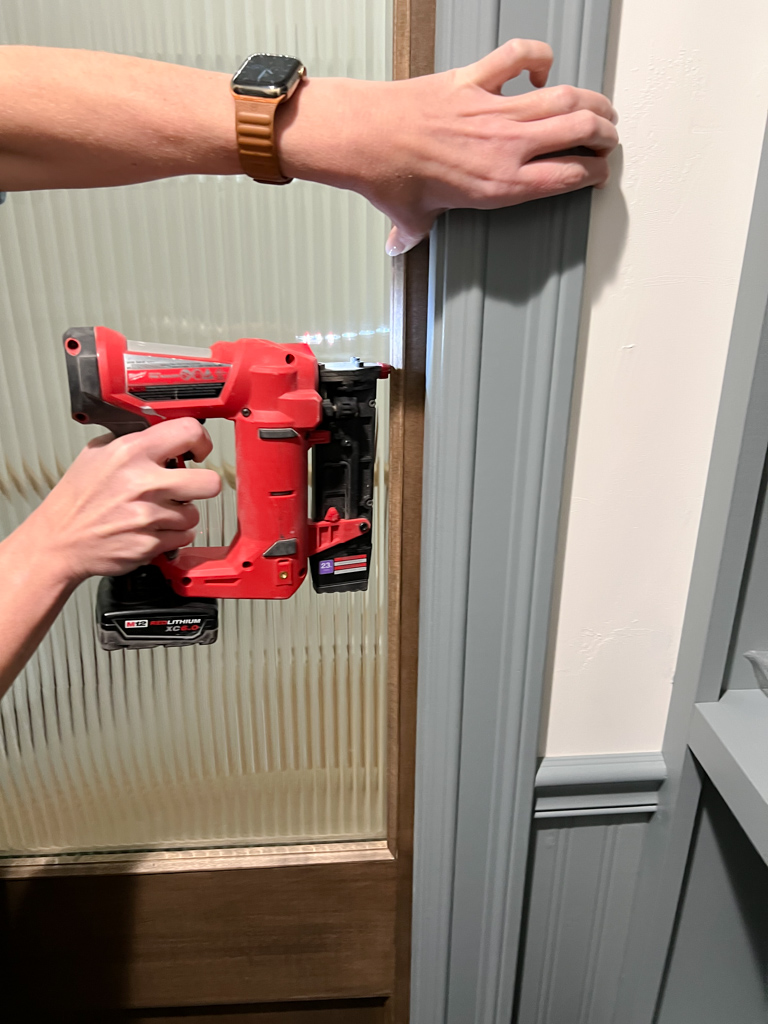
I used a pin nailer to attach the door stop to hold the glass in. It’s a tool I’ve been using more and more lately for finish work. The hole is so small that there is no need to fill it.
I’m still waiting on the pocket door hardware but isn’t she pretty?
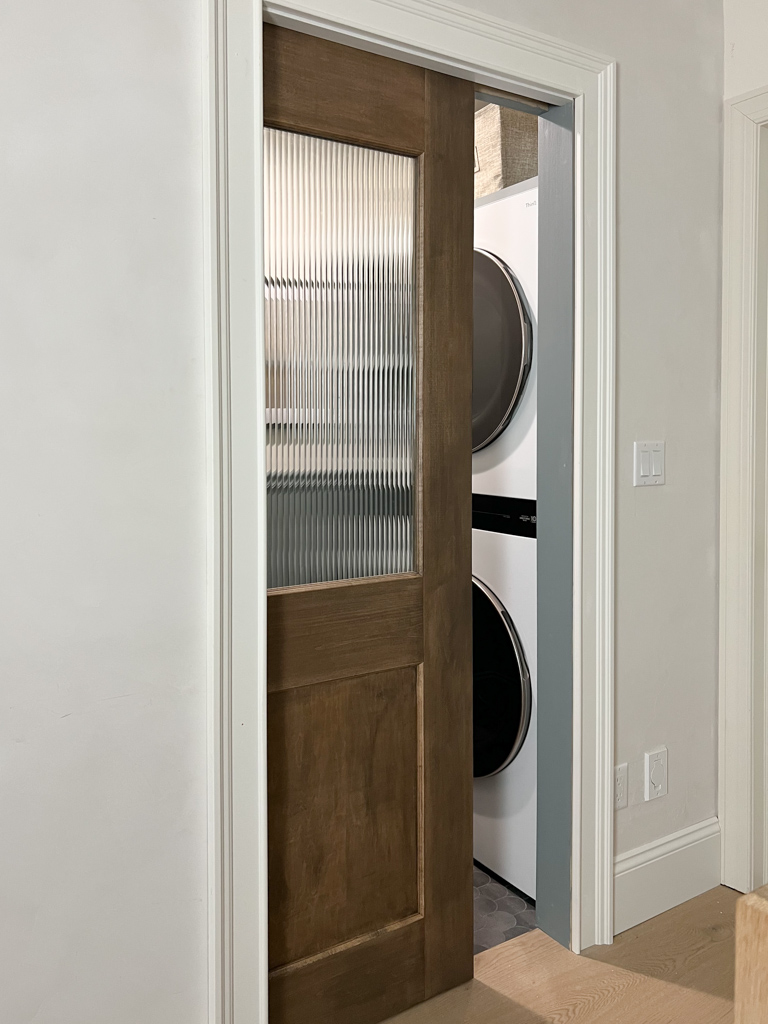
I’m currently on the hunt for some pretty striped wallpaper to go in this hallway to really show her off! Hope this tutorial helped! You could easily use this to create a barn door as well but I’m not sure I would use it for an exterior door due to possible warping.
WIFE, MAMA, DESIGNER, RENOVATOR, & PASSIONATE DIY EDUCATOR
I'm Jennifer Gizzi.
Let's create our dream homes together.
Navigate
home
about
blog
courses
shop
Social
Youtube
Legal
Terms & Conditions
Privacy Policy
© 2021 Making Pretty Spaces
I loved It! Would like to find this in Brazil.
thank you!!
Fabulous! One of my favorite projects that you’ve done!
thanks so much, mine too!
So beautiful!! Do you think this could be done for and interior hung on hinges door?
I was thinking about that – I don’t see why not!
Looks amazing! Love the stain. Will have to try it out for my project. Thanks for being awesome!
Thanks for being here!
Love it! I can’t believe you built this, it’s gorgeous! Thank you for sharing your plans 🙂
You’re welcome!
This is gorgeous! Looks like exactly what I want for my pantry door when we build!
I’m so glad – perfect for a pantry!
Saw this just now on your IG, had to thank you so much for sharing the details of how it came together. The timeliness of this is perfect, as a door similar to yours is exactly what I had been planning to make for my laundry room. I had initially planned to use a century old door that was once my dear grandparent’s front door, but it was just shy of being wide enough. Again, thank you so much for sharing your work. It’s always helpful and inspiring!
Thanks for being here!
This is gorgeous!! We have pocket doors all in our 1973 home. Some are now dropping due to heavy use. How do we fix them? Take trim off and door will come out?? Love your Instagram!
You would need to take the trim off one side completely to get access.
It would be helpful to understand when a pocket door will work and/or what does the inside look like? How is it hung? What needs to be done to the door to hang it? does it go into the vanity of the wall or lay outside of the wall like a barn door?
Hi! The purpose of this tutorial was to share how to build a slab door if someone wanted to have a custom look or size for a specific need -whether for a barn door or a pocket door!
This is amazing. I love it and would love to be able to recreate it. I have a couple of questions. First, did you use a router to fit both the glass and the solid panel? Second, how did you join the two doors together? I’m assuming wood glue but also nails? Screws? Looking forward to your response.
Hi! I covered in the tutorial – I only used wood glue and clamps. I installed the door stop on one side then the glass then the door stop on the other side to sandwich it in.