
How To Paint Your Outdated Cabinets: No Sanding Required
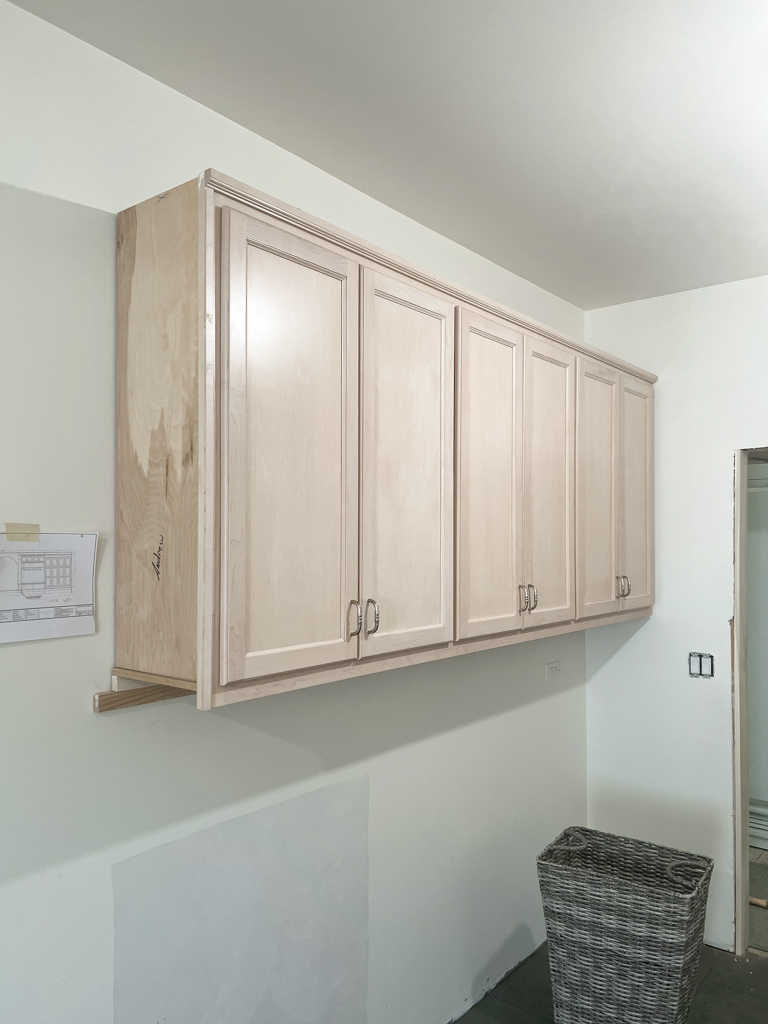
I recently shared a Phase One Laundry Room Makeover on Instagram. I ordered new custom cabinetry from Stoffer Home Cabinetry but the lead time is 10-12 weeks.
I talk about the laundry room renovation up to this point in more in detail in this post. We have done a lot of work to get to this point and now we are just waiting for the new cabinetry to arrive. I get requests all the time about painting old wood cabinets so I thought this would be a fun opportunity to show you how easy it is to update old cabinets with the power of paint!

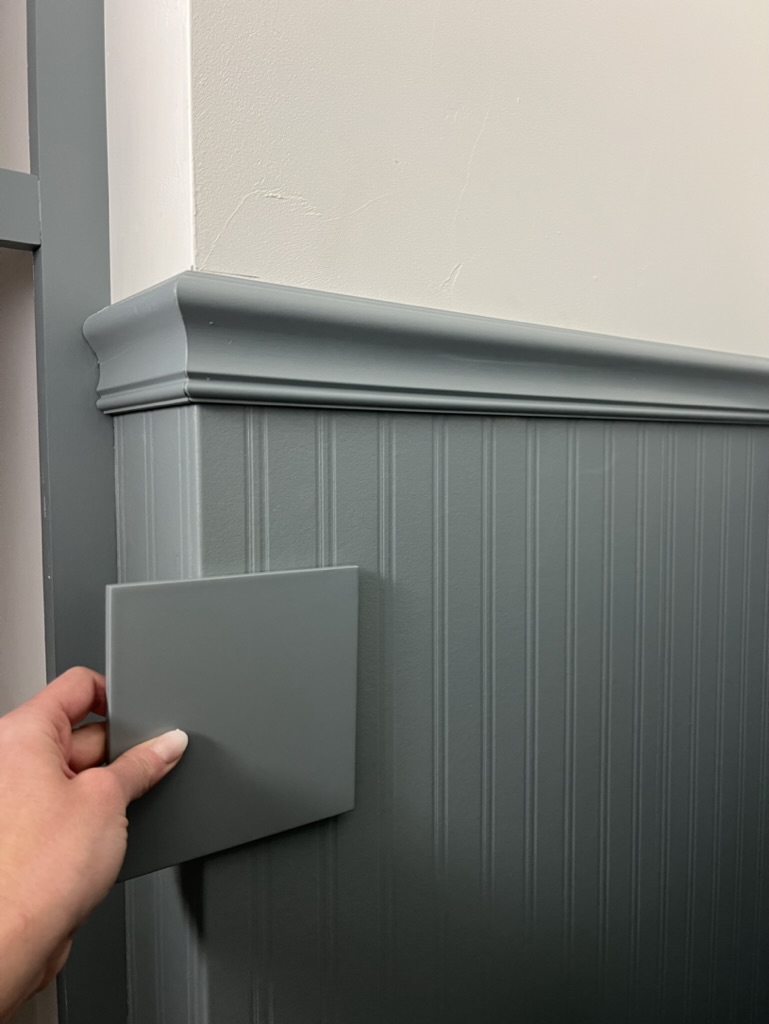
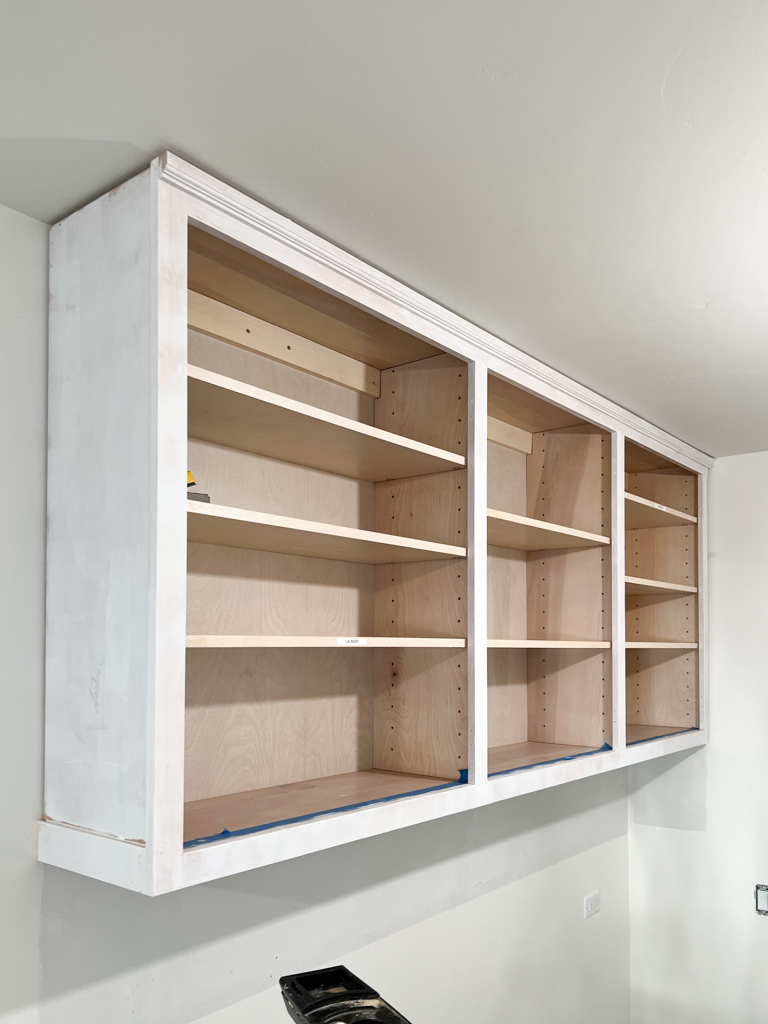
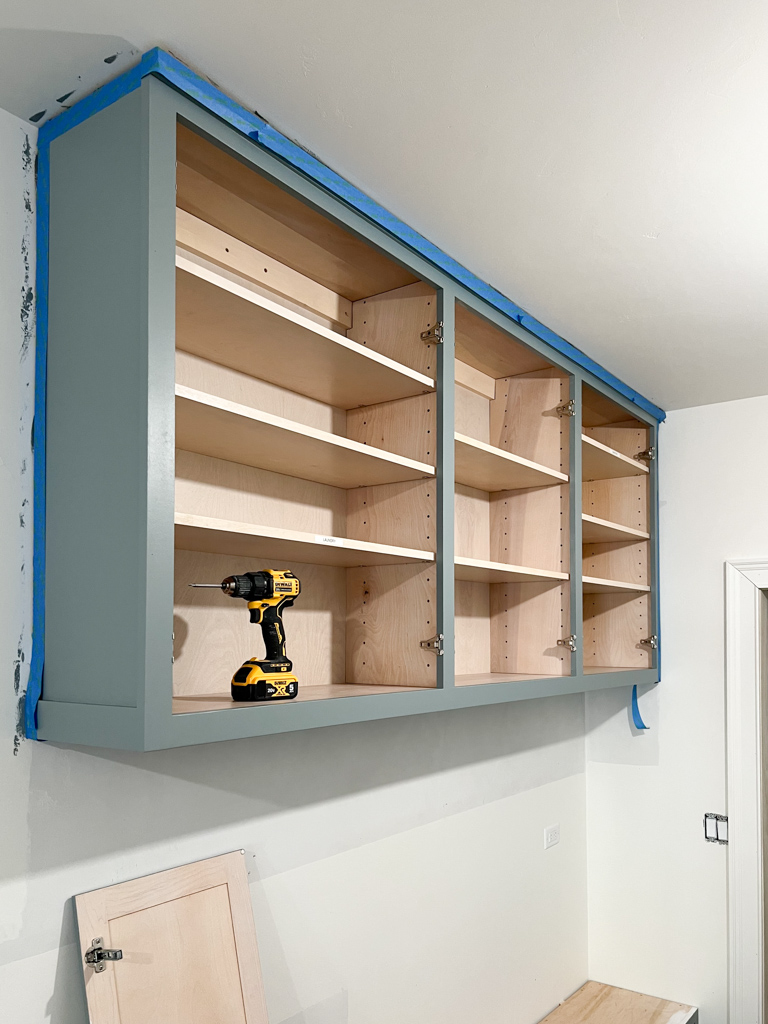
The new cabinetry I ordered is in a really pretty blue color called Sutton Blue from Stoffer Home Cabinetry. I decided to paint this old cabinetry the same color so I could start visualizing a finished space. I went to Sherwin Williams with a color sample and had them color match it. Most paint stores can easily do this!

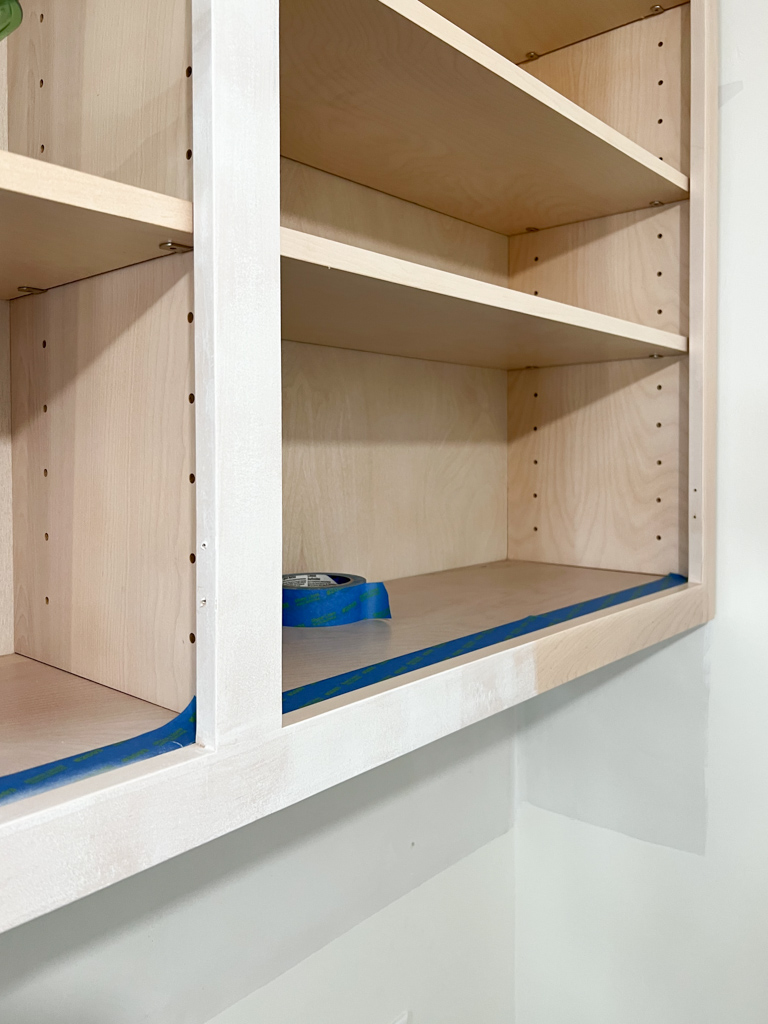
My cabinetry is a maple species with a clear polycrylic sealer. Not terrible – but definitely dated!
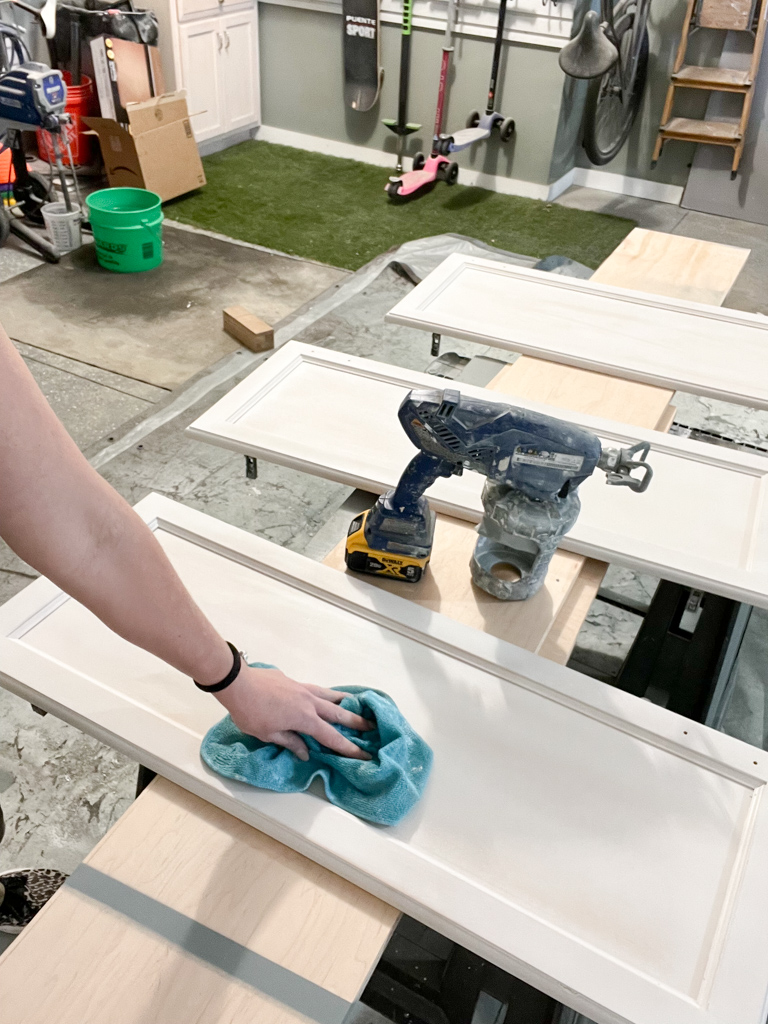
The first steps involve prep! Not the most fun – but always the most important part of any painting project. I took off the old doors and cleaned every surface really well to remove any oil and dirt.
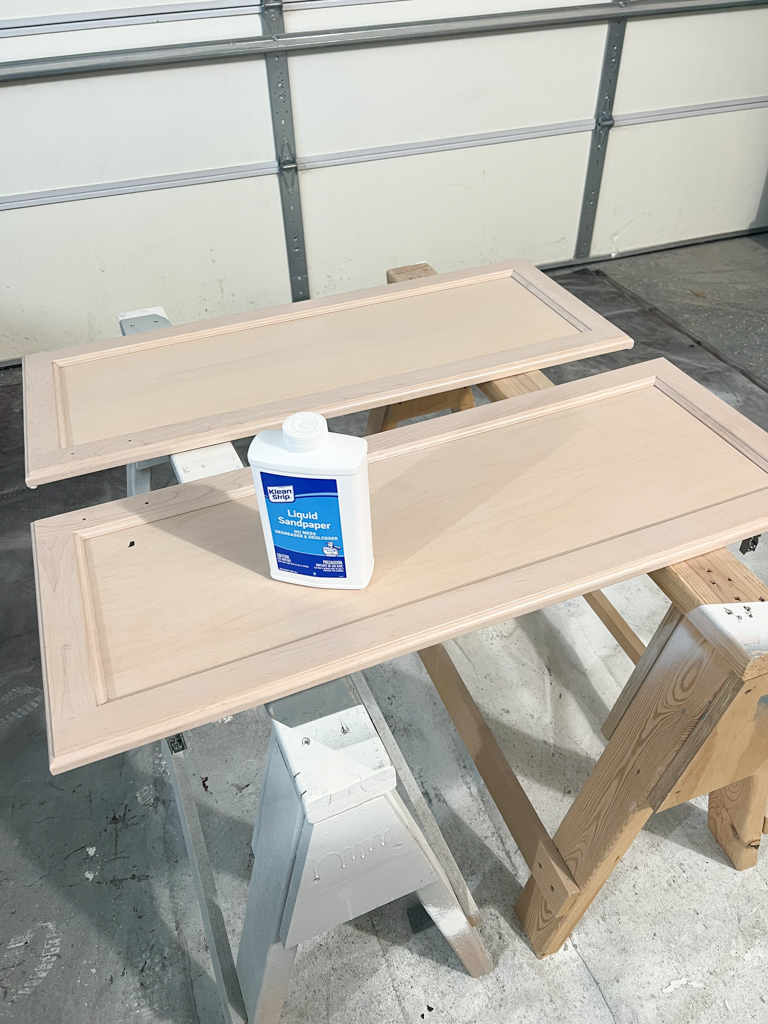
The next (and most crucial) step in painting old cabinetry is the actual preparation for it to accept primer and paint. Slick or previously sealed surfaces will not accept primer very well so you need to either sand them down or in my case, I’m using a product called deglosser… or liquid sandpaper. This product is great for sealed wood surfaces.
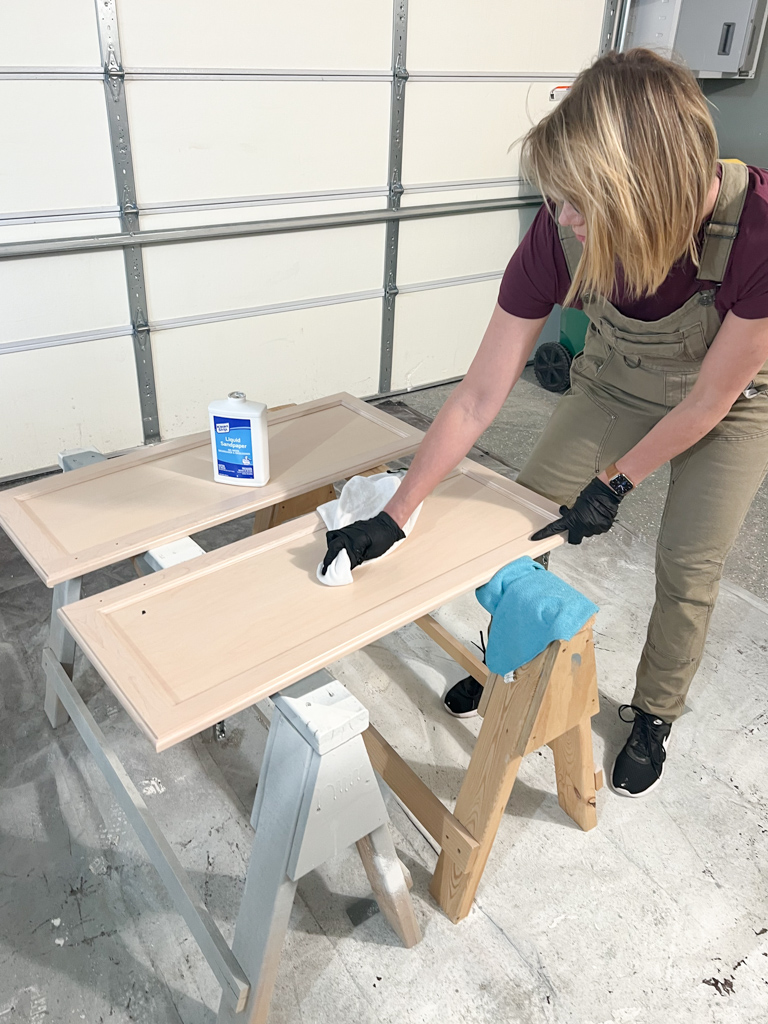
I always use gloves and glasses when using this product. This is water-based so it’s not necessarily overly toxic – but it’s still a chemical. It also does not have a strong odor – so it’s suitable for indoor use.
I usually put the deglosser in a tray and then apply it with a rag. In this case, I spilled a little on each door and worked it in with a microfiber rag in circular motions. This product is good to remove the top layer of paint, varnish, stain & polyurethane. You should be able to do a section and then visibly see a difference in the surface. Not necessarily in color – but in how shiny it is. This product will make the surface dull… exactly what we want!
There are a lot of deglosser products to choose from. I’ve had good luck with this version. It’s a lot easier than sanding if you don’t need to remove or change the actual surface of the wood. There are pros and cons to using this versus sanding. I think this product is great when you don’t want the mess of sanding and your project is relatively small: trim, cabinetry, and doors. I would not recommend this for larger areas like floors.

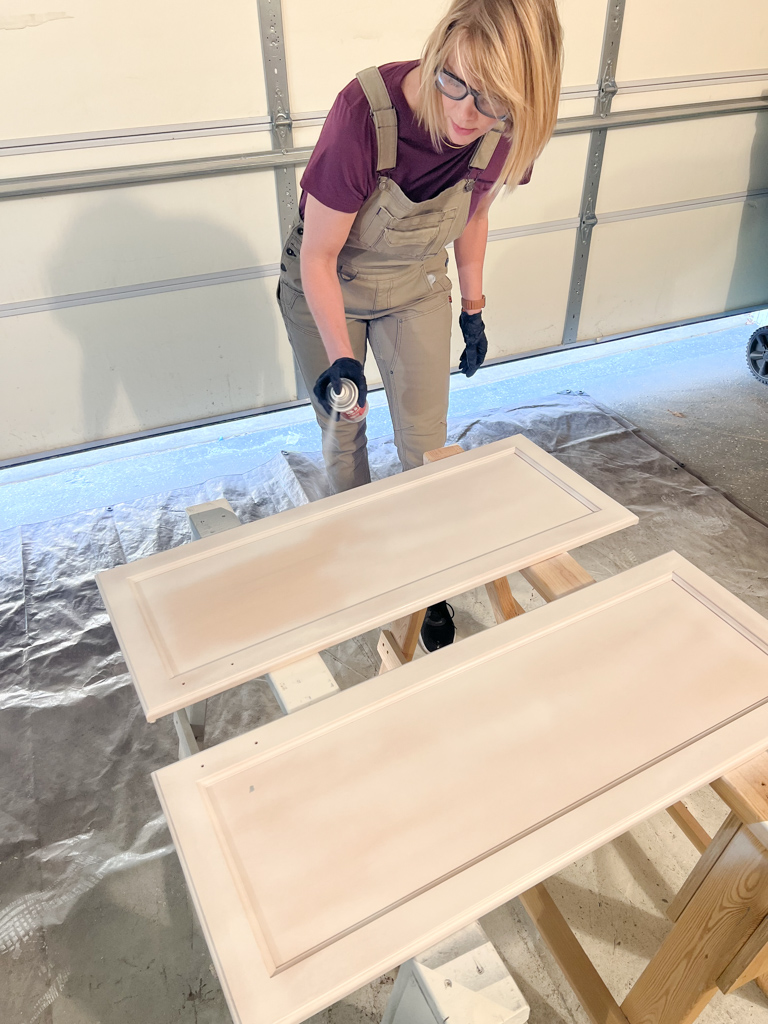
Next up… primer. And before you ask – yes you need to use a primer. Please do not trust a primer and paint in one product for this type of project. Always use primer on trim and cabinetry if you want a really good durable finish. I used this BIN spray paint primer because I had a few cans handy and only had 6 doors to paint. I would normally use a roller or spray something like BIN or Bullseye 123.
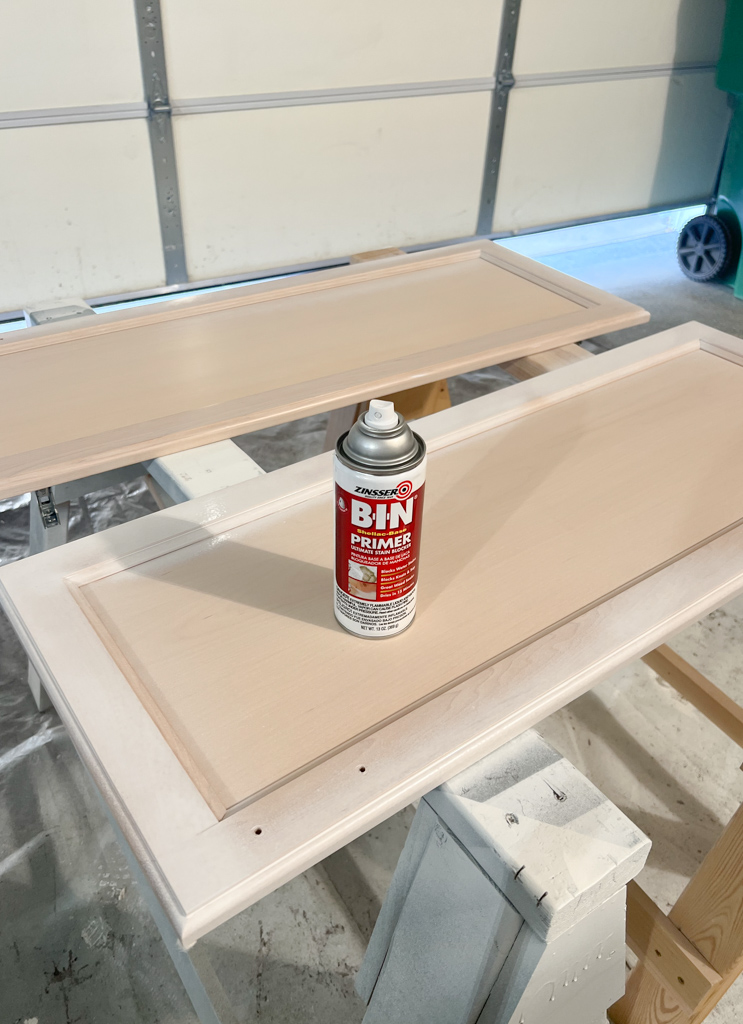
It’s not overly important to get a really thick coat with primer. The goal is to have light coverage over the entire surface. If this coat is a little uneven in color, that’s okay!
Note: This is also where you would fill any cabinet hardware holes with wood filler if your new hardware doesn’t match. I changed my mind later so I didn’t do it here, but you would want to do this BEFORE priming.
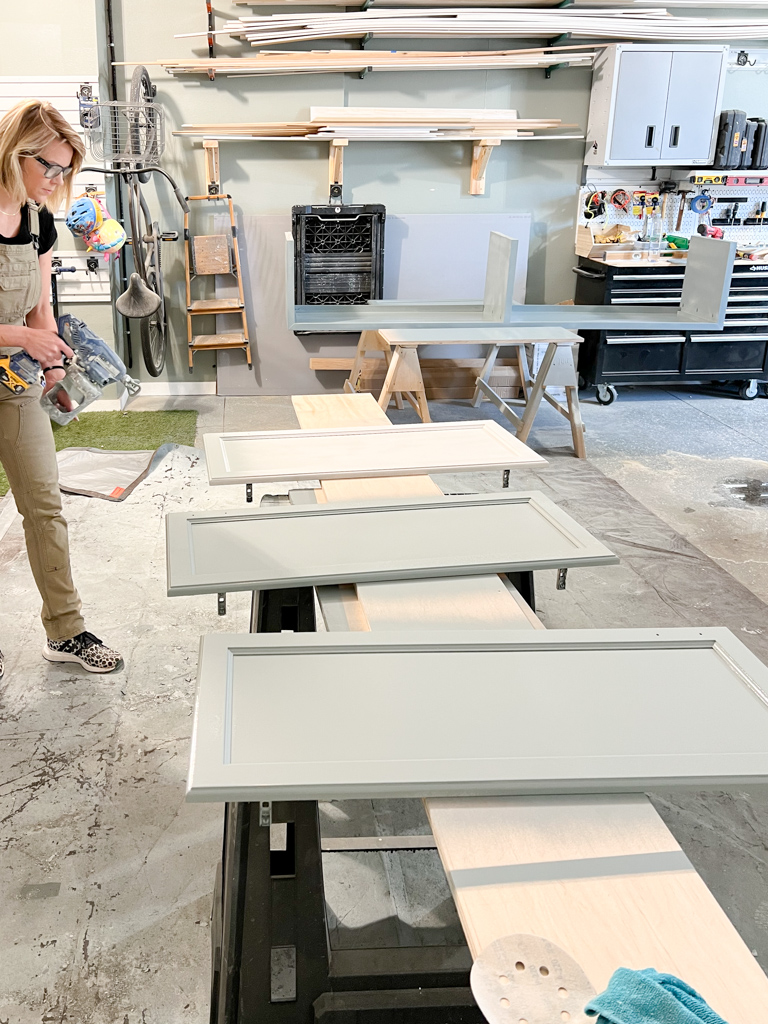
I repeated the same process on the cabinet frames, using a roller to paint the face frame. I usually would not recommend painting the inside of cabinets. It’s a lot of work and not necessary.
I painted the cabinetry box with a trim paintbrush and a 1/4″ fine roller. I will also use a foam roller – it really depends on the paint I’m using and the surface.
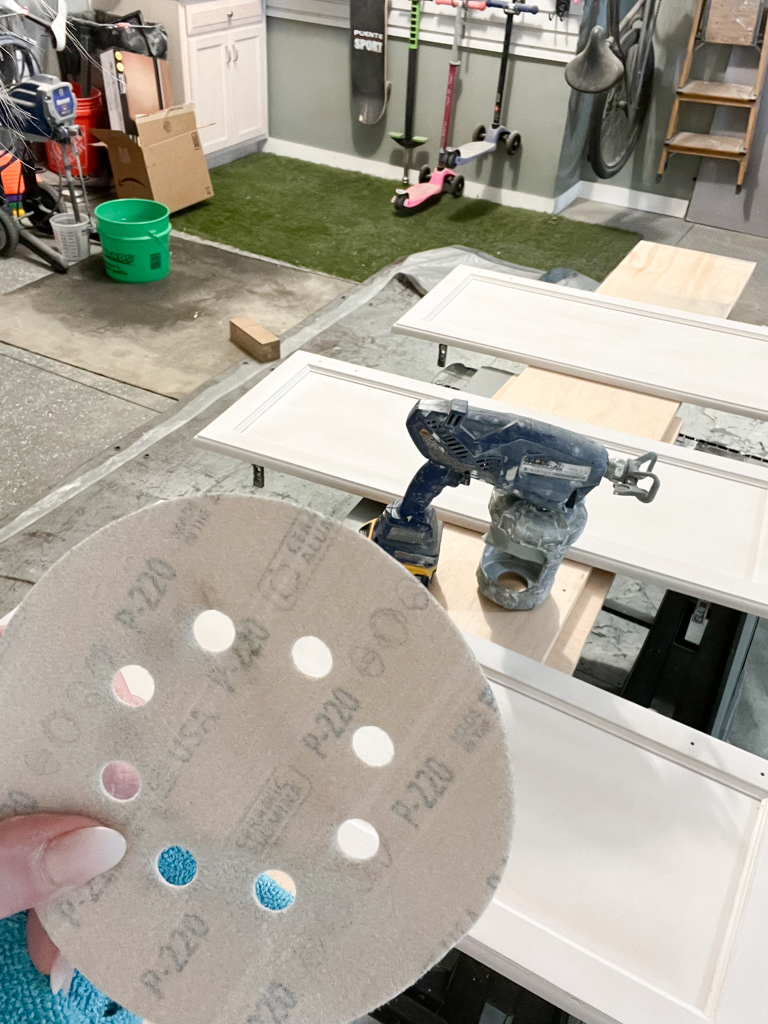
Okay, I know I said no sanding… but I do lightly sand after primer, just to knock down any roughness. You can use 180 or 220 for this step and just lightly sand the primer coat to get it smooth – not to remove the paint. This is not absolutely necessary but will give you the best smooth finish.
After a light sand, use a tack cloth or clean microfiber rag to make sure the doors are dust-free.
My trick for smooth spraying is to go over the edges/detail first and then do passes in the middle. My favorite sprayer is an investment but I love it so much! If you really want a budget option, I’ve had success with this one as well.
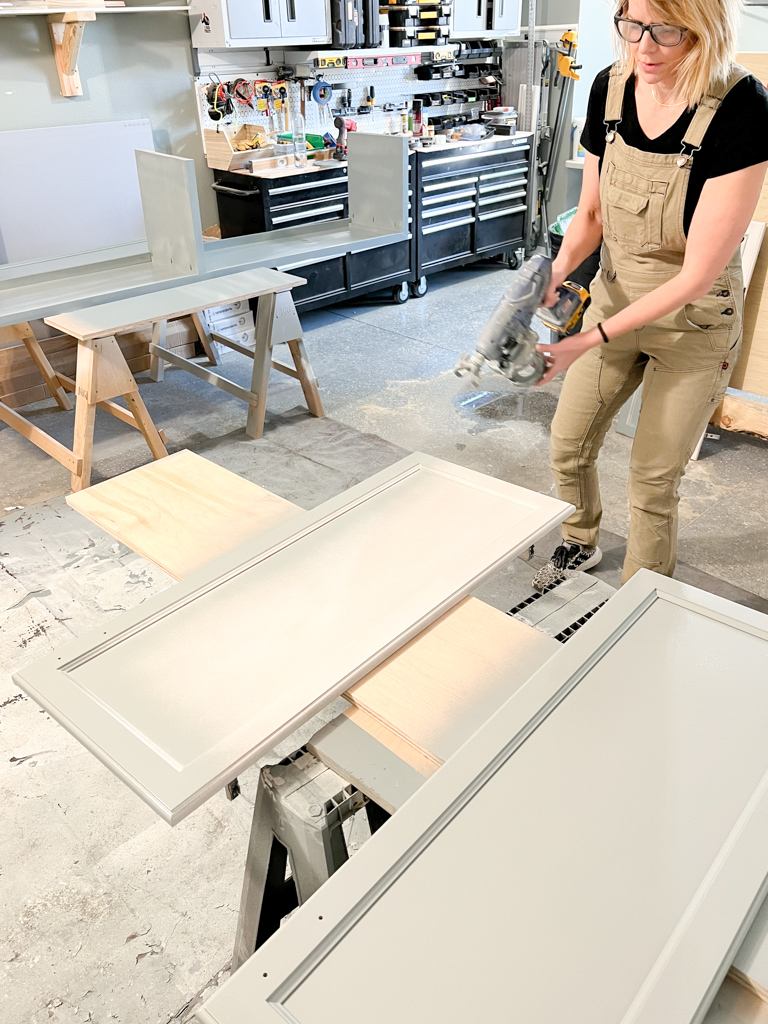
Here you can see the finish with a sprayer. It’s so smooth! I have painted cabinets and doors plenty with a fine nap roller and you can also get a good finish. Maybe not as good as spraying – but still good!

After letting the paint dry, I re-installed the new doors and added new updated hardware. Can you believe the difference?
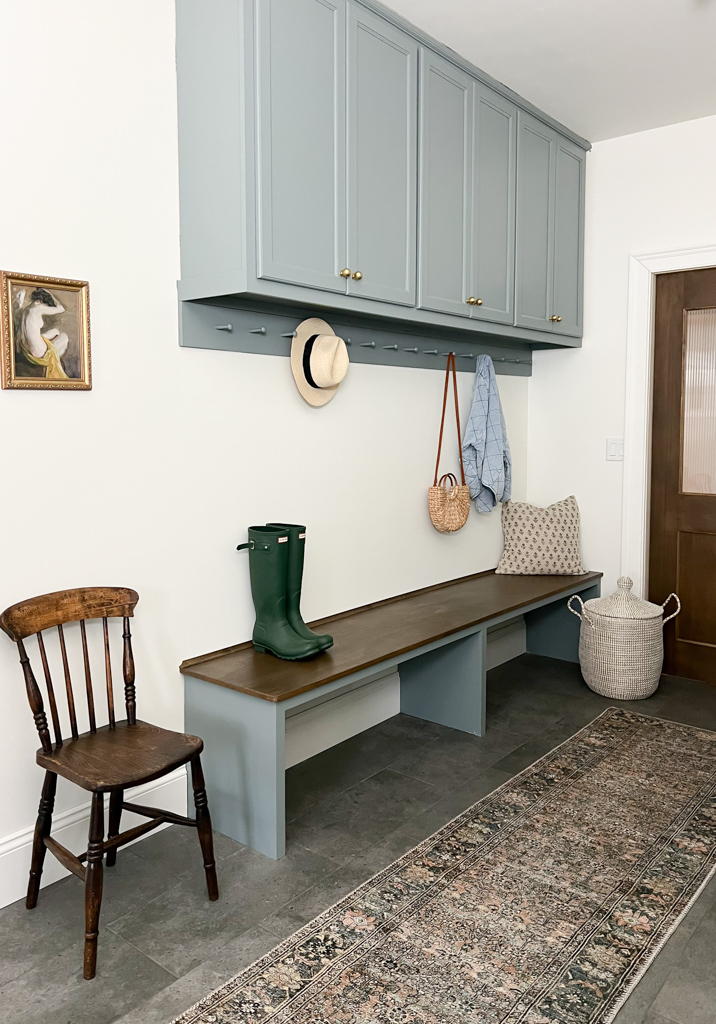
I built a simple bench and peg hooks – be on the lookout for that tutorial coming soon. I plan on moving this entire setup to our cabin garage when the new cabinetry comes in. I don’t have a mudroom there, so I built this with that in mind so I could repurpose it.
I hope this simple tutorial helps – happy painting!

Great tutorial! How did you fill in the extra hole from the old cabinet handles?
What kind of paint did you use? curious if it was a specific cabinet paint or if you can use any type of paint?
Hey there, thanks for asking! Here’s the exact product type I use: Sherwin Williams, ProClassic Waterborne Interior Acrylic Enamel