Hey There!
Thanks for stopping by the MPS Blog. Here you'll find all the nitty gritty, behind-the-scenes details of the projects you see on my Instagram. Grab a cup of coffee and take a look around. Happy DIYing!
I'm Jennifer Gizzi.
Browse by Category
design
sourcing
diy TutorialS
moodboards
SHOP OUR HOUSE
gift guides
Search the Blog
Let’s Get Caught Up On The Laundry Room Renovation!
April 19, 2022
Last month, I worked on our upstairs laundry closet and couldn’t be happier with how it turned out! It was the perfect use of a small relatively unused space. I was able to fit some shelves and a stackable washer/dryer into a 4×6 closet. The added bonus… it is centrally located right in between all the kid’s bedrooms. This mama couldn’t be happier with the addition of a secondary functional laundry space.
Back in late fall, we actually started putting together the pieces of our main laundry room which I also need to function as a mudroom and entry. It’s been a long process to get electrical and plumbing where they needed to be for our new layout.
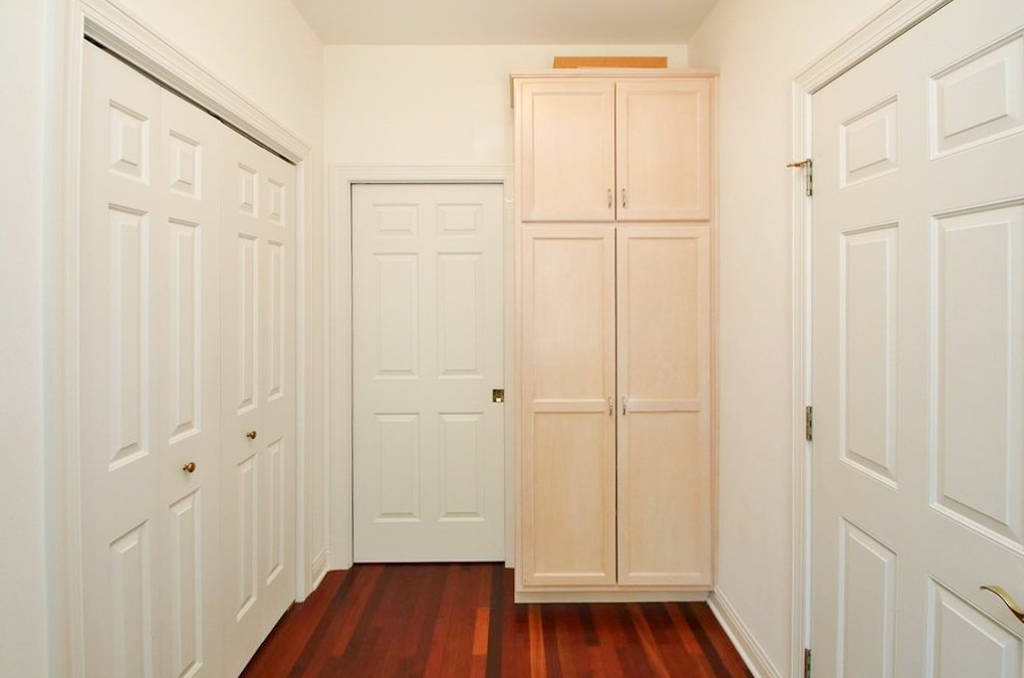
Let’s start at the beginning. Here are some initial photos of the space when we moved in.
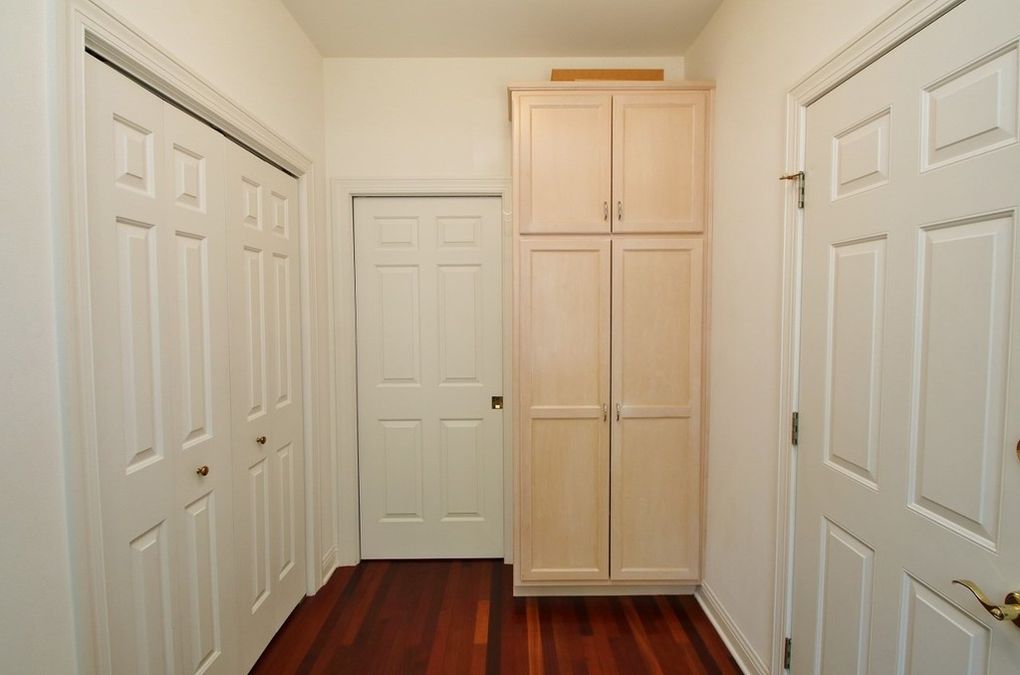
The entire room area was subdivided into 2 smaller rooms. I wish I would have captured some images of what this small entry would look like on an average day after school. It was strewn with 5-10 kids’ jackets, snow boots, and backpacks. Long story short, this layout did not work for our family.
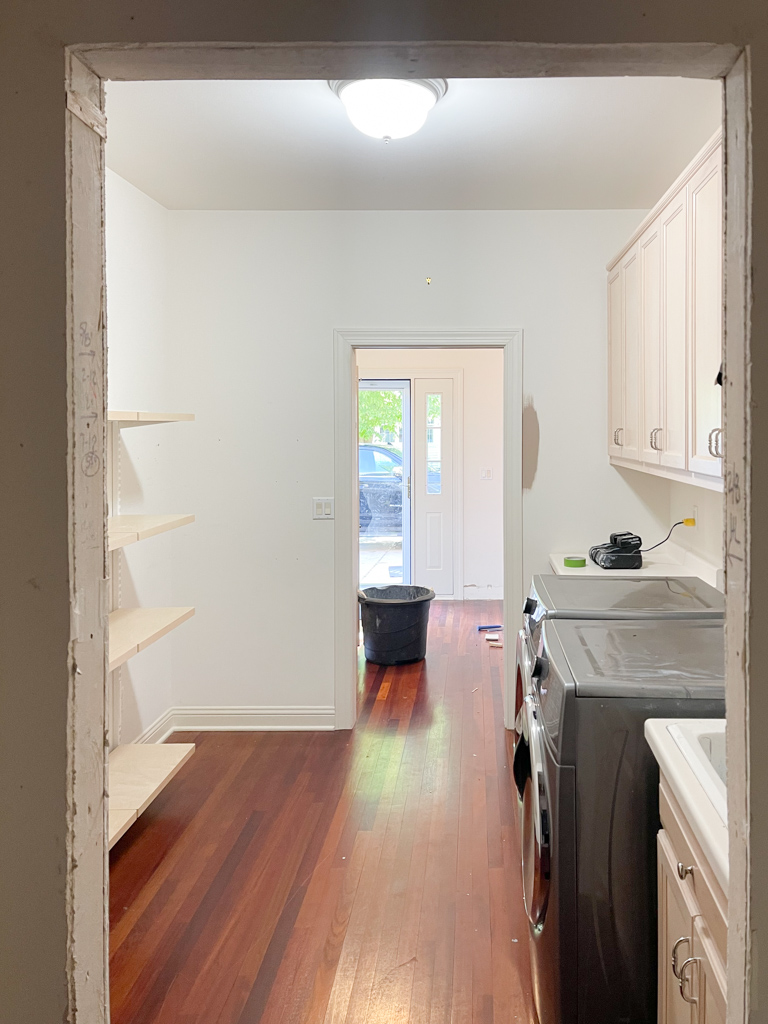
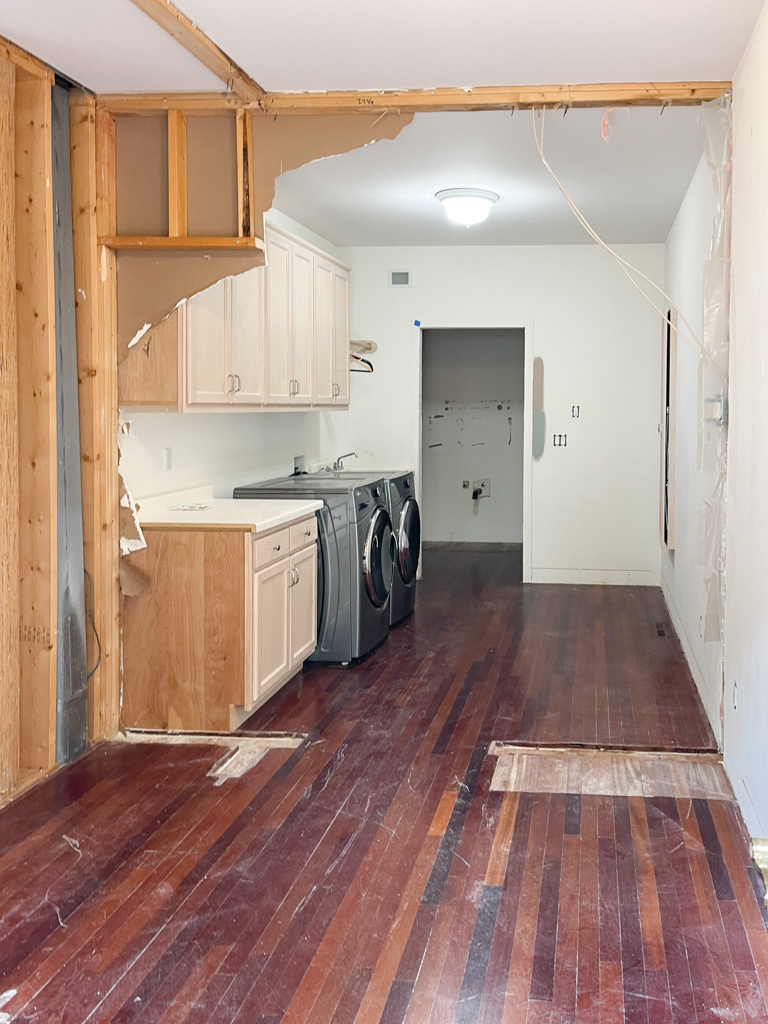
The very first decision was to open up the entire room and remove the dividing wall between the entry and the laundry area. You can see below how much more open it became immediately!
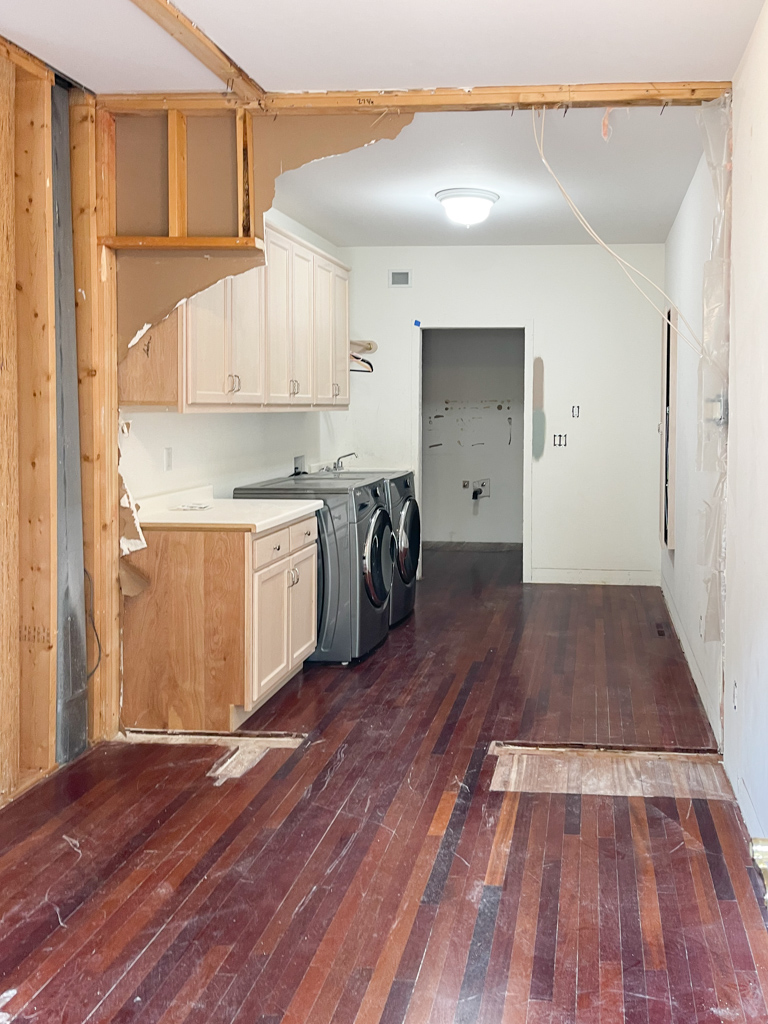
You can see in the photo above that the wall where the washer/dryer was located was too narrow. It wouldn’t allow for full-size cabinetry and it wasn’t great for traffic through this area. I have a huge pet peeve about casing not having room to breathe or in this case, it was notched into the countertop. No and no!
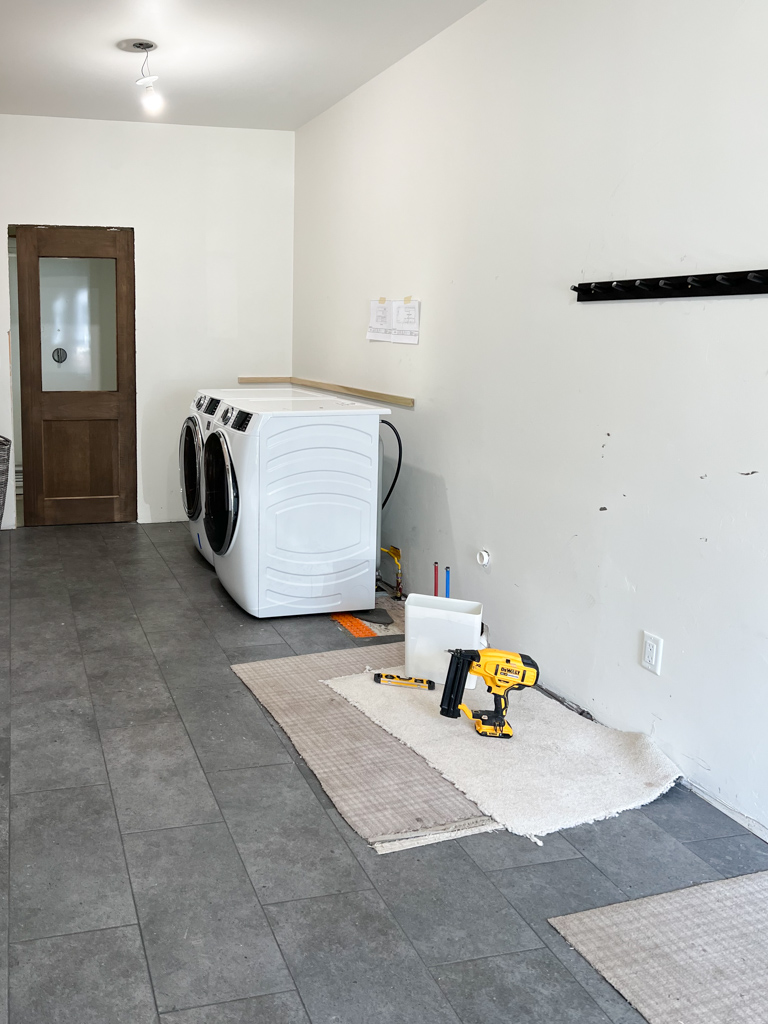
I got to work with inquiries into our general contractor to see if we could move the washer and dryer to the opposite wall. We had direct access to the unfinished basement so we were able to run venting for a new gas dryer and move everything to the other wall. I had to “quickly” come up with a new layout as they needed pretty specific instructions on where to run electrical and plumbing.
Here’s a quick visual of the before and after layout.
Before
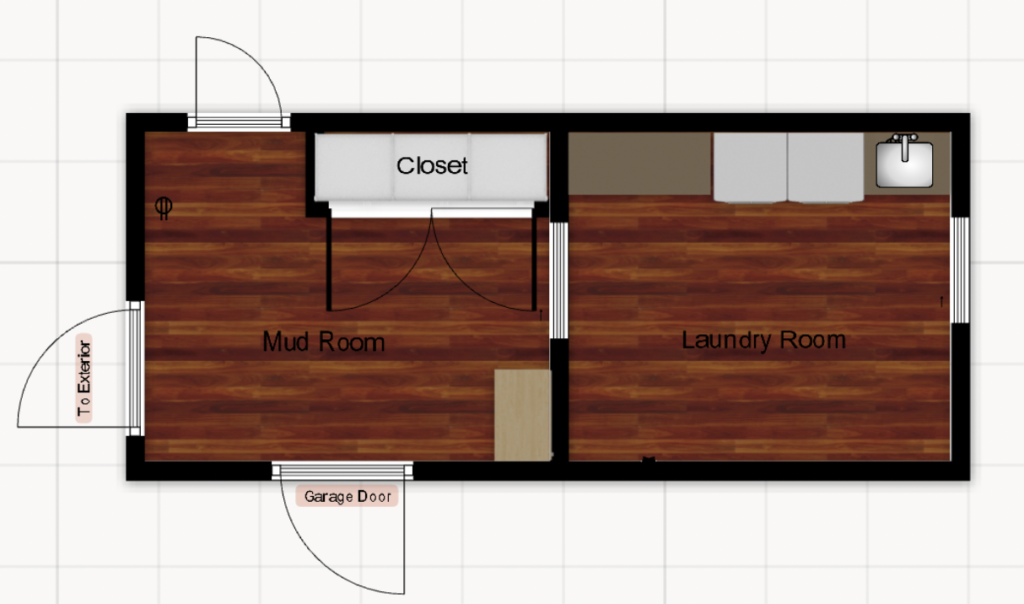
After
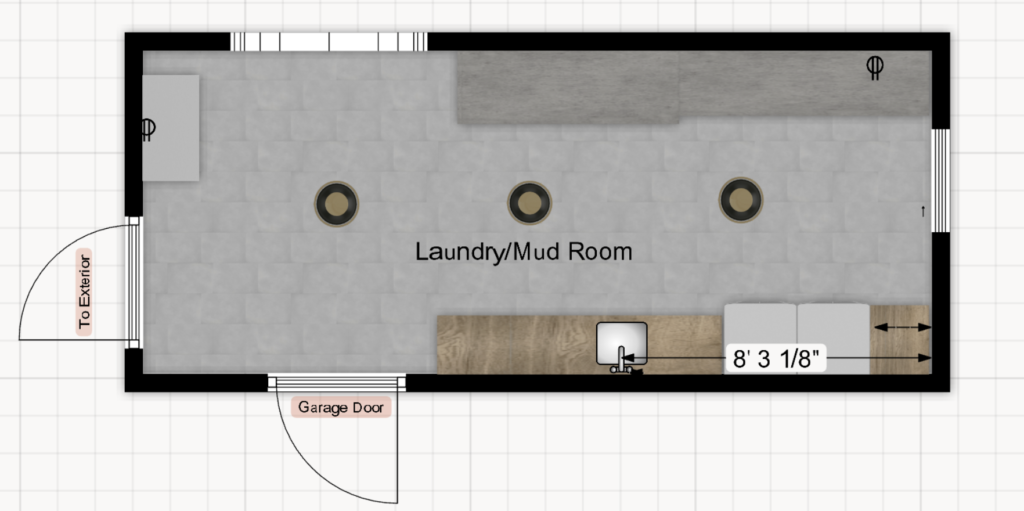
A little “in process” visual. It’s always worse before it gets better!
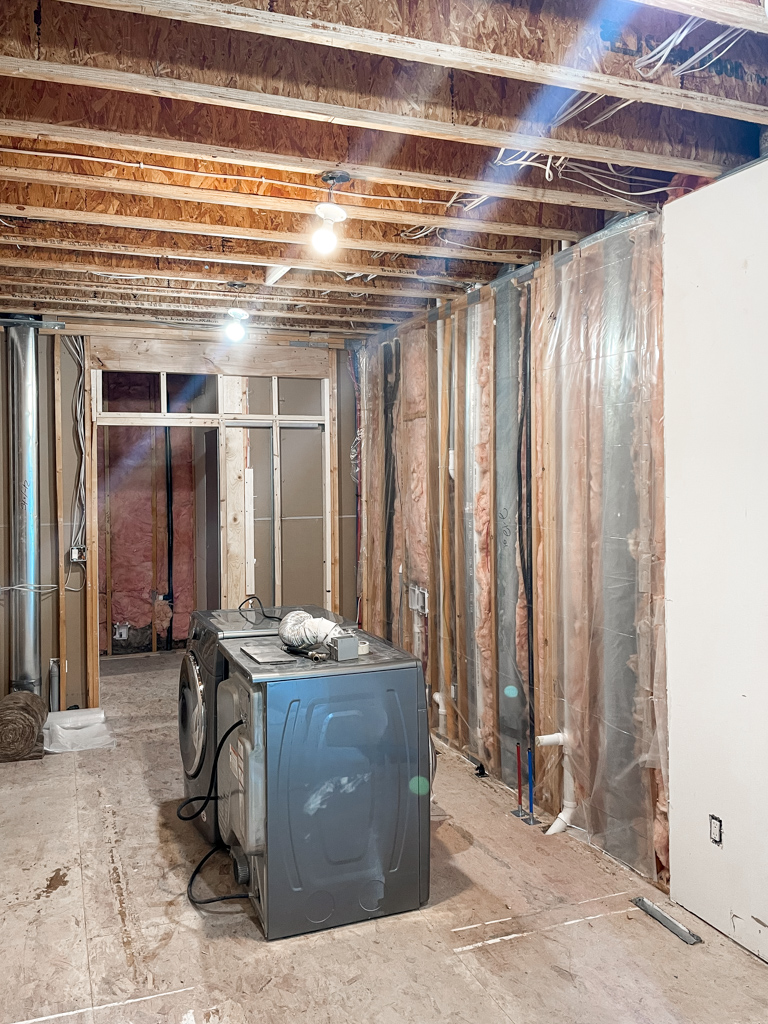
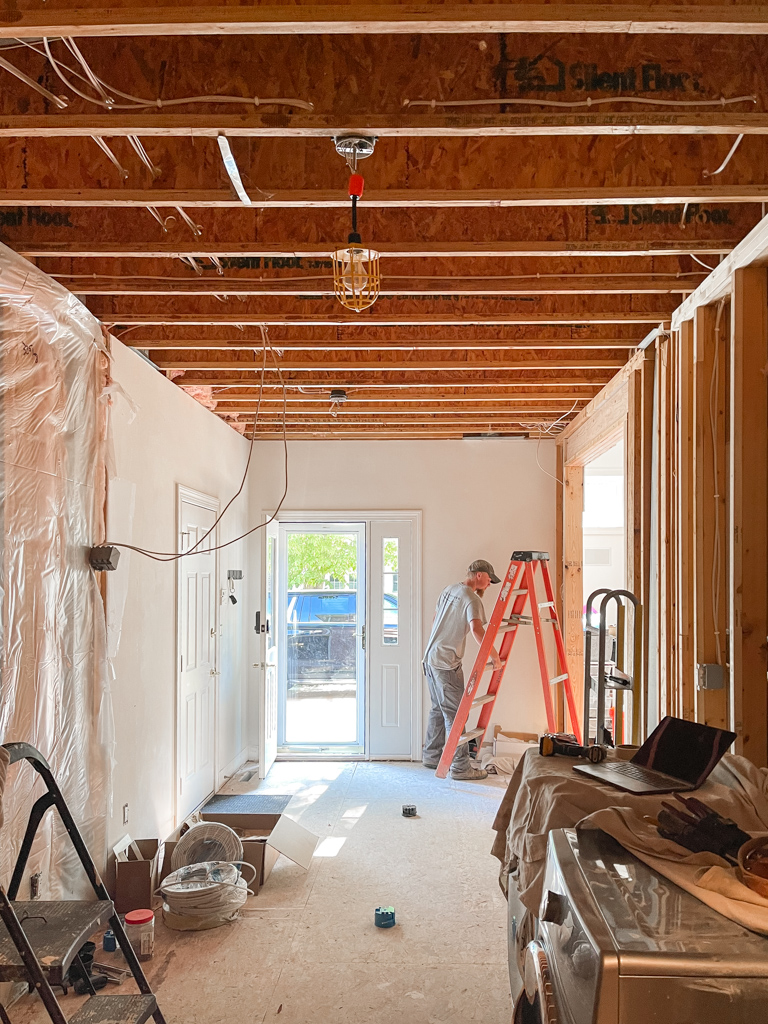
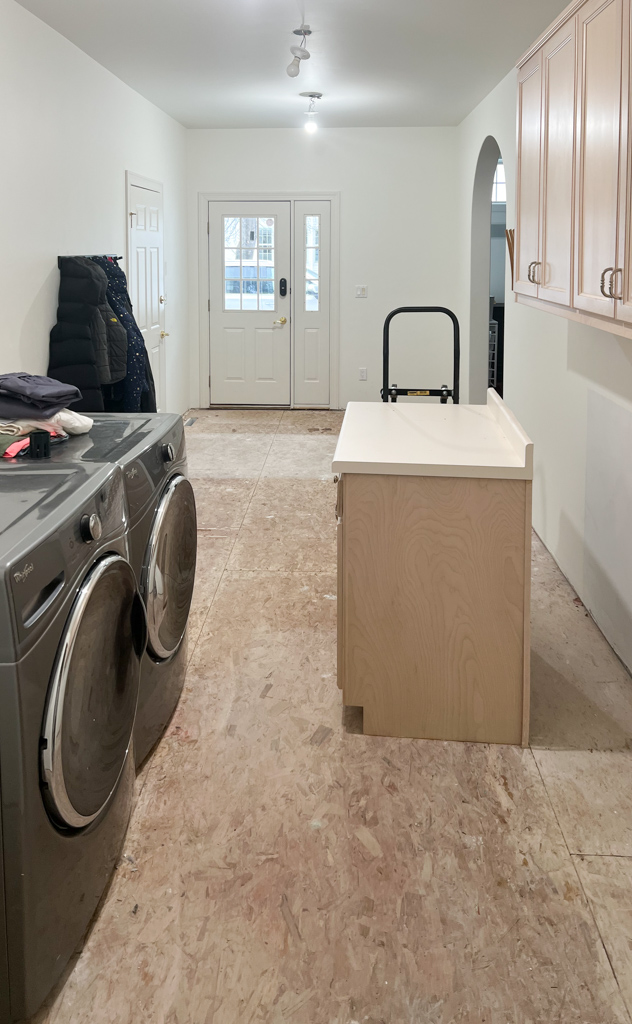
I also knew I wanted a larger opening from the entry to our main living area. The original plan was to simply expand a basic opening, but once we had it open, we loved how it felt. I had them frame a 52″ arched opening to mimic some other arches in our home.
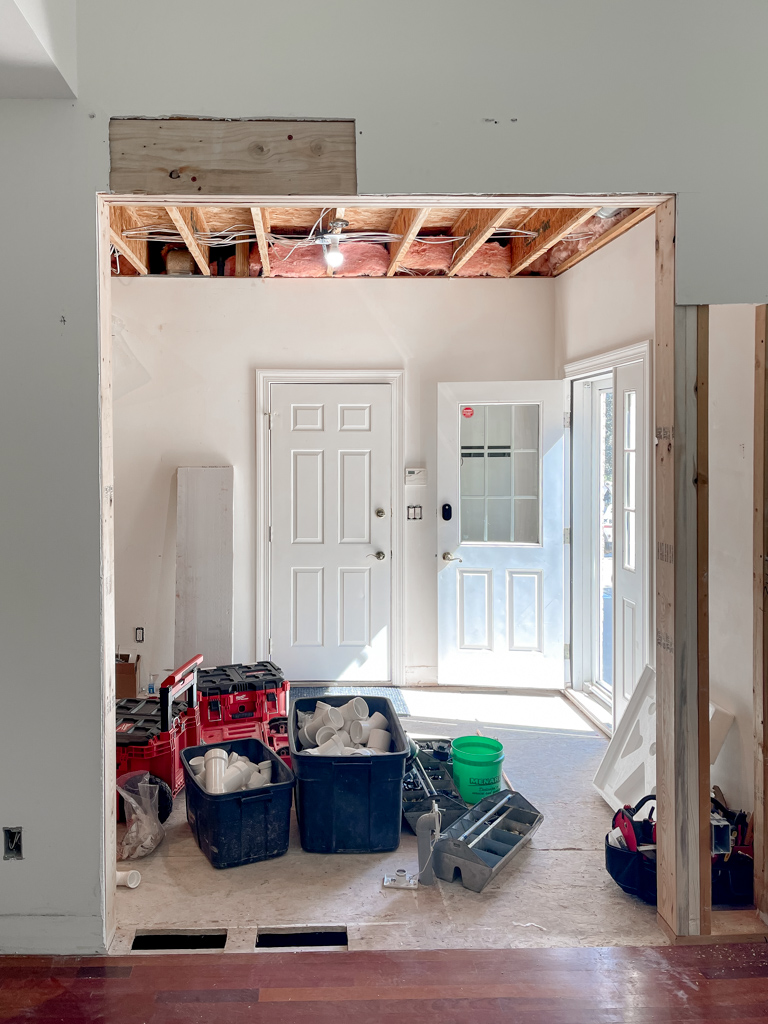
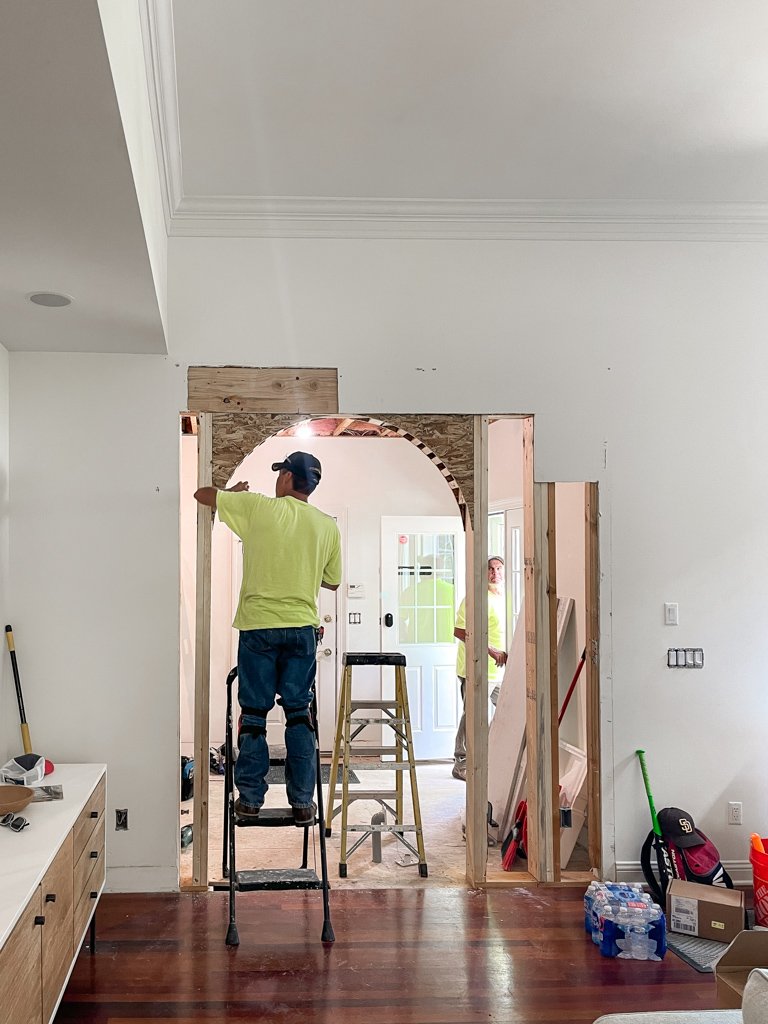
Even in disarray, this room was feeling so much better!
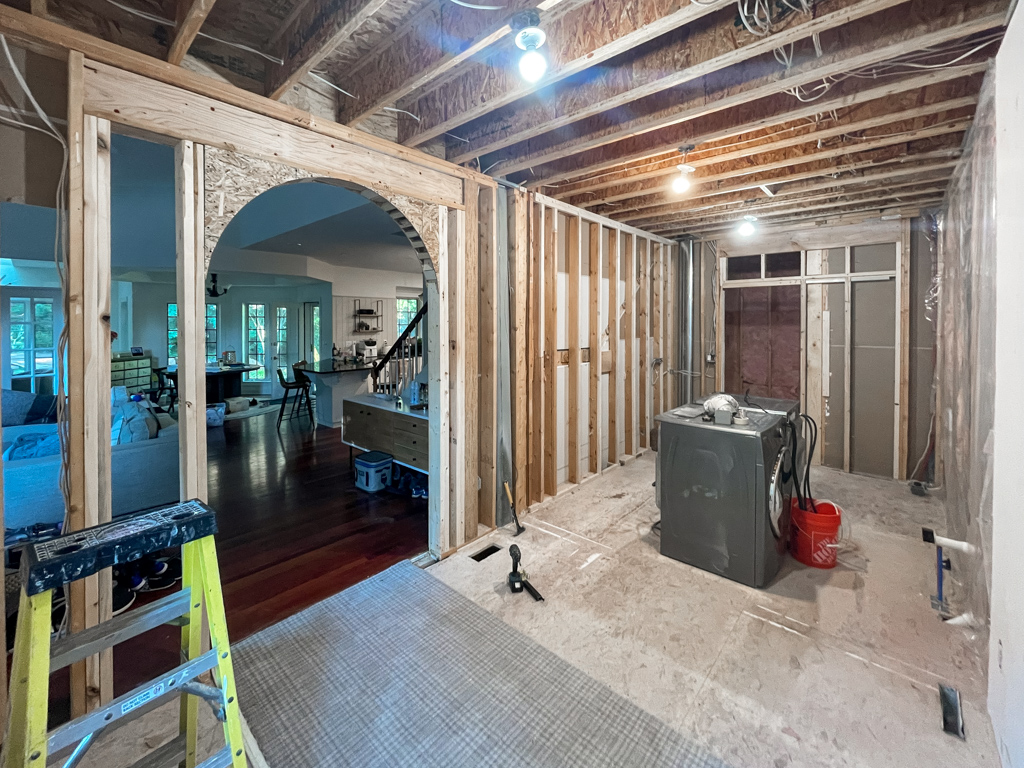
Here’s a comparison shot from the opposite wall looking in. This new opening placement actually helps me with a living room configuration I was struggling with so it was a double win!
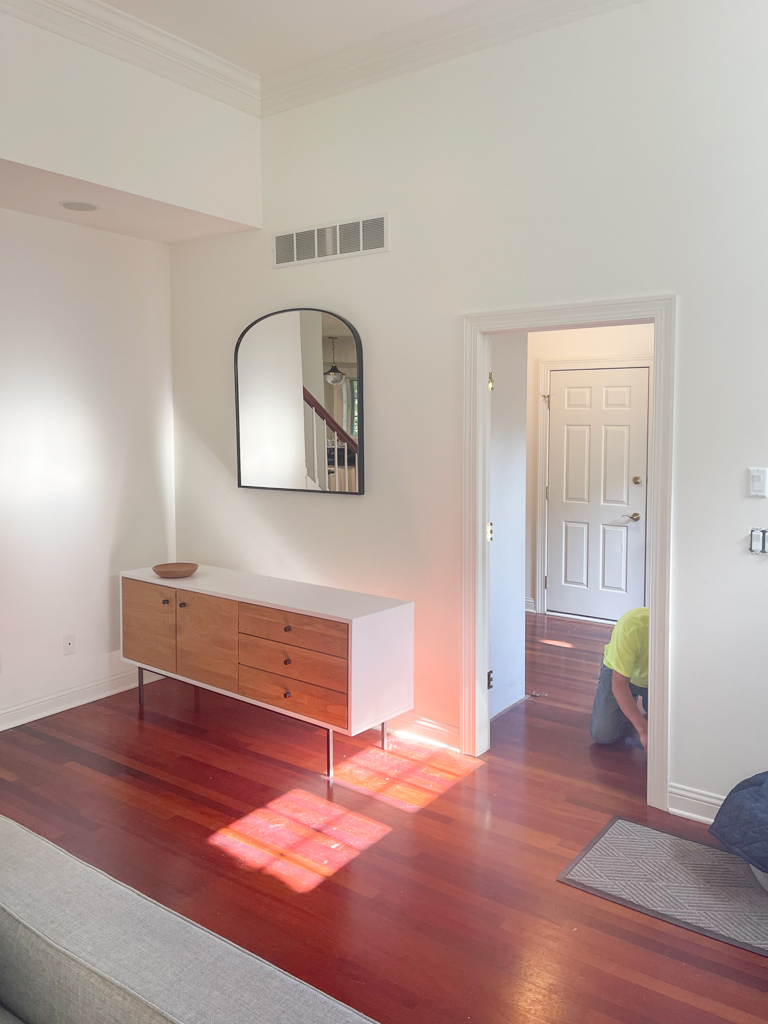
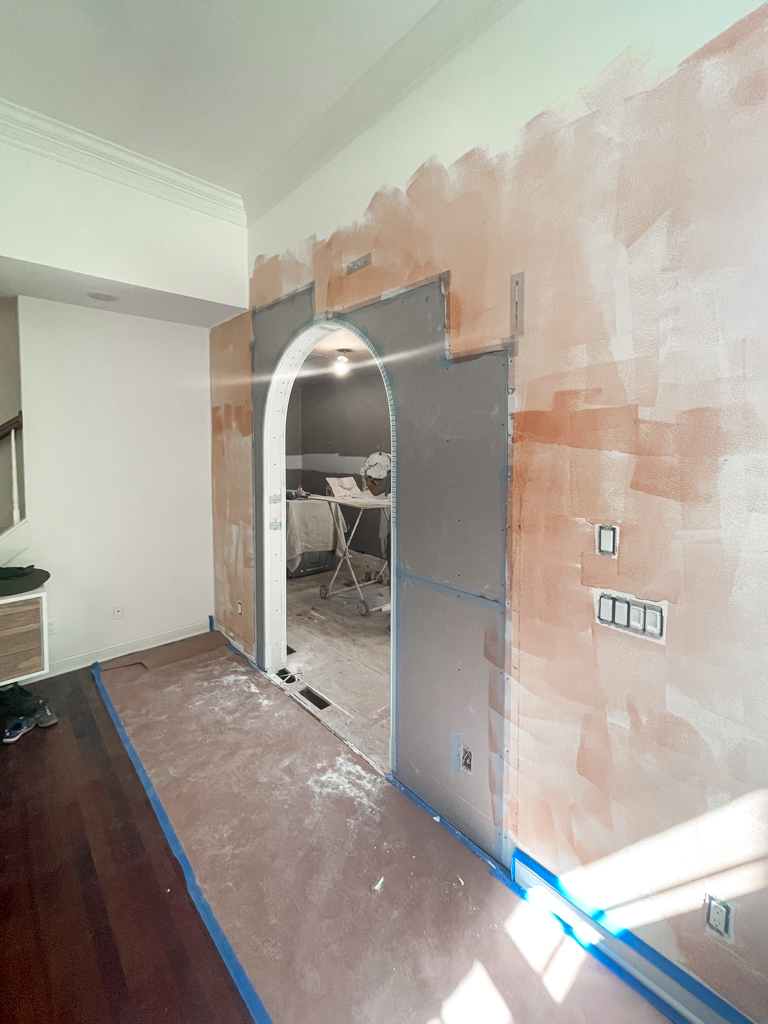
It took a little bit of time to get everything patched up. I made sure to take lots of photos of all the plumbing for anything down the road.
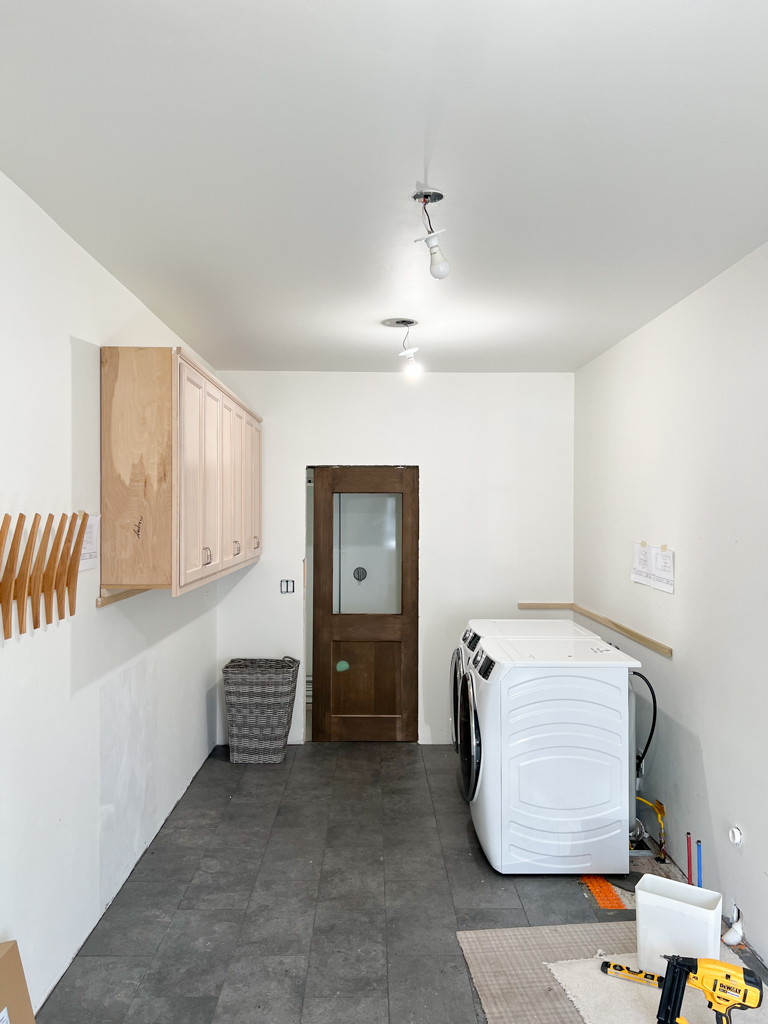
We lived in the room like this with no flooring for longer than I’d like to admit.
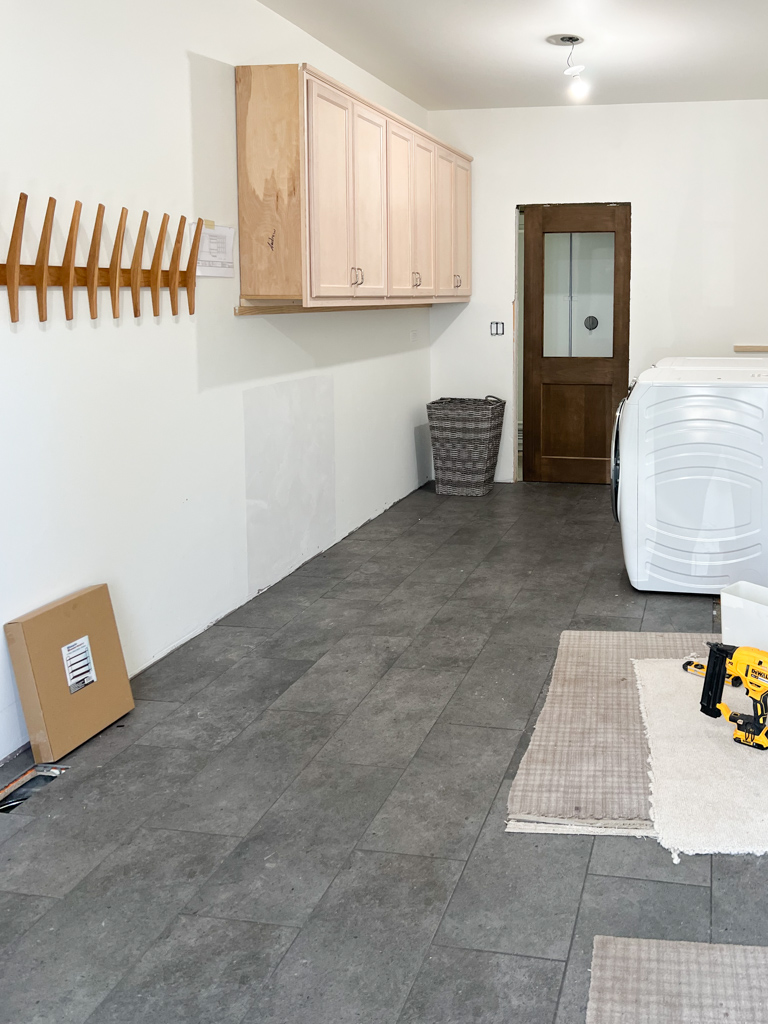
New Tile!
I was waiting on a good time to lay the tile flooring as I knew it would be 2-3 days without access to this room which serves as our main entrance.
We finally found time to get tile laid in this room and I’m so happy with it. I added heating in this room and love walking in here barefoot to throw a load of laundry in. I originally wanted a bluestone but the thickness of real stone just wouldn’t work with my transitions. This porcelain tile from Daltile was a great solution and is really beautiful. I got lots of samples and landed on the medium gray – they have a lighter and darker version.
What’s next?
I worked with Stoffer Home Cabinetry and ordered cabinets once we had everything in place. I’ll wait a few months so I decided to do an easy phase 1 for this room just to ease my eyes and create some function!
I’ll share all those details in a separate post later this week – but for the time being… can you believe what a difference a new layout has made? I can’t wait to see the rest of this room come together!
WIFE, MAMA, DESIGNER, RENOVATOR, & PASSIONATE DIY EDUCATOR
I'm Jennifer Gizzi.
Let's create our dream homes together.
Navigate
home
about
blog
courses
shop
Social
Youtube
Legal
Terms & Conditions
Privacy Policy
© 2021 Making Pretty Spaces
Beautiful! Love how much more spacious and functional the “drop zone” area will be! Do you have any concerns with washer/dryer noise now that you have the larger arched opening into your living space? (or do you plan to add some doors there?) Maybe I just need new ones since mine can often sound like a jet taking off 🙂
Great question! These GE appliances are super quiet so we should be good there. 🙂
Smart idea to knock down wall!
[…] talk about the laundry room renovation up to this point in more in detail in this post. We have done a lot of work to get to this point and now we are just waiting for the new cabinetry […]